Install JFrog Plugin for Cursor
How to install the JFrog plugin for Cursor to enable AI-assisted development with governance
The JFrog plugin for Cursor Agent enables your AI assistant to access JFrog repositories, artifact management, and governance policies—making your agent-assisted development compliant with your organization's standards.
To install the JFrog plugin for Cursor:
Prerequisites
- Cursor installed — download from cursor.com and you are signed in (free, Pro, or Business account)
- Cursor Agent Mode enabled (via Composer or Chat)
Install the JFrog Plugin for Cursor
Use one of the following options:
Options 1 and 2: Install from the Cursor marketplace
Option 1: Via Cursor Chat
-
Open Cursor.
-
Open a New Agent window.
-
Enter
/add-plugin JFrog. -
Click Add Plugin.
Option 2: Use the Direct Link to the JFrog Plugin in Cursor Marketplace>
-
Click this link to go directly to the JFrog plugin in Cursor's Marketplace.
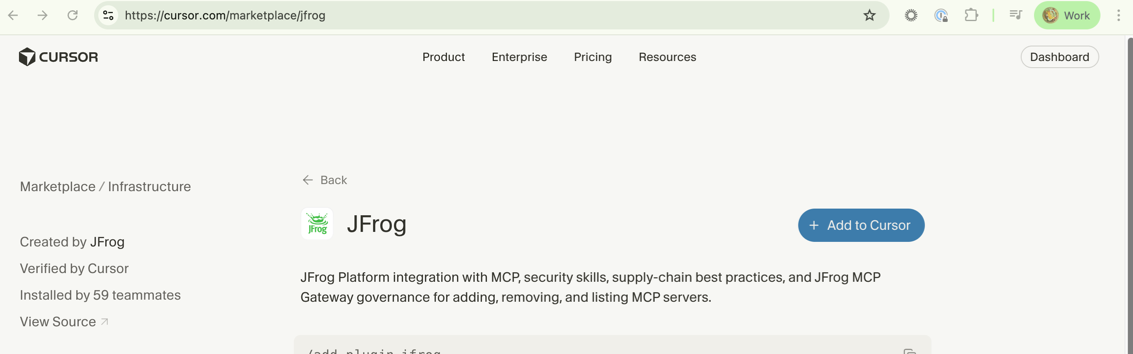
-
Click +Add to Cursor
-
Click Add Plugin.
-
Optional: Click View in Editor to see the plugin in Cursor.
Option 3: Install via Cursor Settings
-
Open Cursor.
-
Open Cursor Settings and select Plugins.
-
Search for JFrog and select the JFrog plugin.
-
Click Add to Cursor.
-
Click Add Plugin.
Frequently Asked Questions
FAQs
Q: I don't see the plugin in the Cursor marketplace. What should I do?
A: Ensure you're running the latest version of Cursor. Plugins are available in Cursor's official marketplace. Try searching for "JFrog" directly in Cursor Settings > Plugins. If it still doesn't appear, restart Cursor and try again.
Q: Can I use the plugin with Cursor Composer?
A: Yes. The JFrog plugin works with both Cursor Chat and Cursor Composer (Agent Mode). Ensure Agent Mode is enabled in your Cursor settings to access the plugin's full capabilities.
Q: How do I verify the JFrog plugin is active?
A: After installation, open Cursor Chat or Composer and look for JFrog capabilities in the context menu. You should be able to query JFrog repositories and MCP Registry features directly from your agent interface.