Configure the JFrog Copilot Extension
Copilot Extensions Deprecation
GitHub has deprecated App-based Copilot Extensions, and uses standard MCP servers for AI integration. Install the JFrog MCP Server to integrate JFrog platform data in your GitHub environment.
The process of configuring the JFrog GitHub Copilot extension involves a number of steps and requires both the GitHub and JFrog administrators. A number of details need to be coordinated and negotiated, subsequently, it is strongly recommended that the installation be conducted with both of these parties present to make the process efficient.
Prerequisites
-
You are part of an organization that has a Copilot license
-
You have access to SaaS JFrog Platform. If you do not have a JFrog platform, you can register for a free trial here: https://jfrog.com/start-free/try-github/
- Enterprise X or higher license
- Artifactory v7.94.x and above
- Xray 3.103.6 and above
- JFrog Software Package Catalog (if missing, a 14-day trial is automatically enabled)
-
For Curation related features - JFrog Software Package Curation
-
You must be a GitHub Admin to Check for Users with Copilot Licenses, Enable Policies at Enterprise Level, and Enable Policies at Organization Level.
-
Before beginning the below steps you must first enable the Copilot extension as described in the section titled Enabling Copilot for organizations in your enterprise, as well as follow the instructions in these topics policy management for the enterprise and managing policies in your organization
| Task | Description | For more information, see | |
|---|---|---|---|
| 1 | Check for Users with Copilot Licenses | Ensure that your organization includes the users you want to have access to the Copilot extensions. | Check for Users with Copilot Licenses |
| 2 | Enable Policies at Enterprise Level | Learn how to enable policies at the enterprise level. | Enable Policies at Enterprise Level |
| 3 | Enable Policies at Organization Level | Learn how to enable policies at the organization level. | Enable Policies at Organization Level |
| 4 | Install the JFrog GitHub Copilot Extension | Install the application and link it to the JFrog platform via the platform's URL. Requires GitHub and JFrog administration permissions | Install the JFrog GitHub Copilot Extension |
| 5 | Configure JFrog GitHub Copilot Extension in the IDE | Setup Copilot to integrate with JFrog Catalog and the GitHub Copilot chat by completing the authorization process and installing other required components. | Configure JFrog GitHub Copilot Extension in IDE |
Check for Users with Copilot Licenses
To ensure that your organization includes the users you want to have access to the Copilot extensions, follow these steps:
-
Go to GitHub.
Click on your profile picture in the top-right corner and select Your Organizations.
-
Choose the relevant Organization where you'd like to install the JFrog Copilot extension and click on the Settings button.
-
In the left-side menu, click Copilot > Access.
-
Ensure the organization includes the users you want to have access to the JFrog Copilot extension.
Note
If users are not present in the organization, they will not have access to @jfrog in Copilot.
Enable Policies at Enterprise Level
To configure the JFrog Copilot extension within your GitHub Enterprise account, follow these steps:
-
Go to GitHub.
Click on your profile picture in the top-right corner and select Your Enterprises.
-
In case of multiple Enterprises, choose the relevant Enterprise.
-
On the left-side menu, click Policies > Copilot.
-
To manage policies for the JFrog Copilot extension, you can either set the required policies to Enable at the Enterprise level or set them to No Policy.
Note
If you choose No Policy, you must enable the same policies at the organization level.
-
Ensure the following policies are configured:
- Copilot Chat in the IDE: Set to Enable or No Policy.
- Copilot Extensions: Set to Enable or No Policy.
- [Optional] Enable Copilot Chat within GitHub: This will allow interaction with Copilot and JFrog extensions on GitHub.com.
Enable Policies at Organization Level
Important
If one or more policies from the previous step were set to No Policy at the Enterprise level, then the following step is required. If all policies were set to Enable in the previous step, you can skip this step.
-
Go to GitHub.
Click on your profile picture in the top-right corner and select Your Organizations.
-
Choose the relevant Organization where you'd like to install the JFrog extension and click on the Settings button.
-
In the left-side menu, click on Copilot > Policies.
-
Ensure the following policies are configured:
- Copilot Chat in the IDE: Set to Enable.
- Copilot Extensions: Set to Enable.
- [Optional] Enable Copilot Chat within GitHub: This allows interaction with Copilot and JFrog extensions on GitHub.com.
Install the JFrog GitHub Copilot Extension
To install the JFrog Copilot Extension application in GitHub, follow these steps:
Prerequisites
- Permission to install applications within your GitHub organization.
- To install in the IDE, the Admin should have completed the installation on GitHub.
Install JFrog Copilot Extension Application:
-
Navigate to the the JFrog Copilot Extension application in GitHub at https://github.com/marketplace/jfrog.
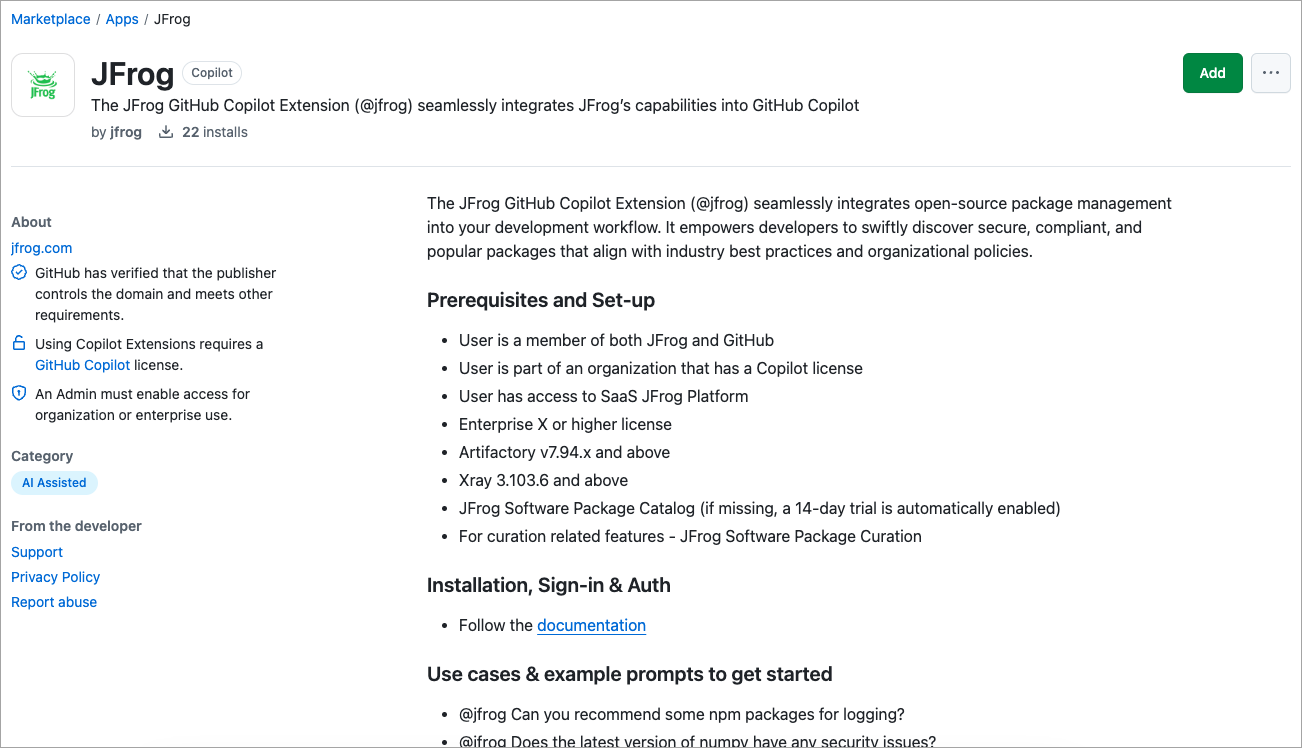
-
Click Add at the top of the screen, or scroll down to the bottom of the screen. The Pricing and setup pane is displayed.
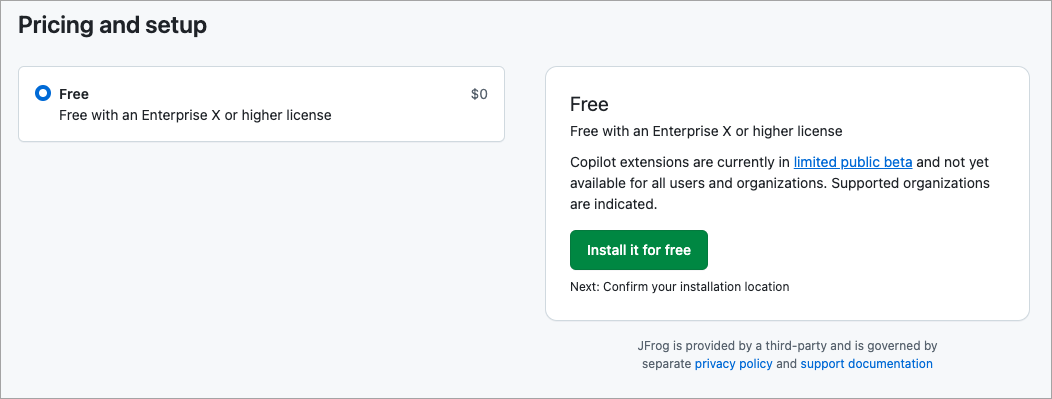
-
Click Install it for Free. The Review your Order window is displayed.
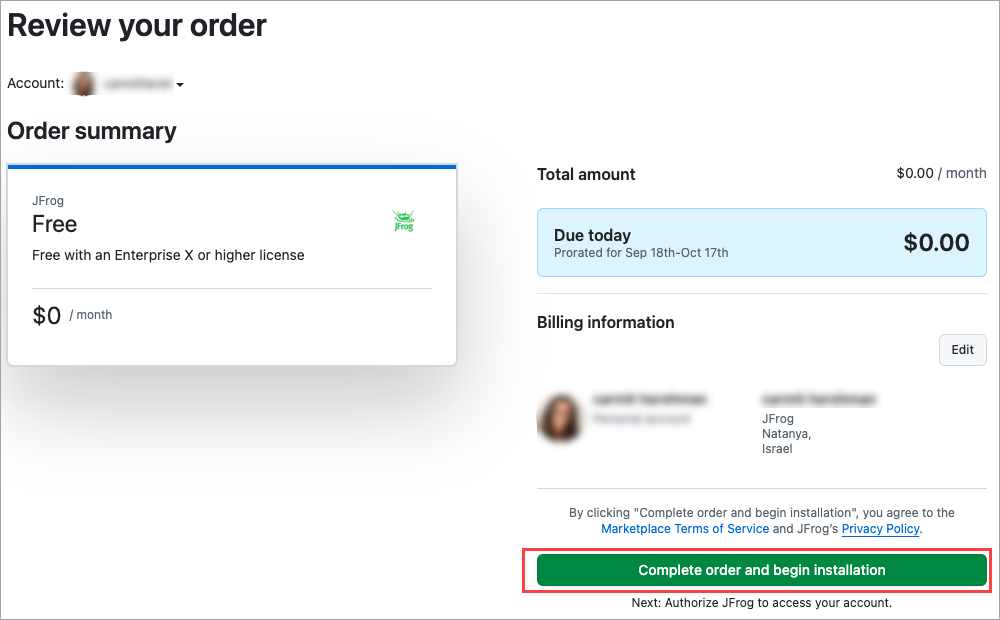
-
Choose the relevant organization for which, you have prepared the policies.
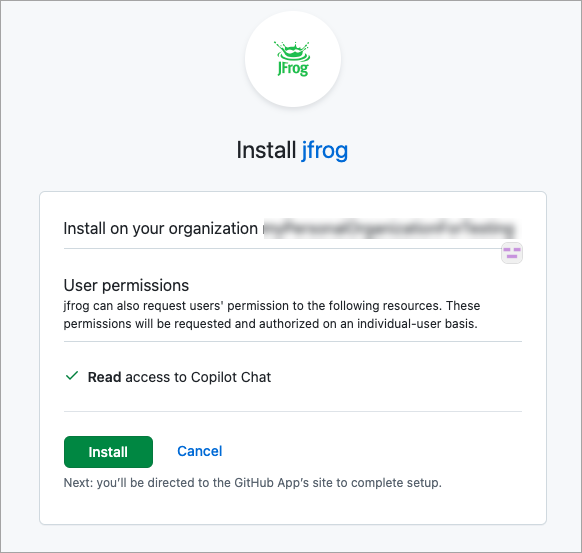
-
Click Install.
Register JFrog Platform
Note
If you do not have a JFrog platform, you can register for a free trial here: https://jfrog.com/start-free/
To register JFrog platform, follow these steps:
-
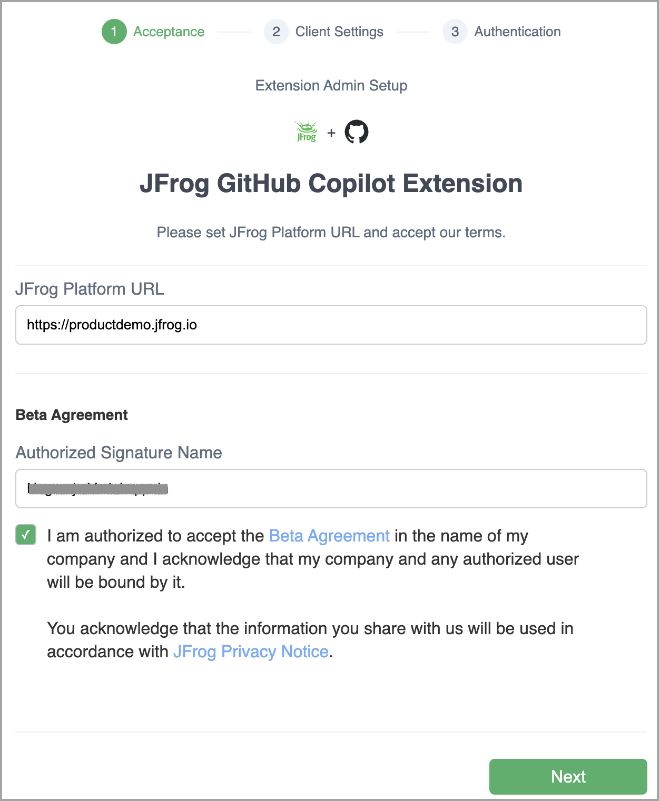
After clicking the green Install button in the previous procedure, you'll be taken to the Acceptance dialog box. In the Acceptance dialog box:
-
Type your JFrog platform URL in the JFrog Platform URL field.
-
Complete the Beta Agreement.
- Enter your full name in the Authorized Signature Name field.
- Accept the terms and conditions by checking the checkbox.
-
Click Next.
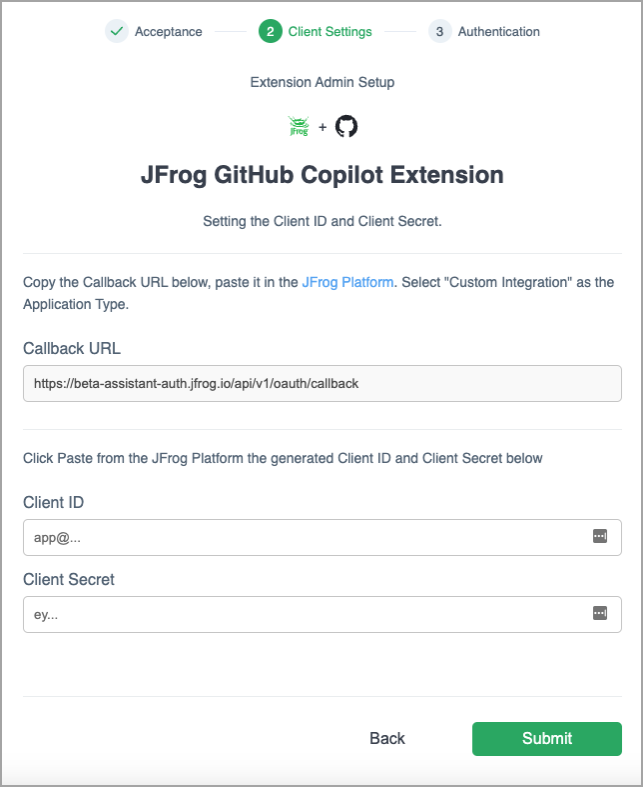
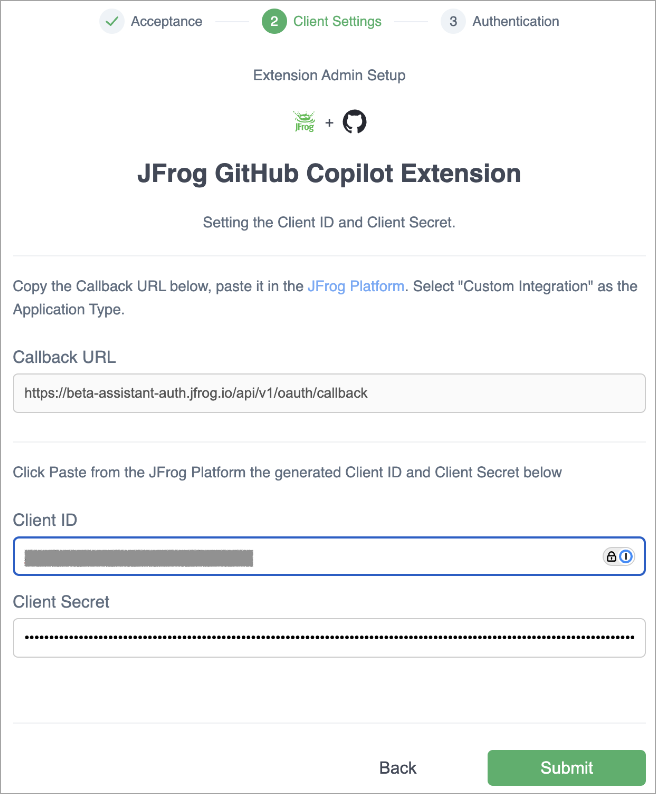
The Client Settings dialog box opens.
-
-
Copy the Callback URL as shown, then click on the link JFrog Platform towards the top of the dialog box.
Your JFrog Platform Deployment opens on a new application integration page.
-
Type a name you want to use for the integration in the Application Name field.
-
From the Application Type drop-down, click Custom Integration.
-
Type the description of the integration in the Description field.
-
Paste the Callback URL you were provided in step 2 above in the Callback URL field. For example,
https://beta-assistant-auth.jfrog.io/api/v1/oauth/callback.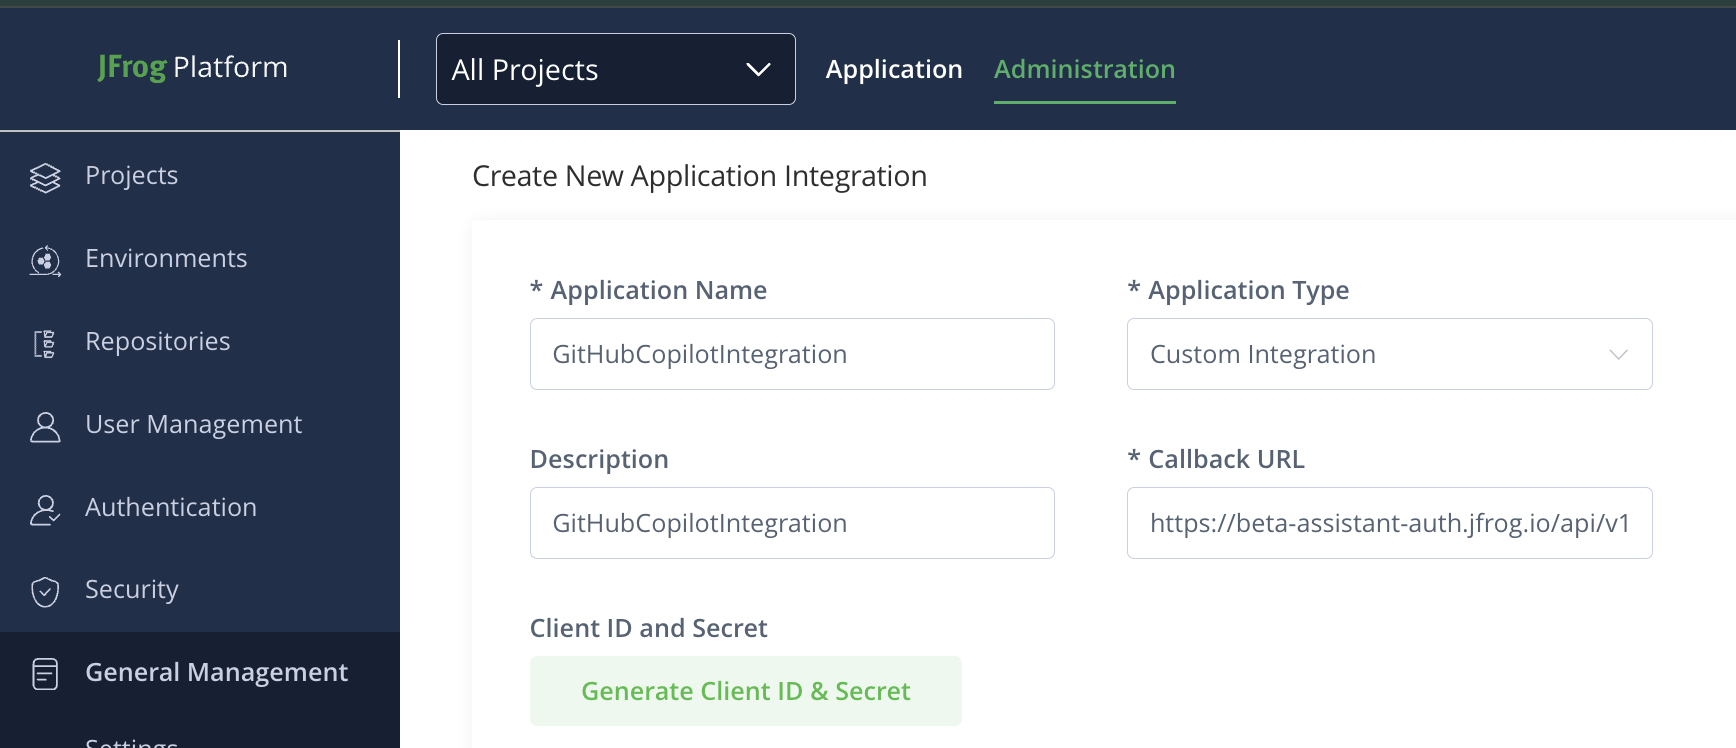
-
Click Generate Client ID & Secret.
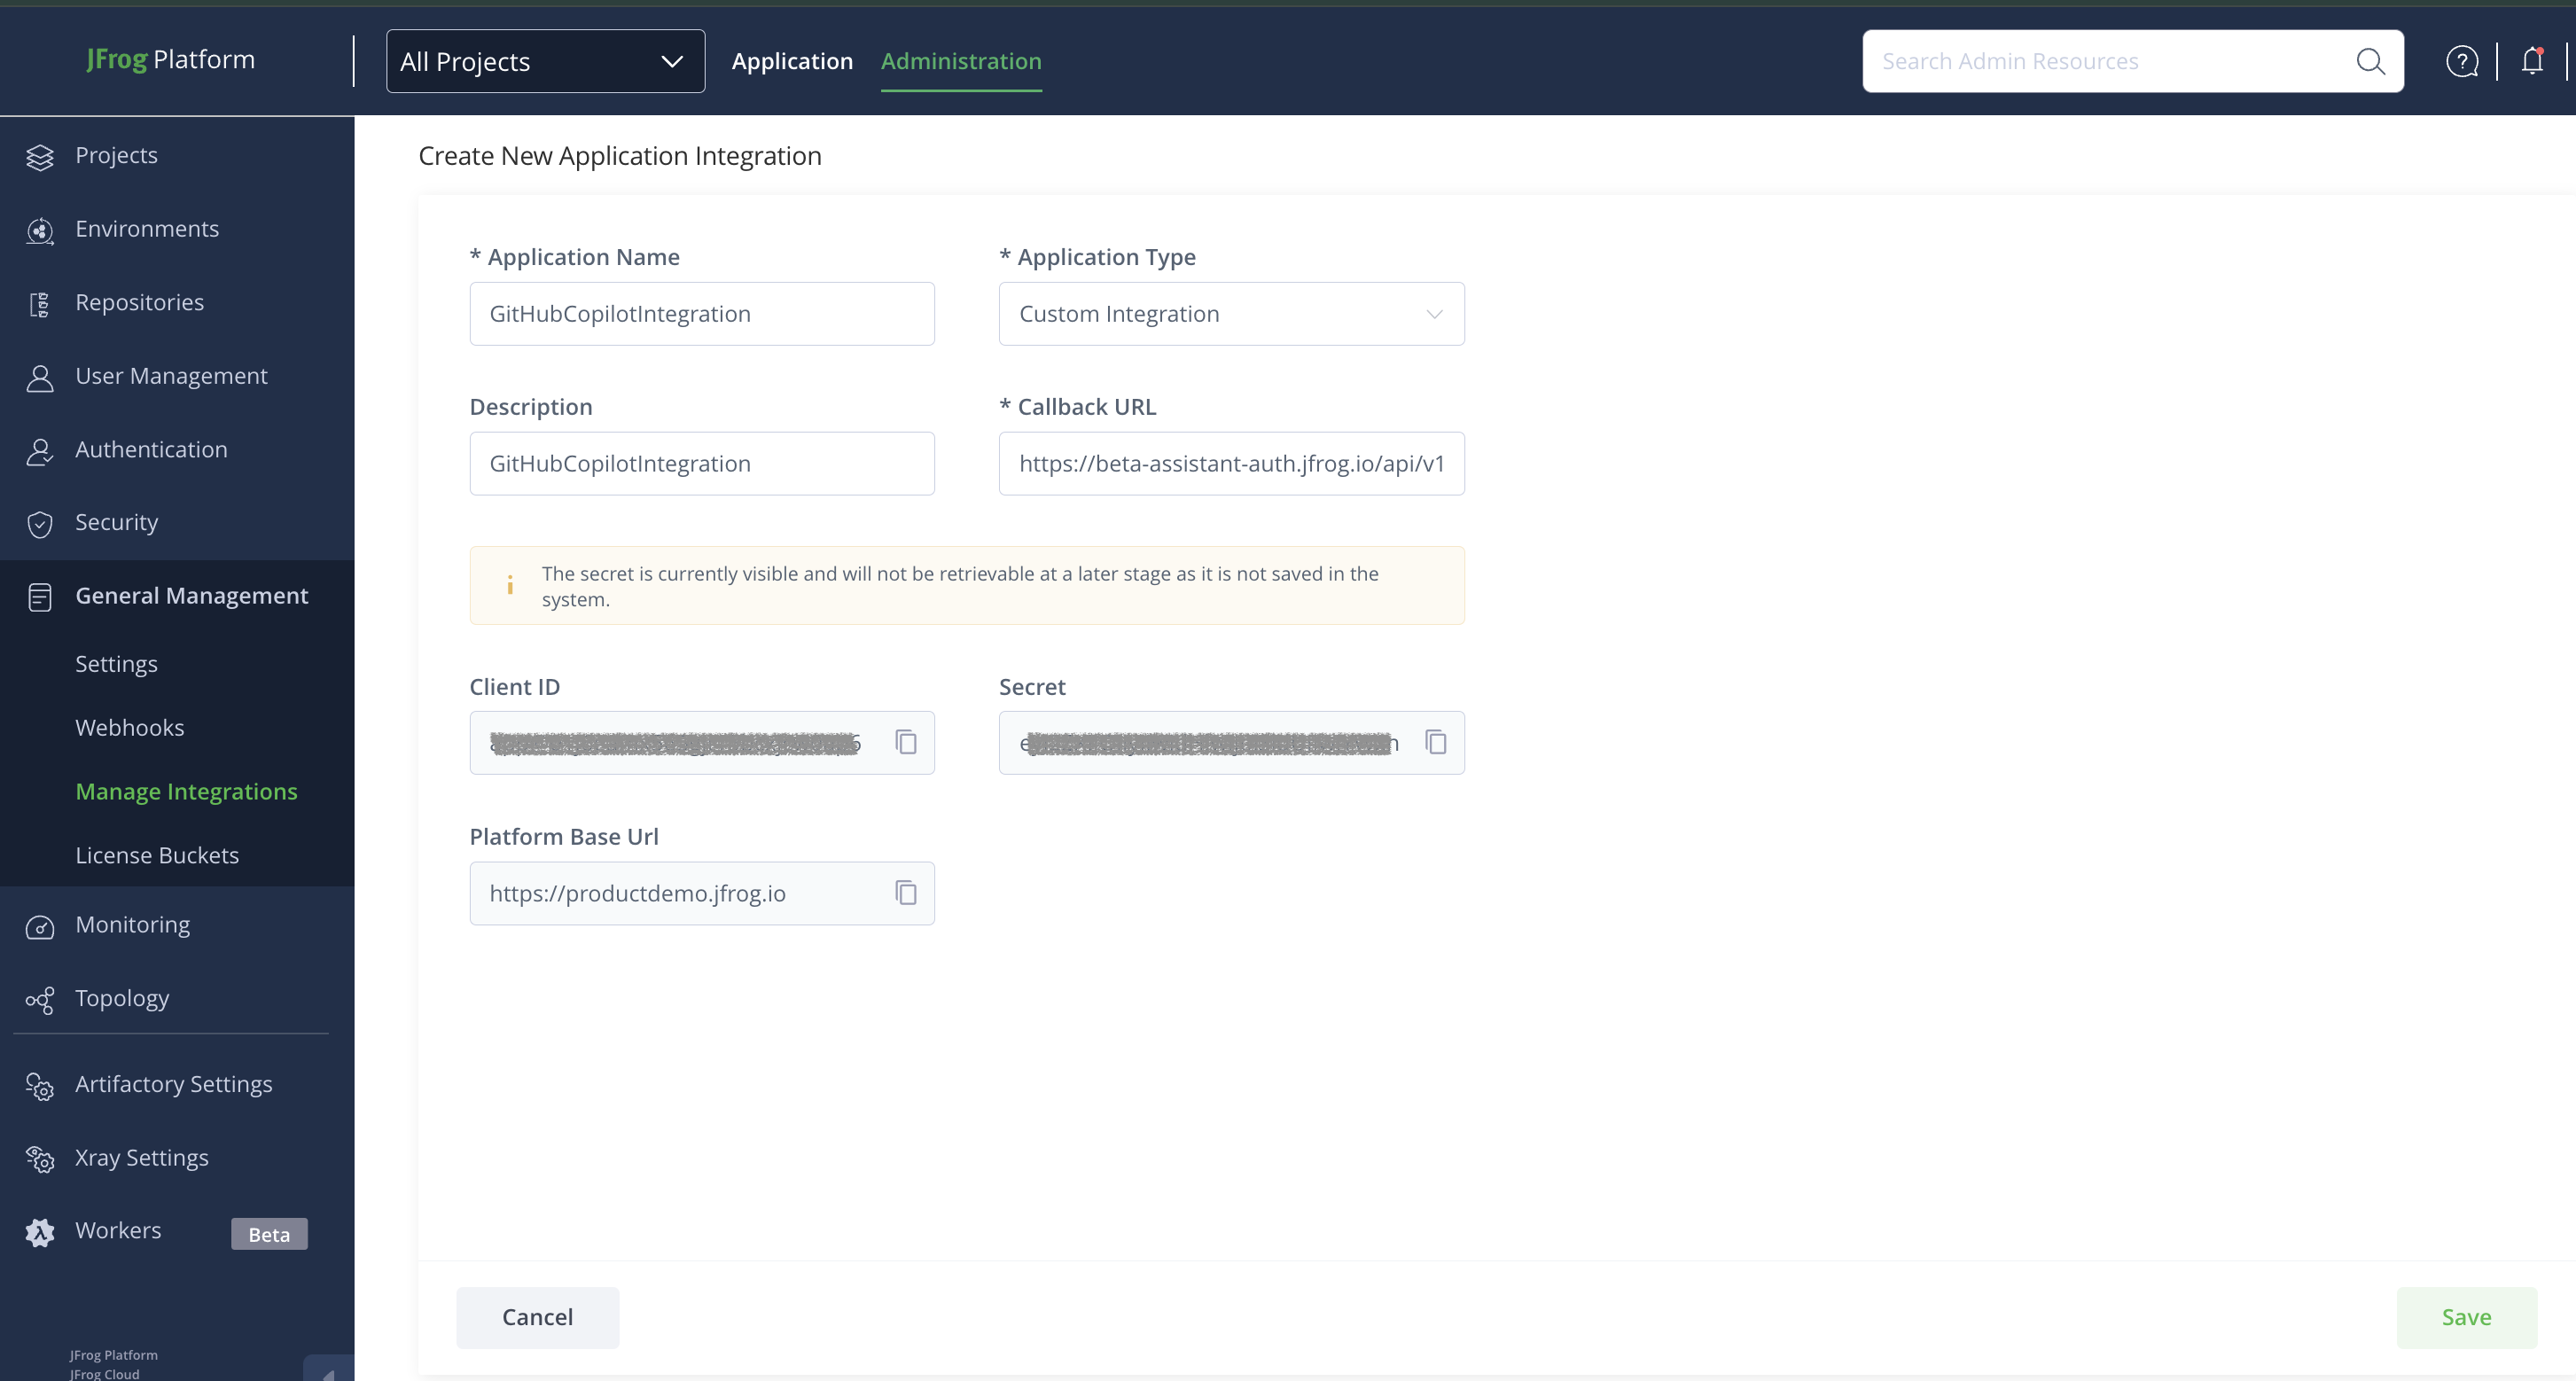
Note
Save Client ID and Secret to register the platform. The secret is currently visible and will not be retrievable at a later stage as it has not been saved in the system.
-
Click Save.
-
In the Client Settings dialog box, enter the following settings saved from creating custom integration, and then click Submit.
- Client ID in the ClientID field
- Client Secret in the Client Secret field
-
From the Authentication dialog box, copy the end users' authorization URL and share it with users. Note that, as an admin, you can share the link with others and also use it yourself to go through the user authorization process.
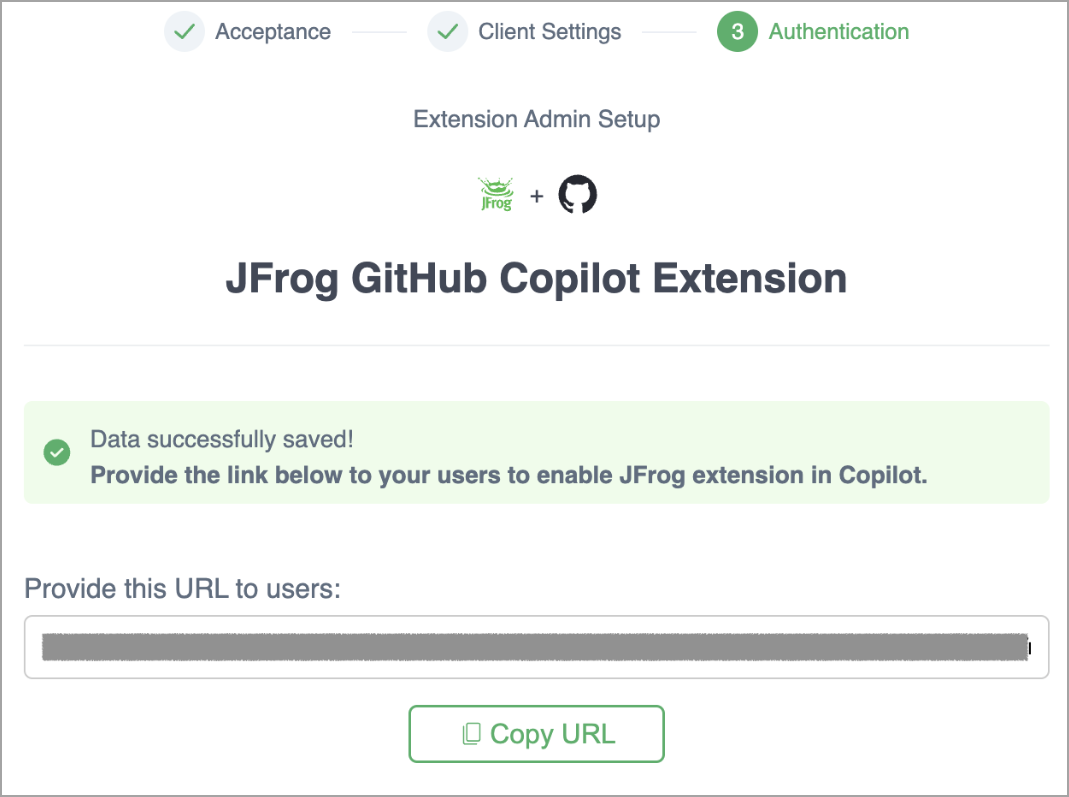
For more information, see Configure JFrog GitHub Copilot Extension in IDE.
Configure JFrog GitHub Copilot Extension in IDE
The GenAI-powered research tool integrates JFrog Catalog with GitHub Copilot Chat, enabling developers to efficiently explore, manage, and get recommendations on open-source software packages. It speeds up dependency identification, optimizes package choices, reduces security risks, and boosts developer efficiency through AI-driven support.
Note
To ensure compatibility and access to the features of the JFrog Copilot extension, ensure that the GitHub Copilot Chat extension is updated to version 0.21 (released on October 2, 2024) or later. For more information about this extension, see the Changelog in the Visual Studio Marketplace.
To set up Copilot, follow these steps:
-
Complete Authorization Process: Use the authorization link provided by the JFrog admin. If you don't have it or didn't save it, it should be similar to the following:
https://beta-assistant-auth.jfrog.io/api/v1/oauth/github-redirect?platform_url=https://[Your JFrog platform]or
https://beta-assistant-auth.jfrog.io/api/v1/oauth/github-redirect?installation_id=[github installation id]For more information, refer to Step 10 in Install the JFrog GitHub Copilot Extension.
Note
Ensure you are logged into your GitHub account with Copilot permissions.
-
Click Authorize jfrog.
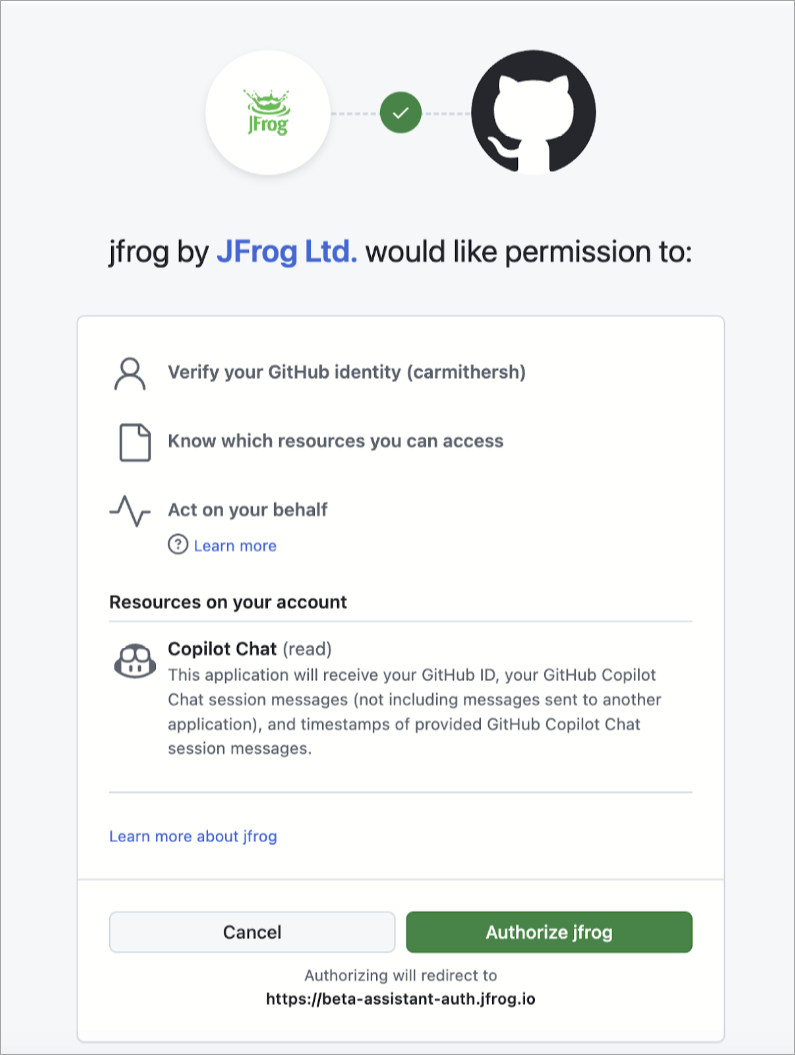
-
Authorization will continue to JFrog extension authorization.
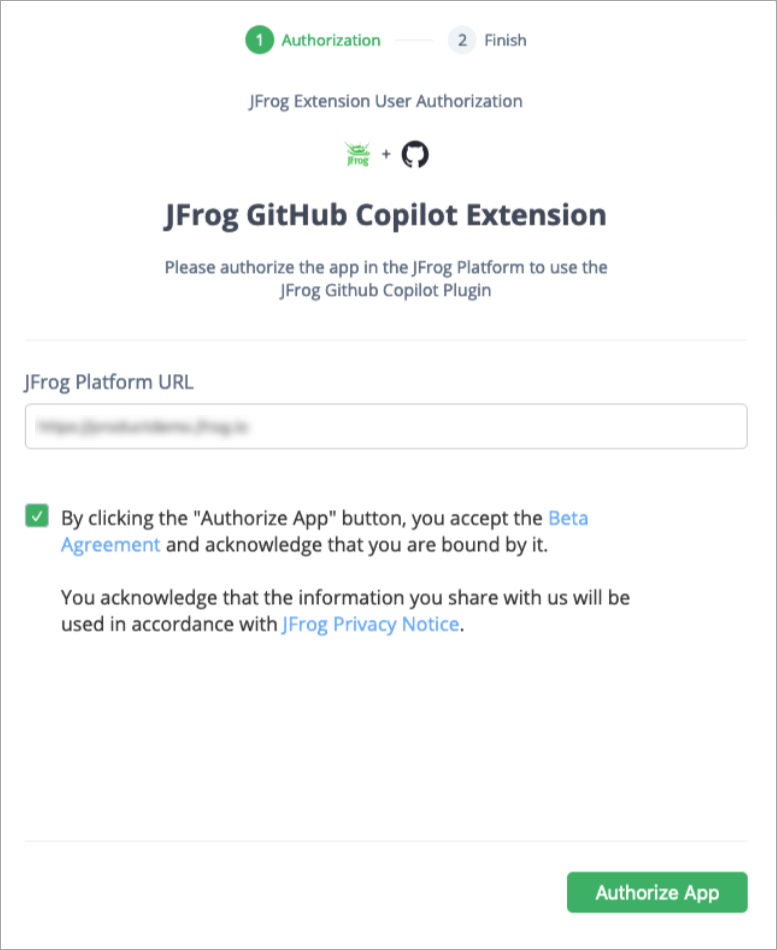
-
Once you click on Authorize App, you will be shown your JFrog Platform corporate login which requires you to login to complete an OAuth flow.
Note
If you do not have a JFrog platform, you can register for a free trial here: https://jfrog.com/start-free/
-
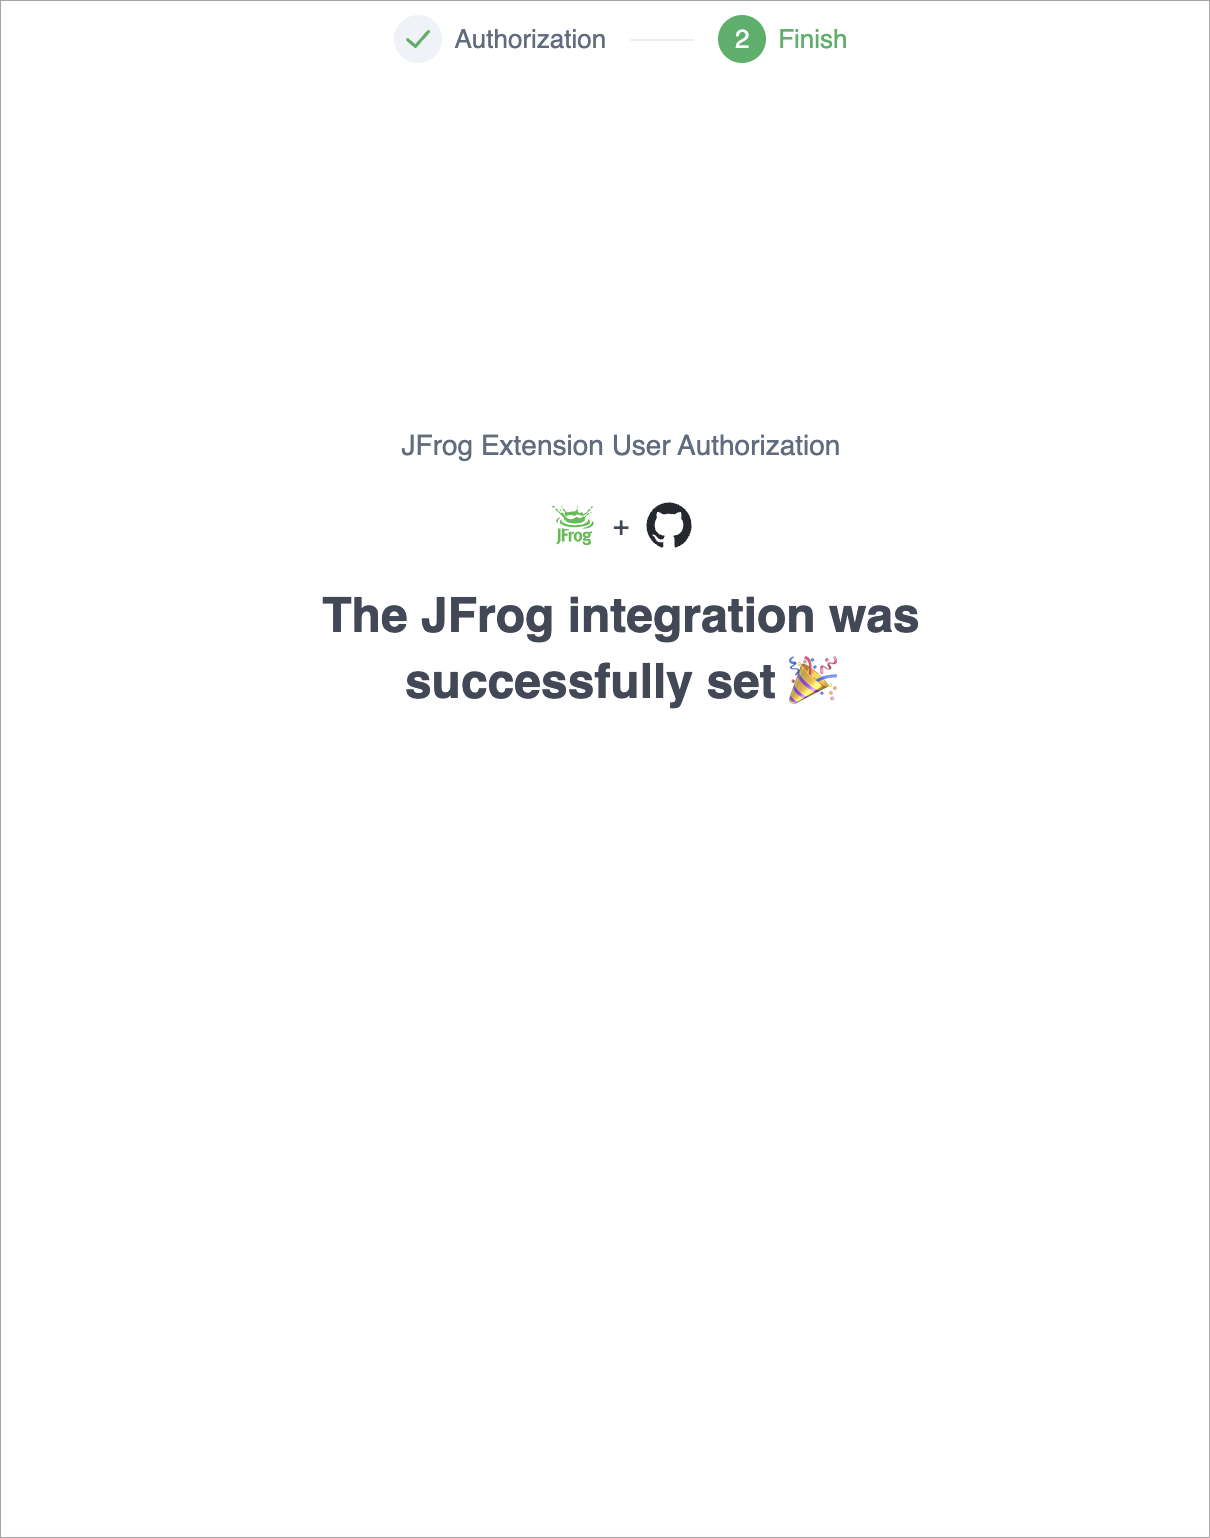
Log in as directed. Once you have successfully completed login, the following message is displayed.
-
Install VS Code, Visual Studio IDEs, or go through GitHub.com.
-
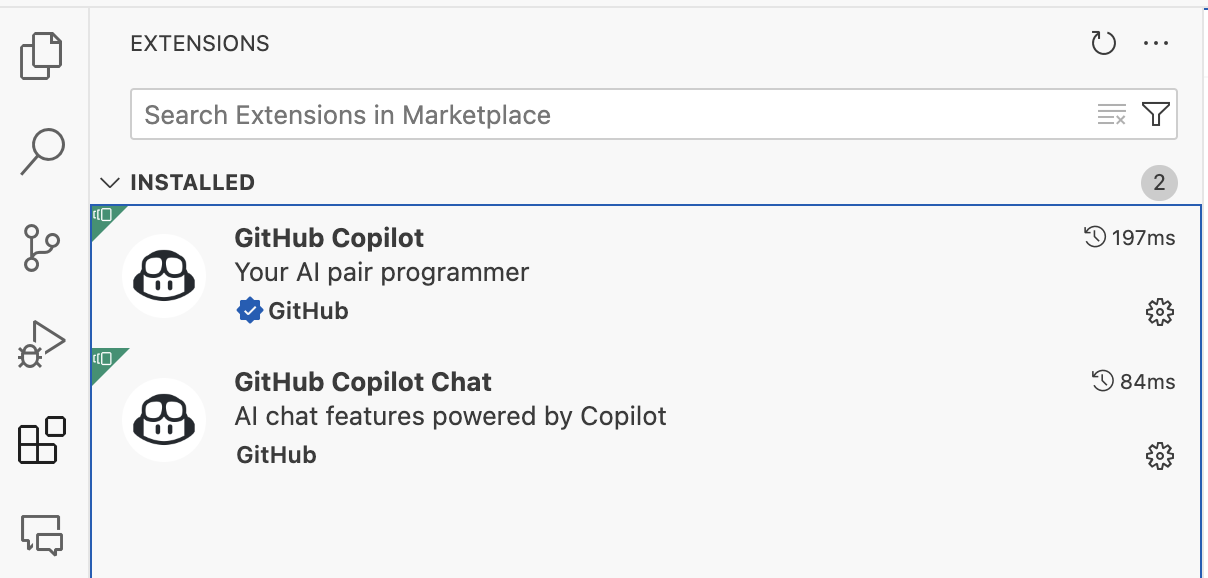
Install GitHub Copilot Extensions: From your IDE, download and install the following extensions:
- GitHub Copilot
- GitHub Copilot Chat
-
Start Chatting with JFrog:
-
Open your IDE and confirm you are logged into the correct GitHub account.
-
Type
@jfrogin the chat box to load the JFrog chat component.
-
Start chatting!
-