

Predefined Webhooks
To create a predefined Webhook:
-
Select All Projects, or from the Projects list, select the specific project for which to create a webhook.
-
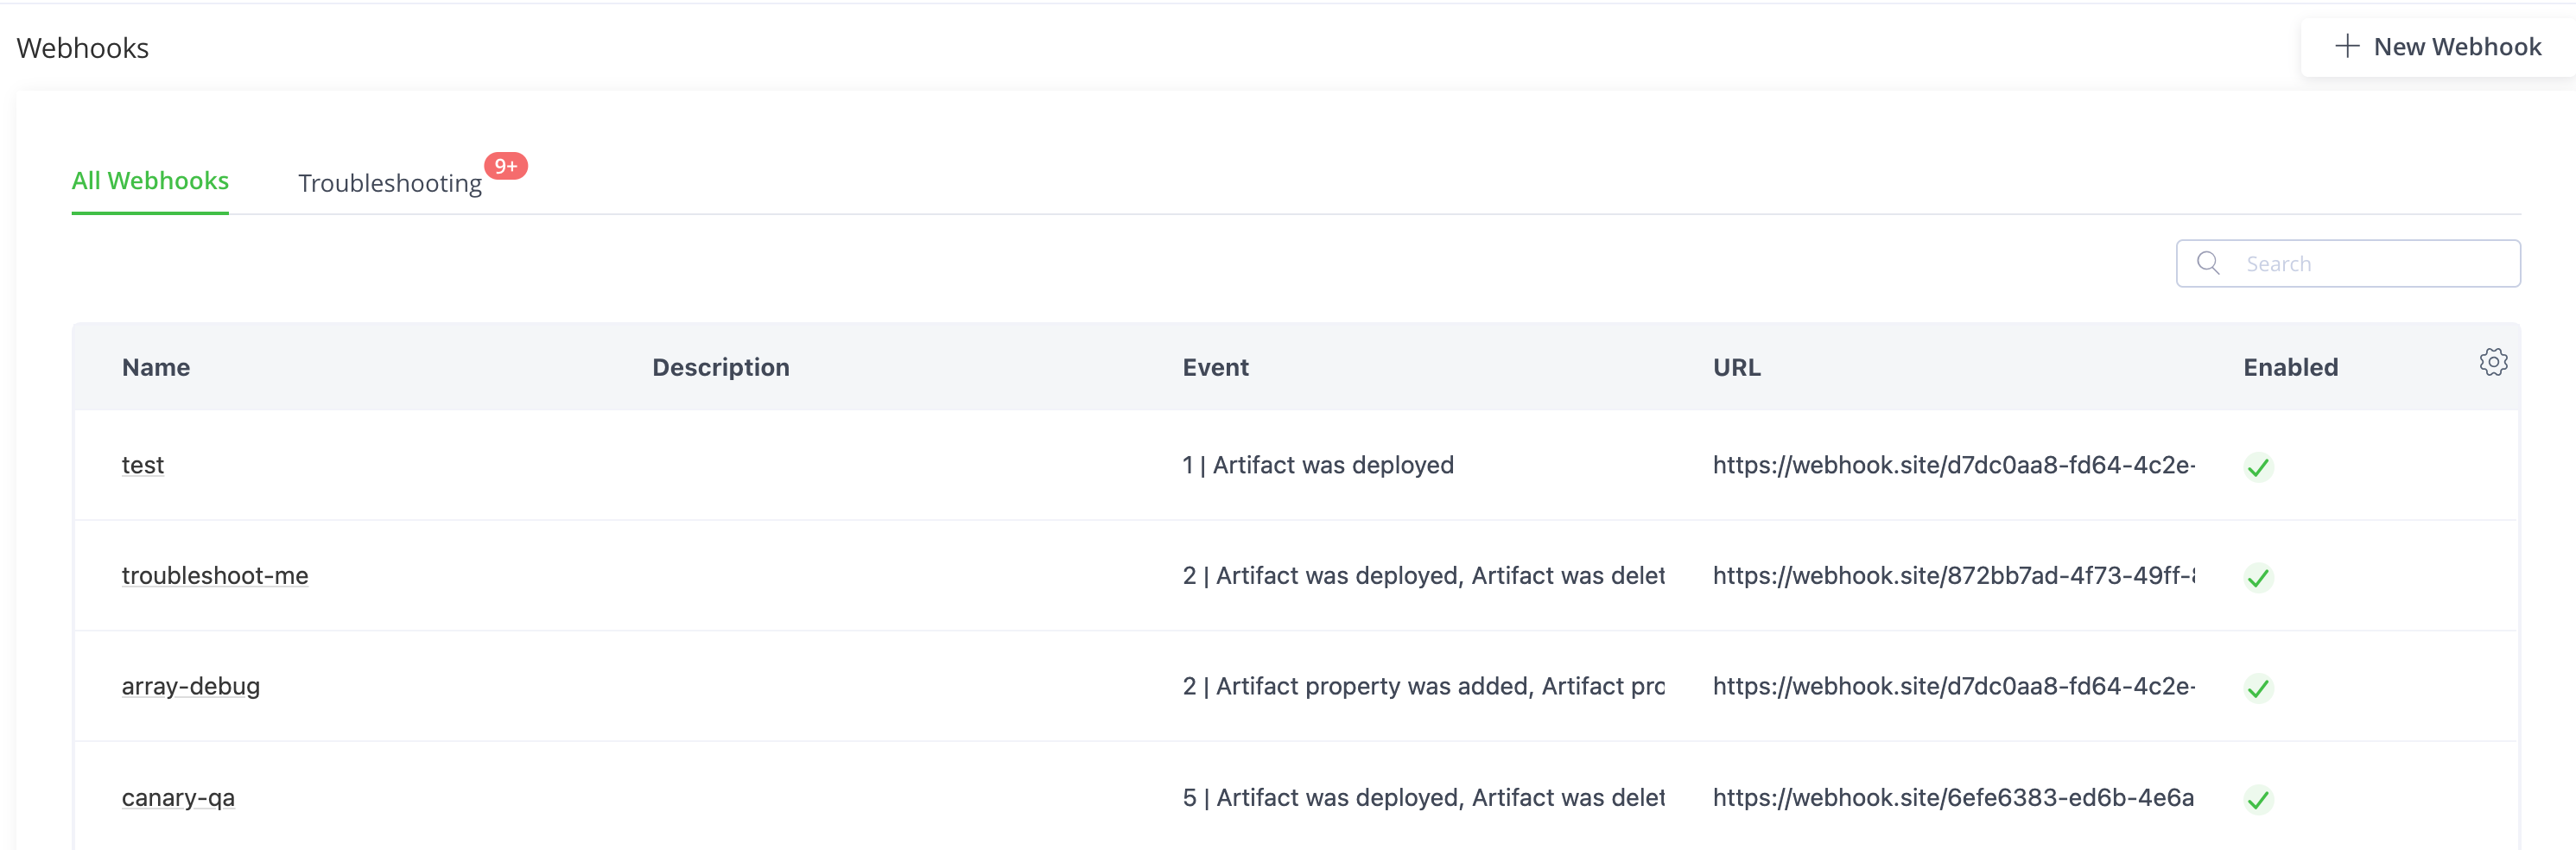
Select the Platform module, then select Integrations > Webhooks.
-
Click New Webhook.
-
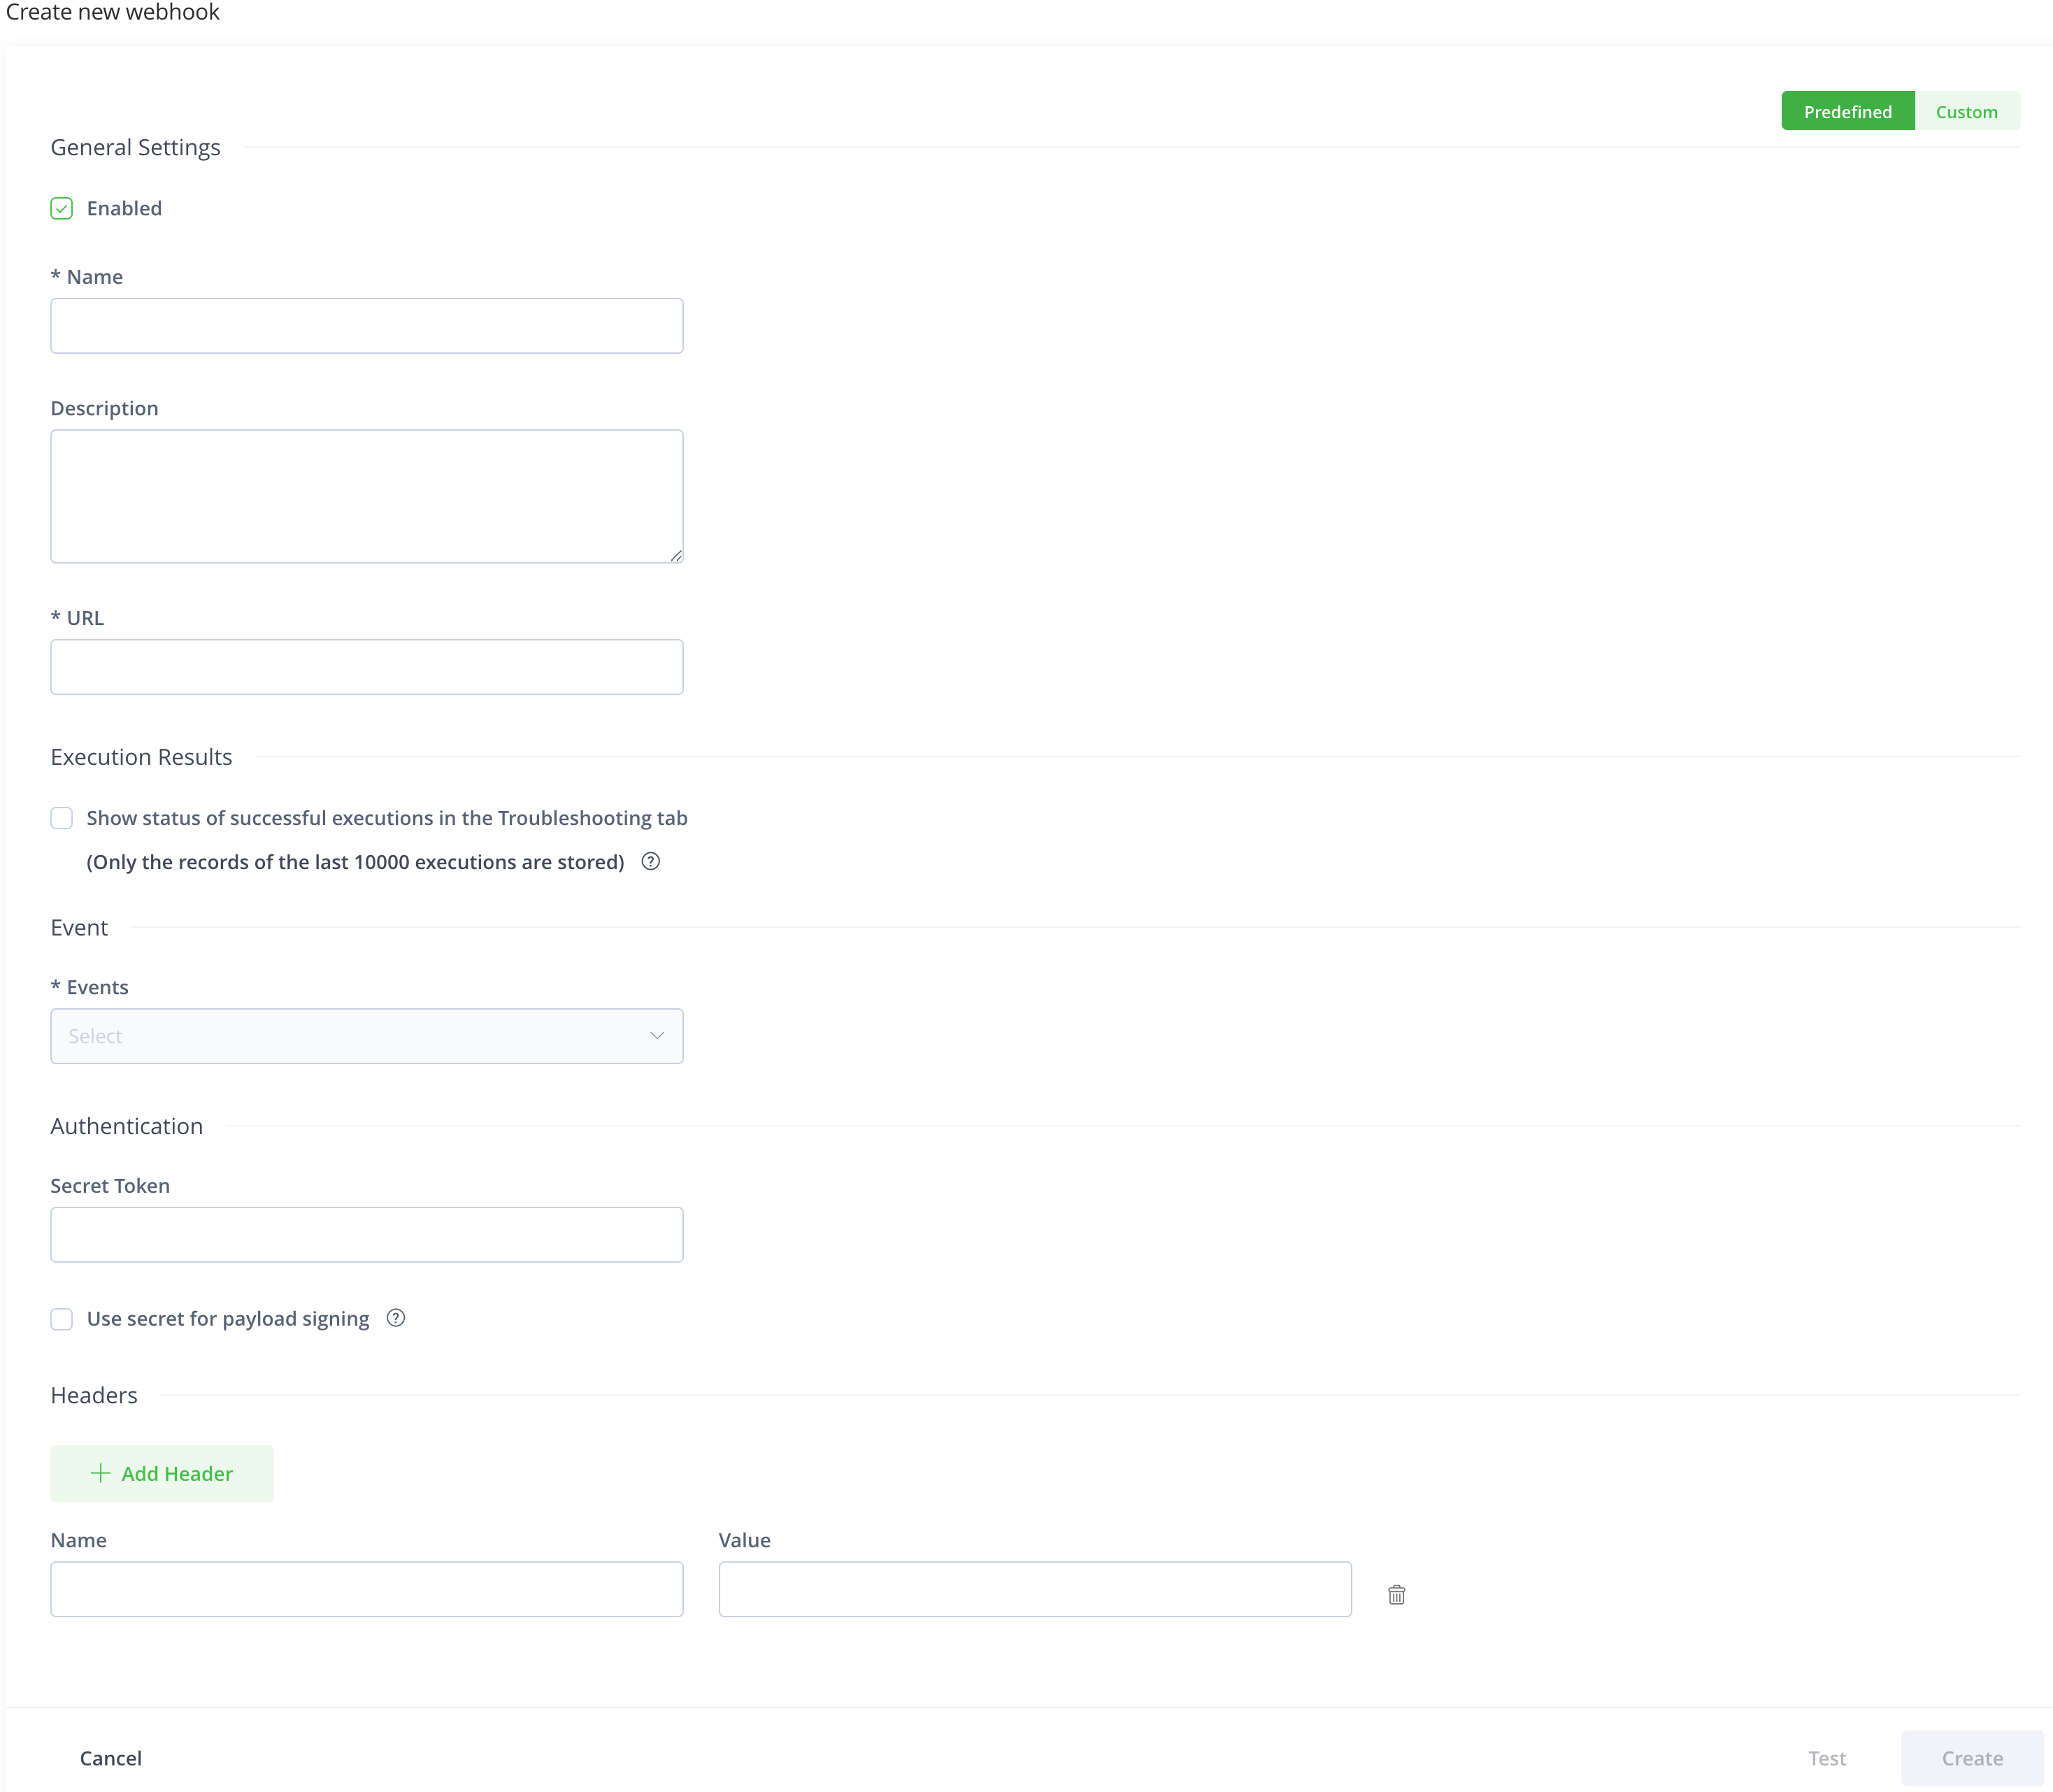
Ensure that the Predefined toggle is selected.
-
Enter the name and description of the webhook.
-
Enter the URL that the webhook invokes.
Artifactory sends an HTTP POST request to this URL.
-
Select a proxy server from the list of configured proxy servers in the Use Proxy dropdown if you want to send the webhook through a proxy.
Applicable only for a self-hosted JFrog Platform installation
-
Select whether to show the results of the successful execution of the webhooks in the Troubleshooting tab.
Note
JFrog Cloud: Applicable only if Webhooks troubleshooting is available in your JFrog Cloud instance.
JFrog Self-hosted: Applicable only if you configured Webhooks Troubleshooting.
-
Select the event or events that should trigger the webhook from the drop-down list: hover over the resource type to see the available events, and select the checkbox for events you want to include.
Note
For a webhook associated with a specific project, event types are limited to those for Artifacts, Docker, Artifact Properties, and Builds.
-
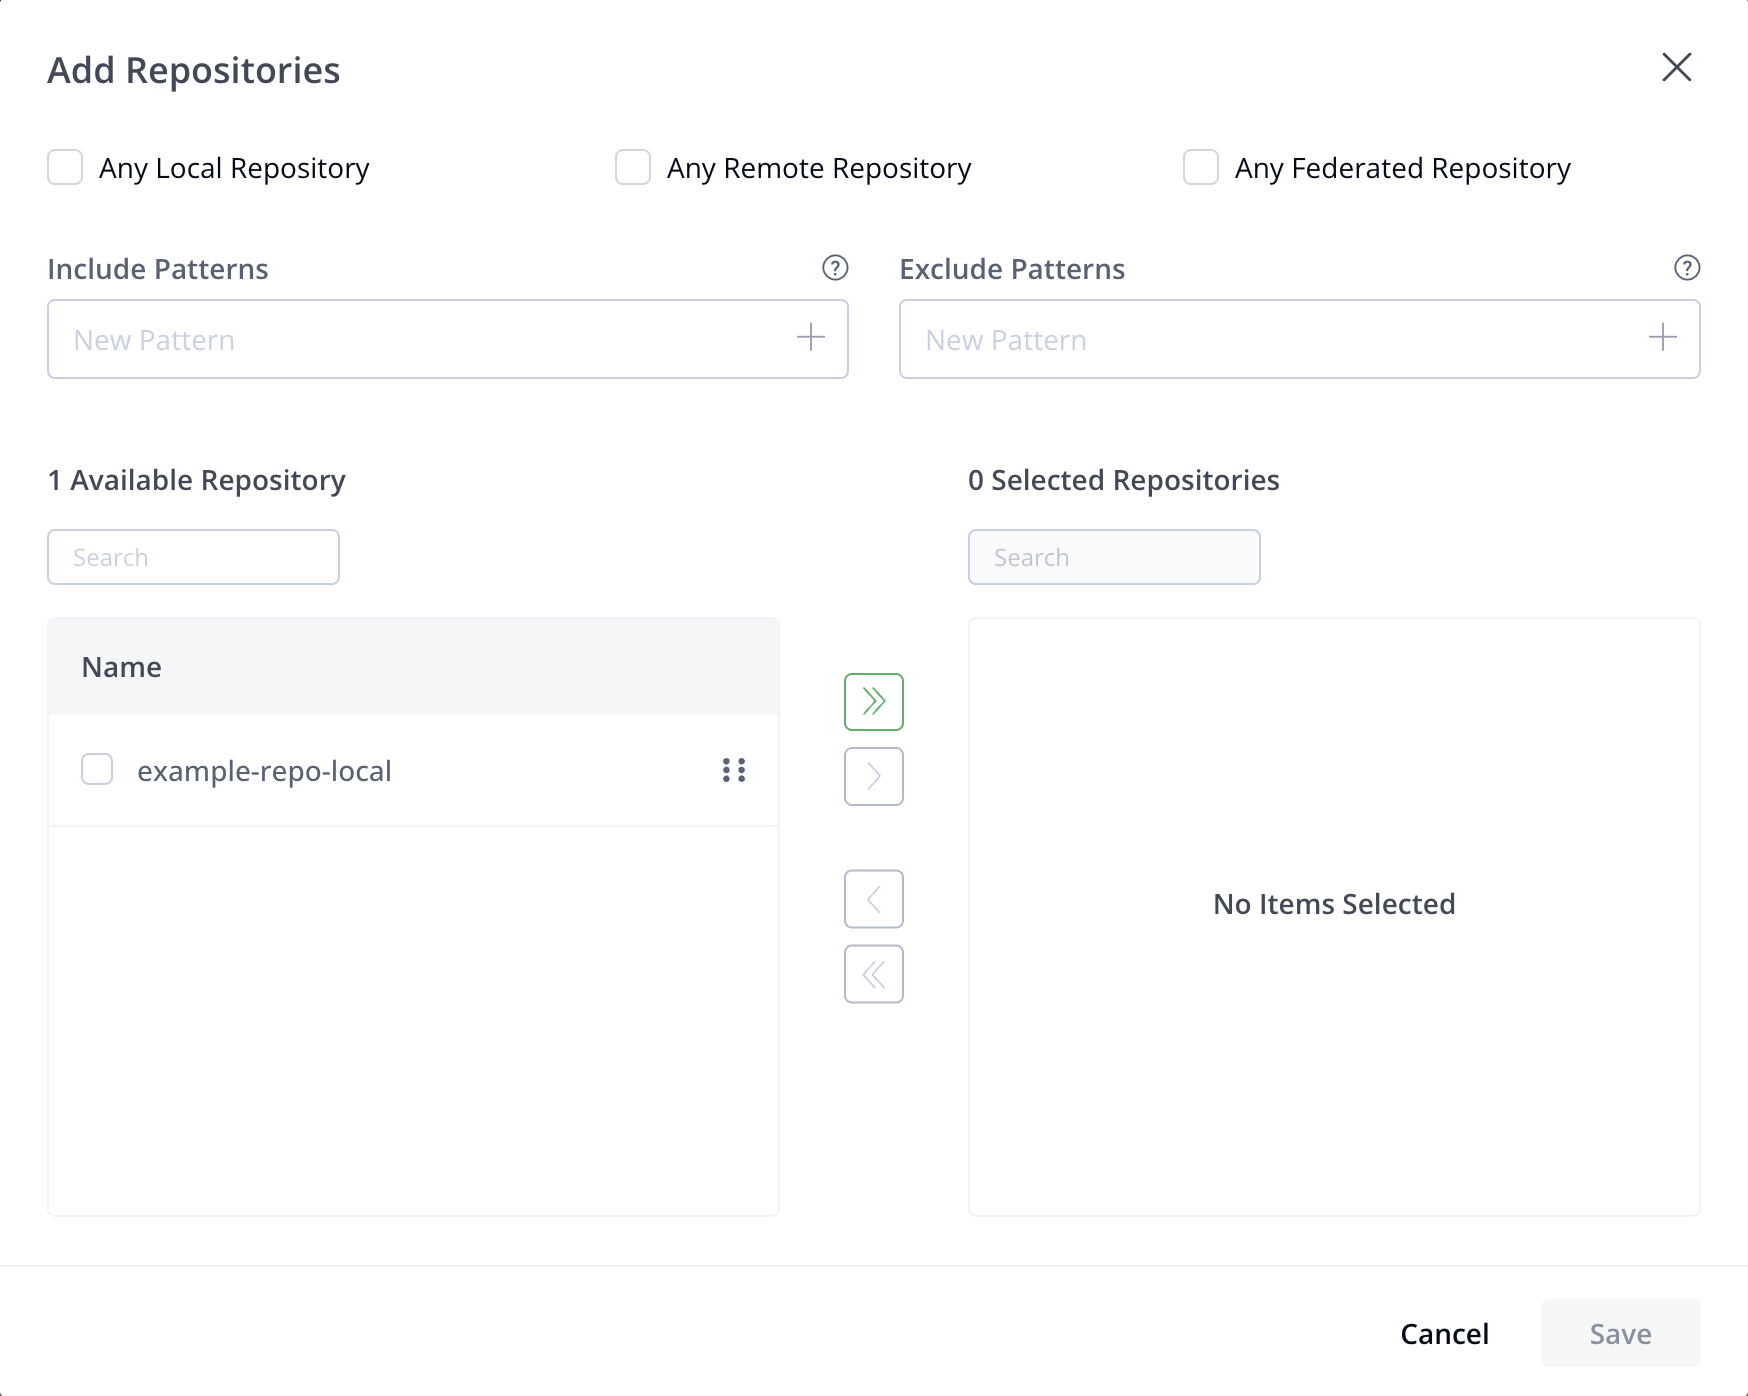
Select resources that the webhook will work on in the dialog window, and click Save. For example:
-
For Artifacts, you can apply events such as
Artifact was deployed,moved, andaddedto artifacts in any repository or in a list of repositories, by selecting manually or by using an include/exclude pattern.
Note
If you select any local and/or remote repository, the webhook is applied on all existing repositories and any repositories you create in the future.
-
For builds, you can apply events such as
build was deployed,promoted, anddeletedto every new build that is uploaded to Artifactory or to a list of builds, by selecting manually or by using an include/exclude pattern.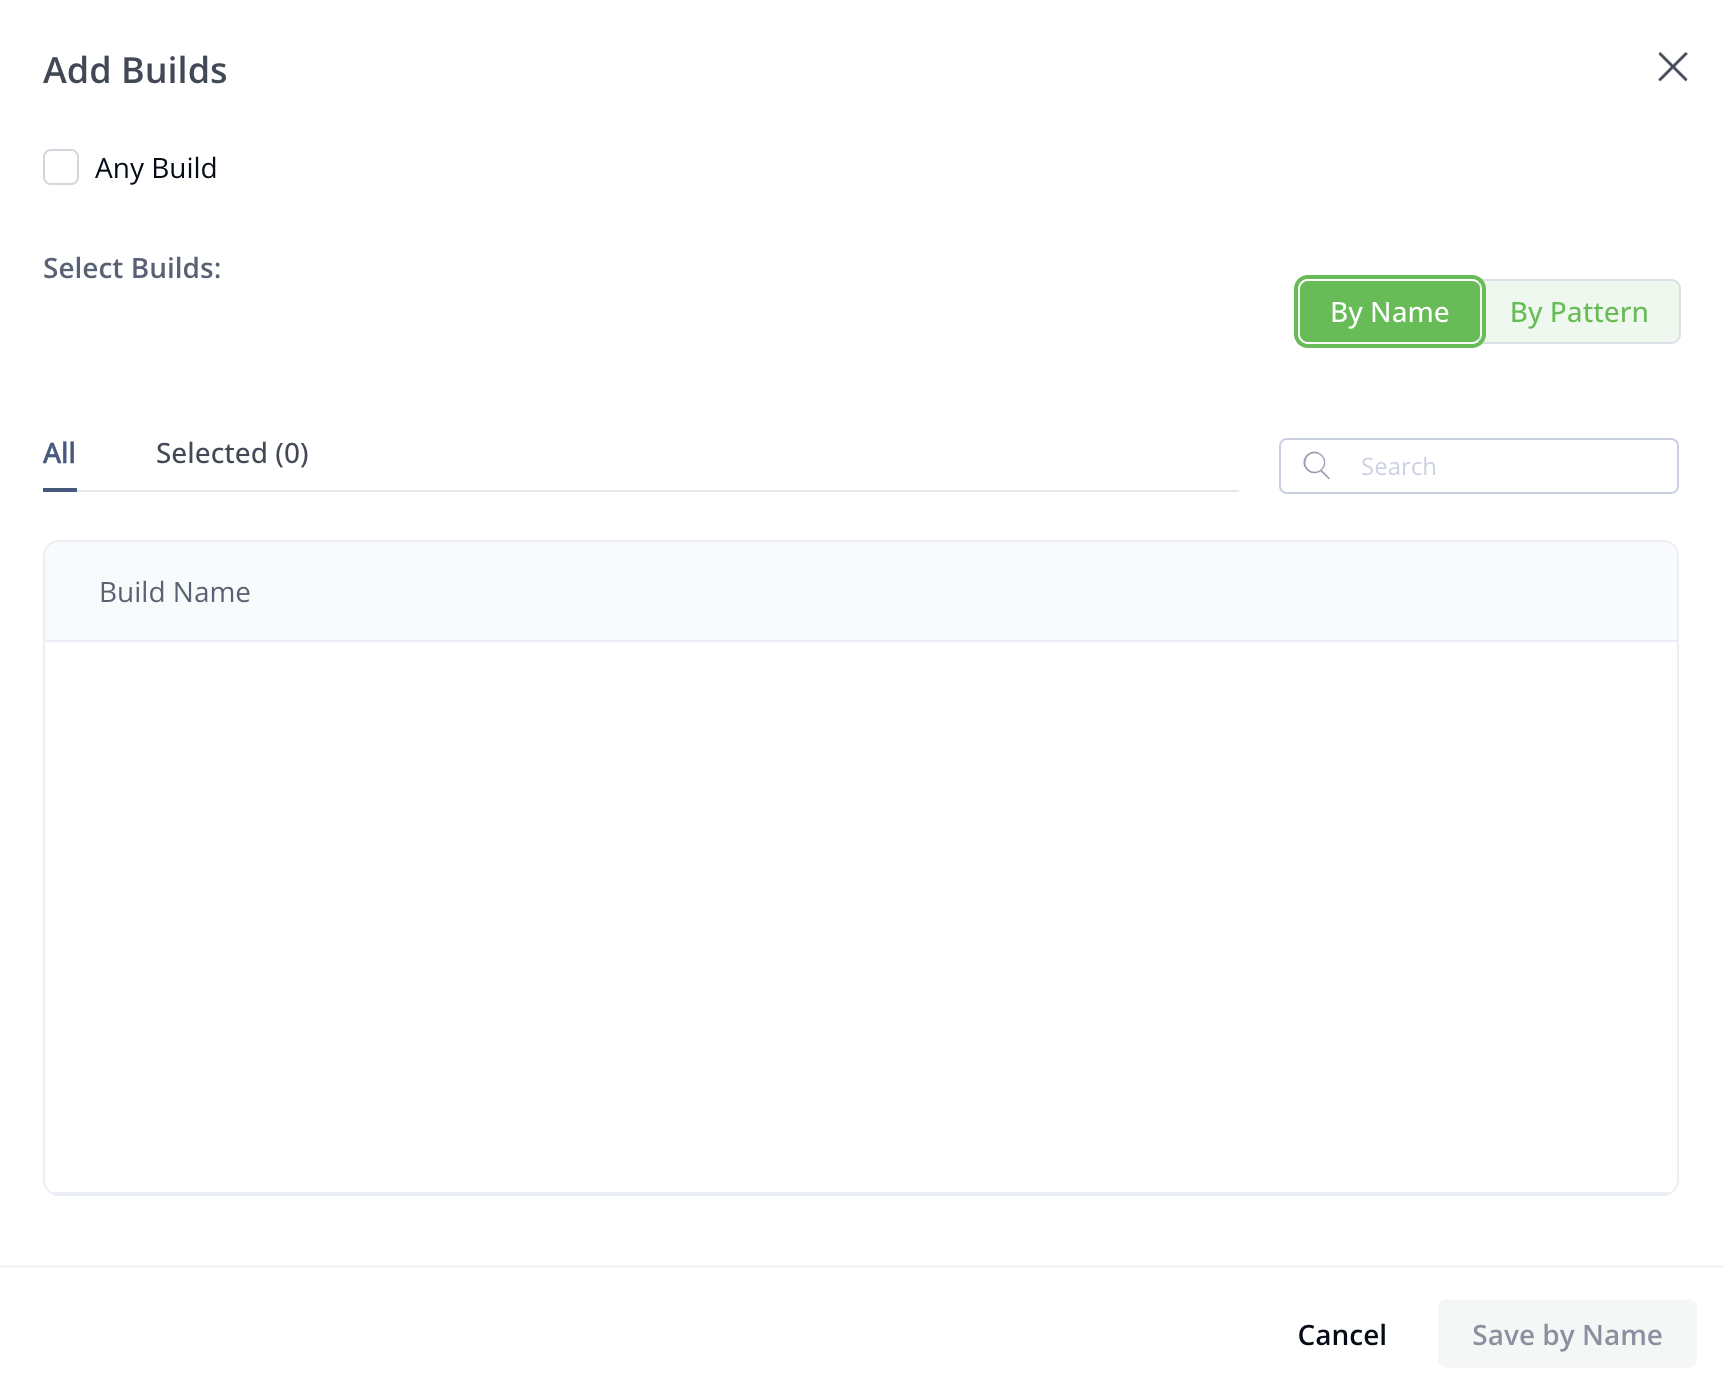
-
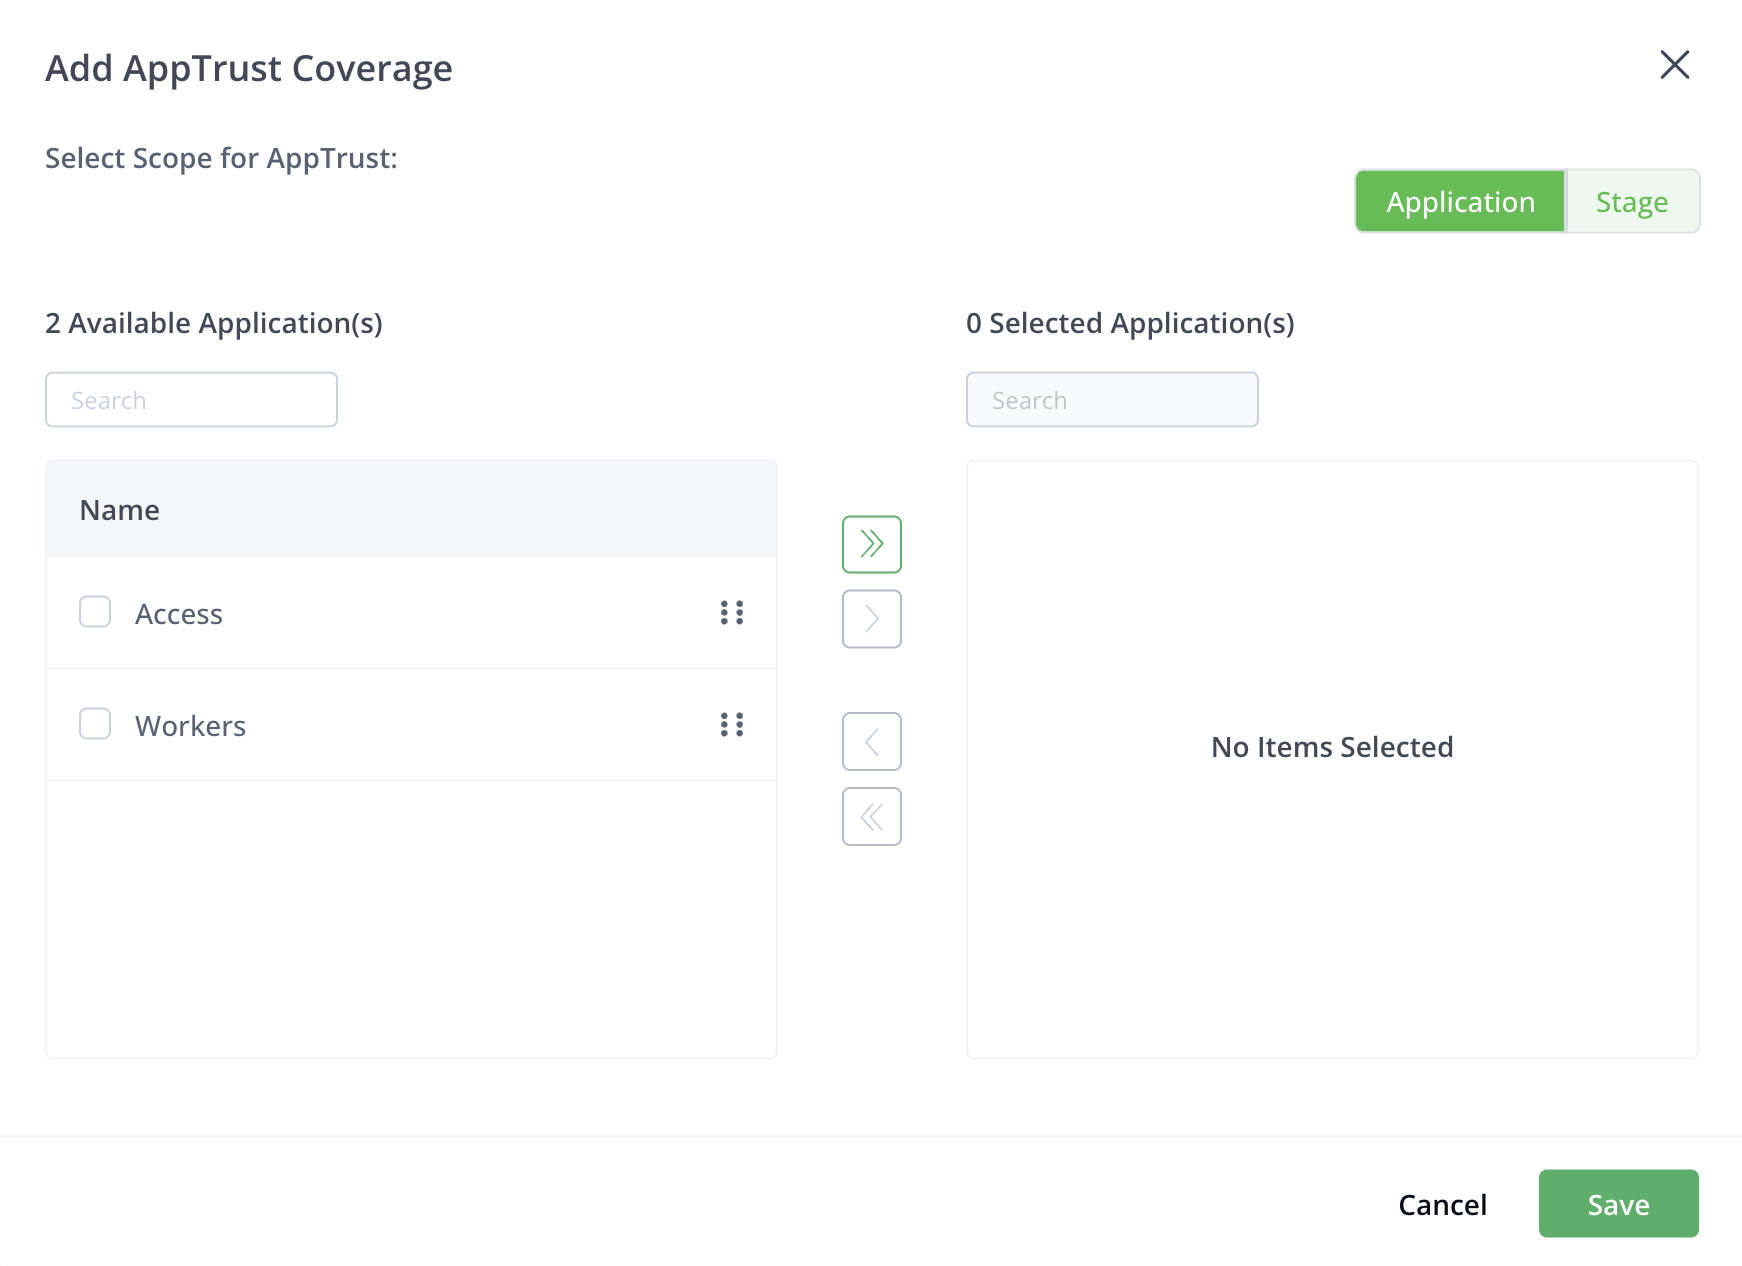
For AppTrust, you can apply entry/ exit gate, release, version, and application events to specific applications or stages.
-
-
(Optional) Add secrets to the webhook: these define a set of sensitive values (such as tokens and passwords) that can be injected into the headers and/or payload. The values of the secrets are encrypted.
Invoke the value In the header/payload using the
{{.secrets.token}}format, wheretokenis the name provided for the secret value. -
(Optional) Enter the secret token to authenticate the event with the target service. The secret token is used to sign the event payload, allowing the target service to validate that the payload content has not been changed and is not passed as part of the event. If not selected, the secret is passed through the
X-JFrog-Event-AuthHTTP header.
Verify Webhook Payload
To verify the webhook payload, run the following command.
echo -n '<actual payload>' | openssl sha256 -hmac "<secret>"For a valid payload, the result must be the same on both sides.
- Add HTTP headers you wish to use to invoke the webhook. Click Add Header to add more than one header.
- Click Test to test the configuration: this sends a fake HTTP request to the target URL and verifies that the webhook is working fine.
- Click Create to save the webhook configuration.
Note
By default, private networks are not allowed to be used as Webhook targets for security reasons. If you would like to allow use of a private network, change the URL strict policy configuration in the
system.yamlfile:urlStrictPolicy: true. See Artifactory System YAML.
Updated 5 months ago