JIRA Cloud and JFrog Artifactory Integration
This integration creates an automated connection that delivers your JFrog Artifactory repository build information directly to your JIRA issues. JFrog Artifactory supports build integrations whether you are running builds on one of the common CI servers in use today, on cloud-based CI servers, or standalone without a CI server.
Integration of Artifactory into your build ecosystem provides important information that supports fully reproducible builds through visibility of artifacts deployed, dependencies and information on the build environment.
With this feature, your team gets immediate feedback for continuous improvement that helps fulfill CI/CD needs and helps support a "shift left" strategy that allows developers to respond to problems as soon as they are known.
How it Works
This integration allows you the ability to see what JIRA issues went into a build (and eventually a release) to enhance the traceability information provided inside Artifactory.
With this, your development team gets more visibility to see what build is associated with a specific feature, and exposes in JIRA where a specific issue is inside the release process by providing the promotion status of the build.
All of this together provides critical traceability of an artifact to the build that generated that artifact, and the information needed to reproduce that build.
Configuration Overview
For instructions on how to set up this integration, see Artifactory Cloud instance to JIRA Cloud Configuration Overview.
Support
If you need help with this integration, contact [email protected].
Artifactory Cloud instance to JIRA Cloud Configuration Overview
This topic reviews how to integrate Jira Cloud with Artifactory Cloud.
- For a list of limitations related to this integration, see JIRA Cloud Integration Limitations
- For Instructions on how to uninstall Jira Cloud integration, see How to Uninstall JIRA Cloud Integration
Prerequisites
- To use the integration with a self-hosted JFrog installation, the network port 8082 needs to be exposed to the external network. For more information, see [→System Requirements - Artifactory].
- Then when initializing the integration, include the network port in the Artifactory URL, for example, https://example.com:8082
Requirements
- You must be a user with Admin permissions to generate an API key or scoped token.
- Your organization has an instance of Artifactory. You can sign up for a free instance at: https://jfrog.com/start-free/
Configuration Overview
The following tasks are involved when working with the integration:
Task | Description | For more information, see... | |
|---|---|---|---|
1 | Connect your Artifactory cloud instance to Jira Cloud | Provides instructions on how to connect Artifactory cloud to Jira cloud. | |
2 | Upload a build | List options for uploading build information to Artifactory |
Connect your Artifactory Cloud instance to JIRA Cloud
You can watch the video or follow the steps.
-
Visit the Atlassian Marketplace and search for JFrog.
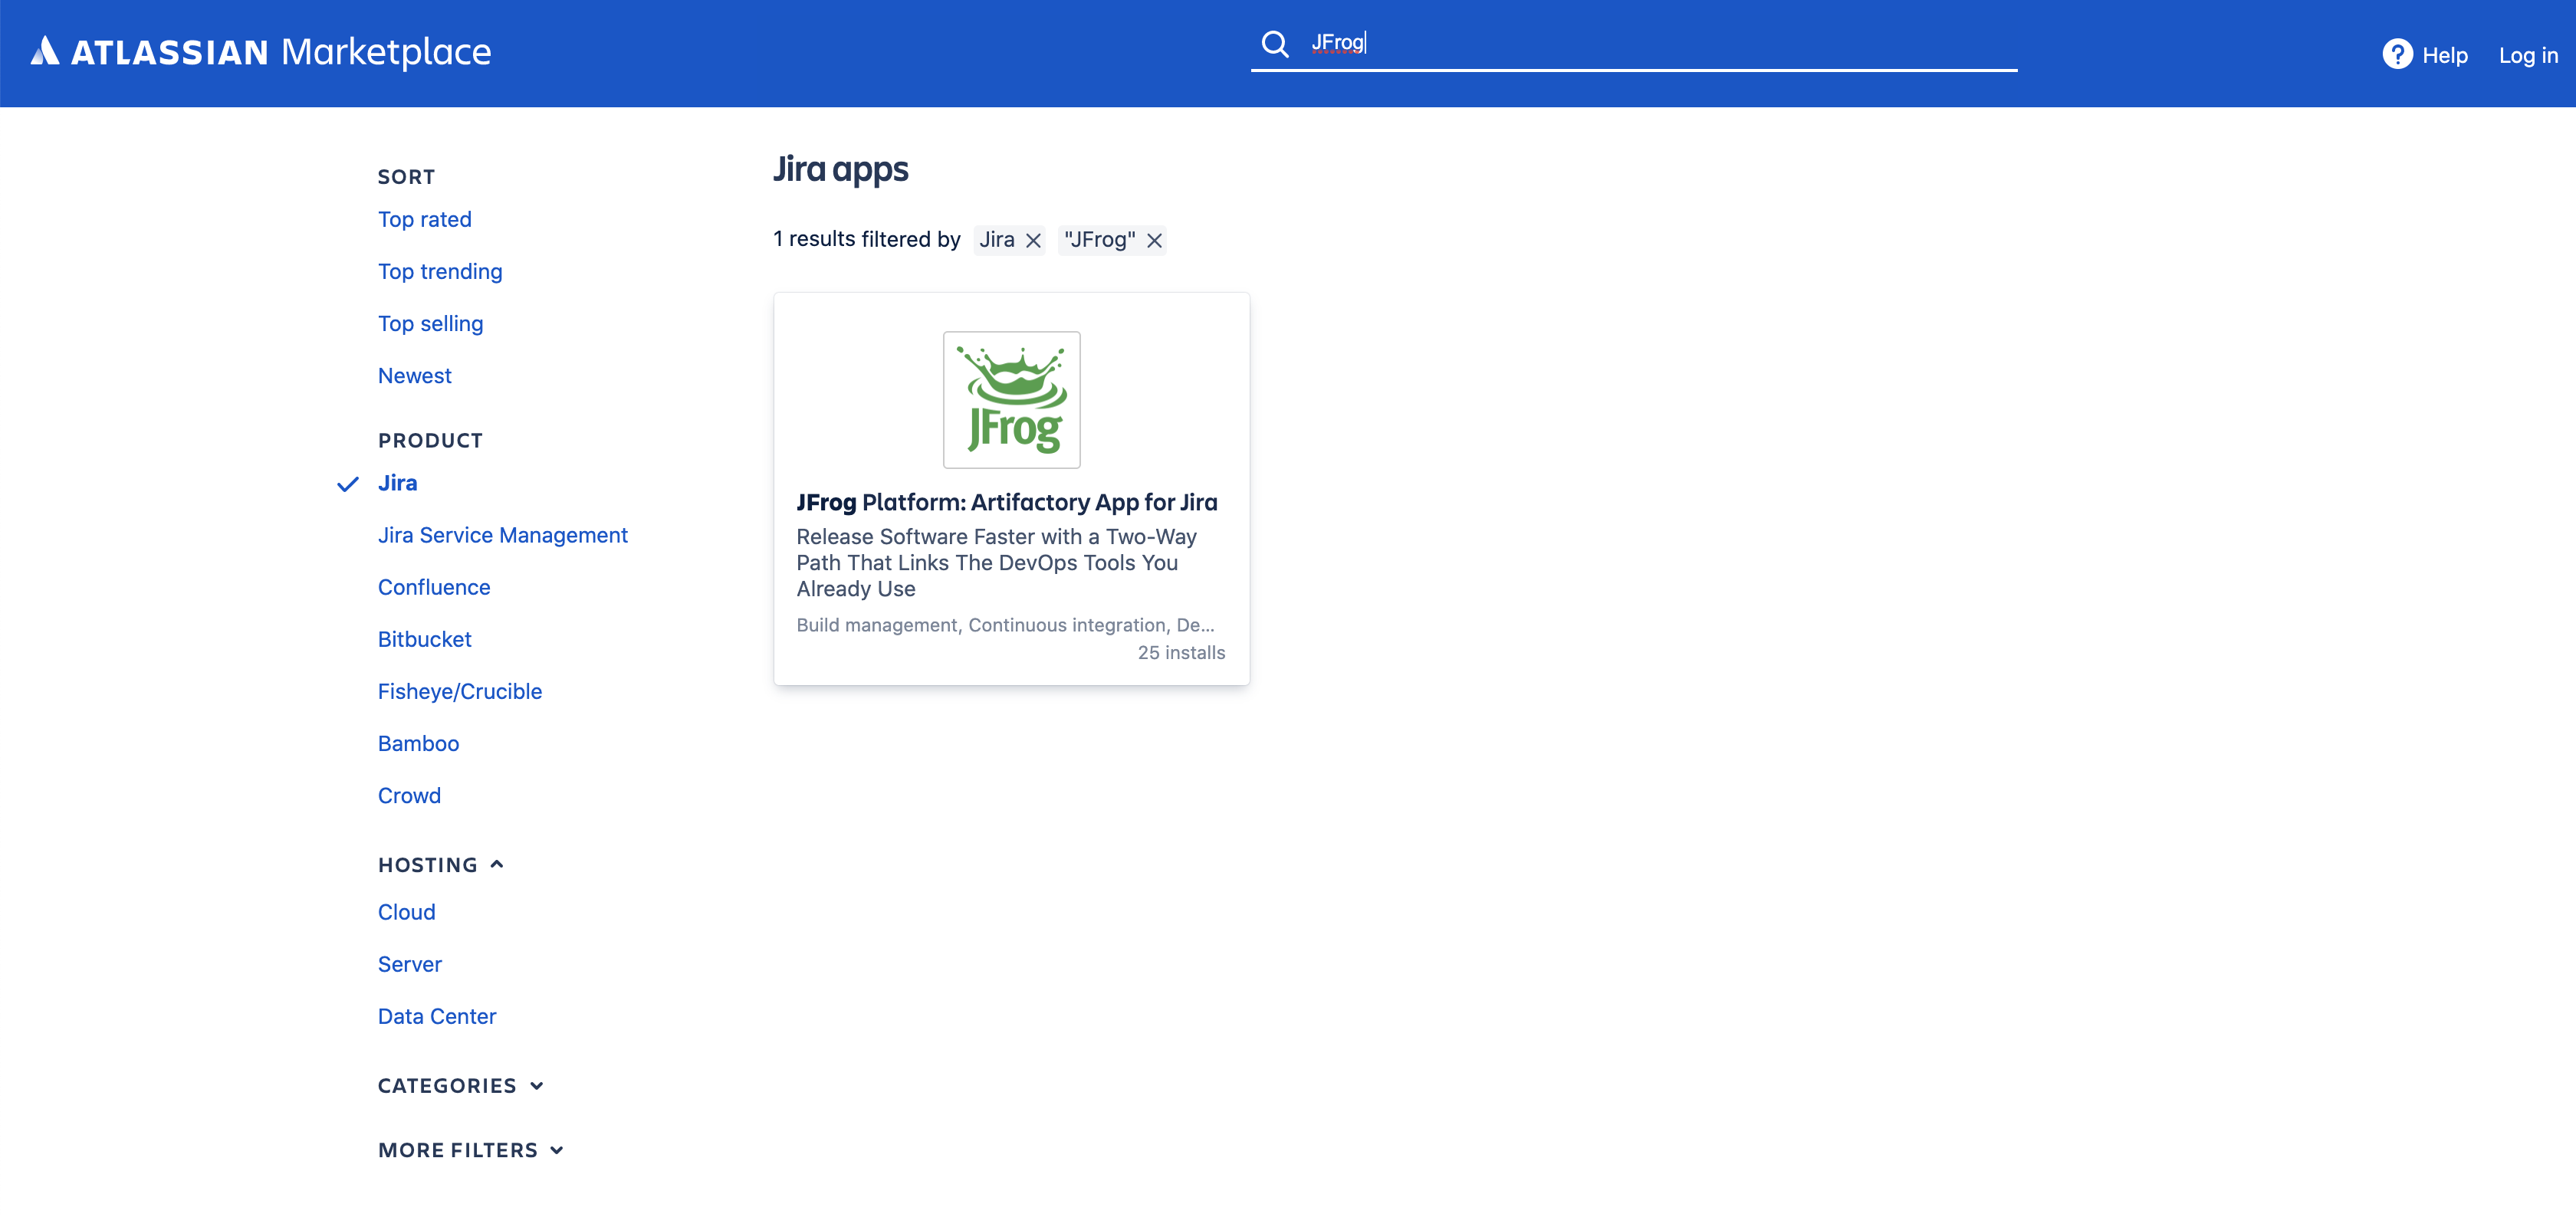
-
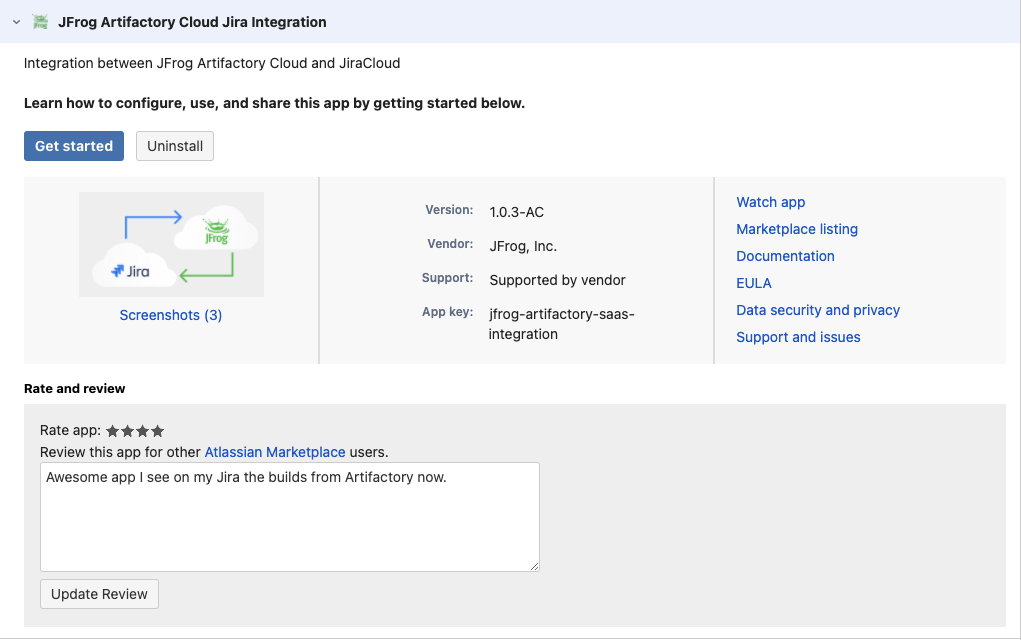
You should see the JFrog Platform: Artifactory App for Jira. Click on the icon on the top-right and hit the Get it now button.

The JFrog app installs into your JIRA instance.
-
Once installed, a pop-up appears on the top-right of your screen. Click on Get started.
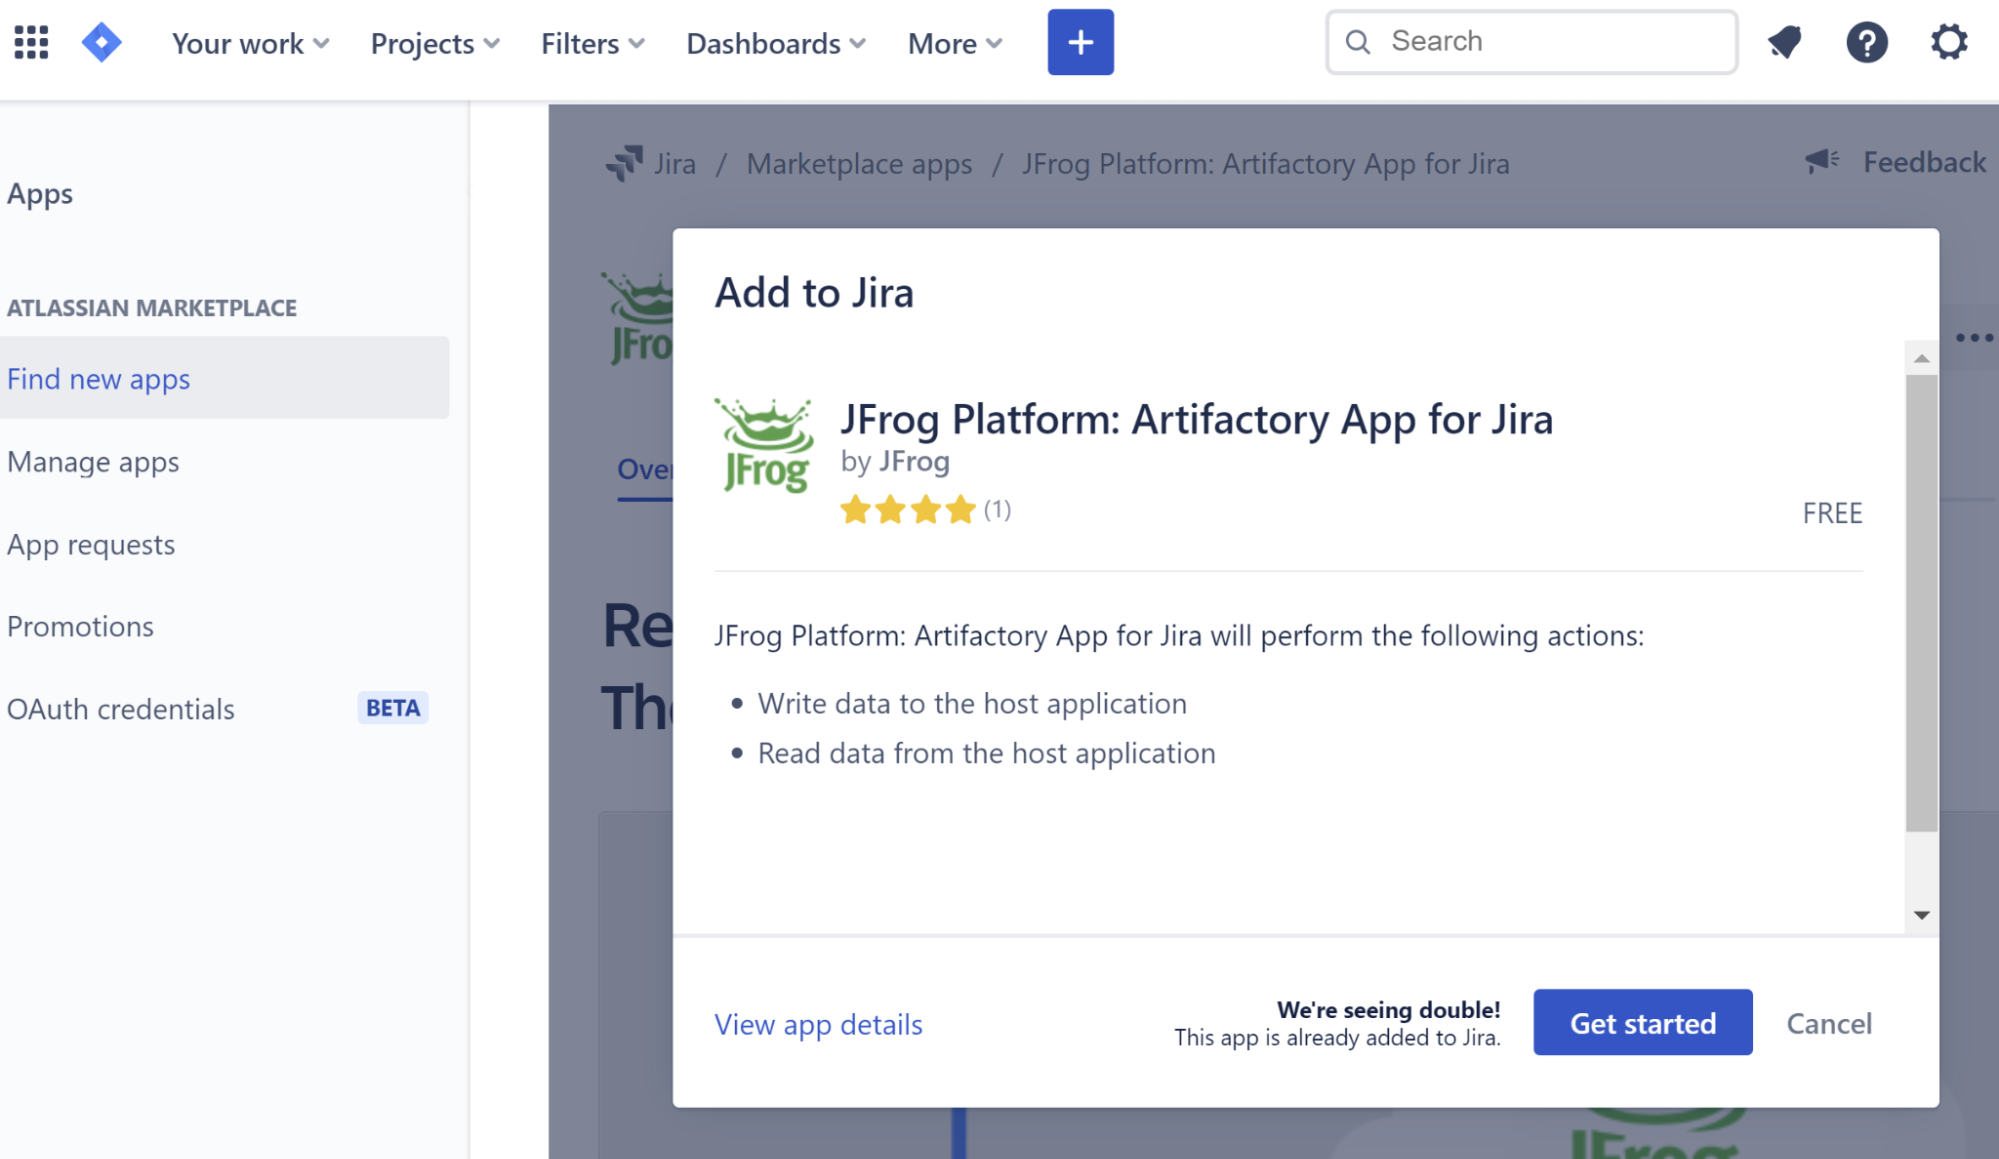
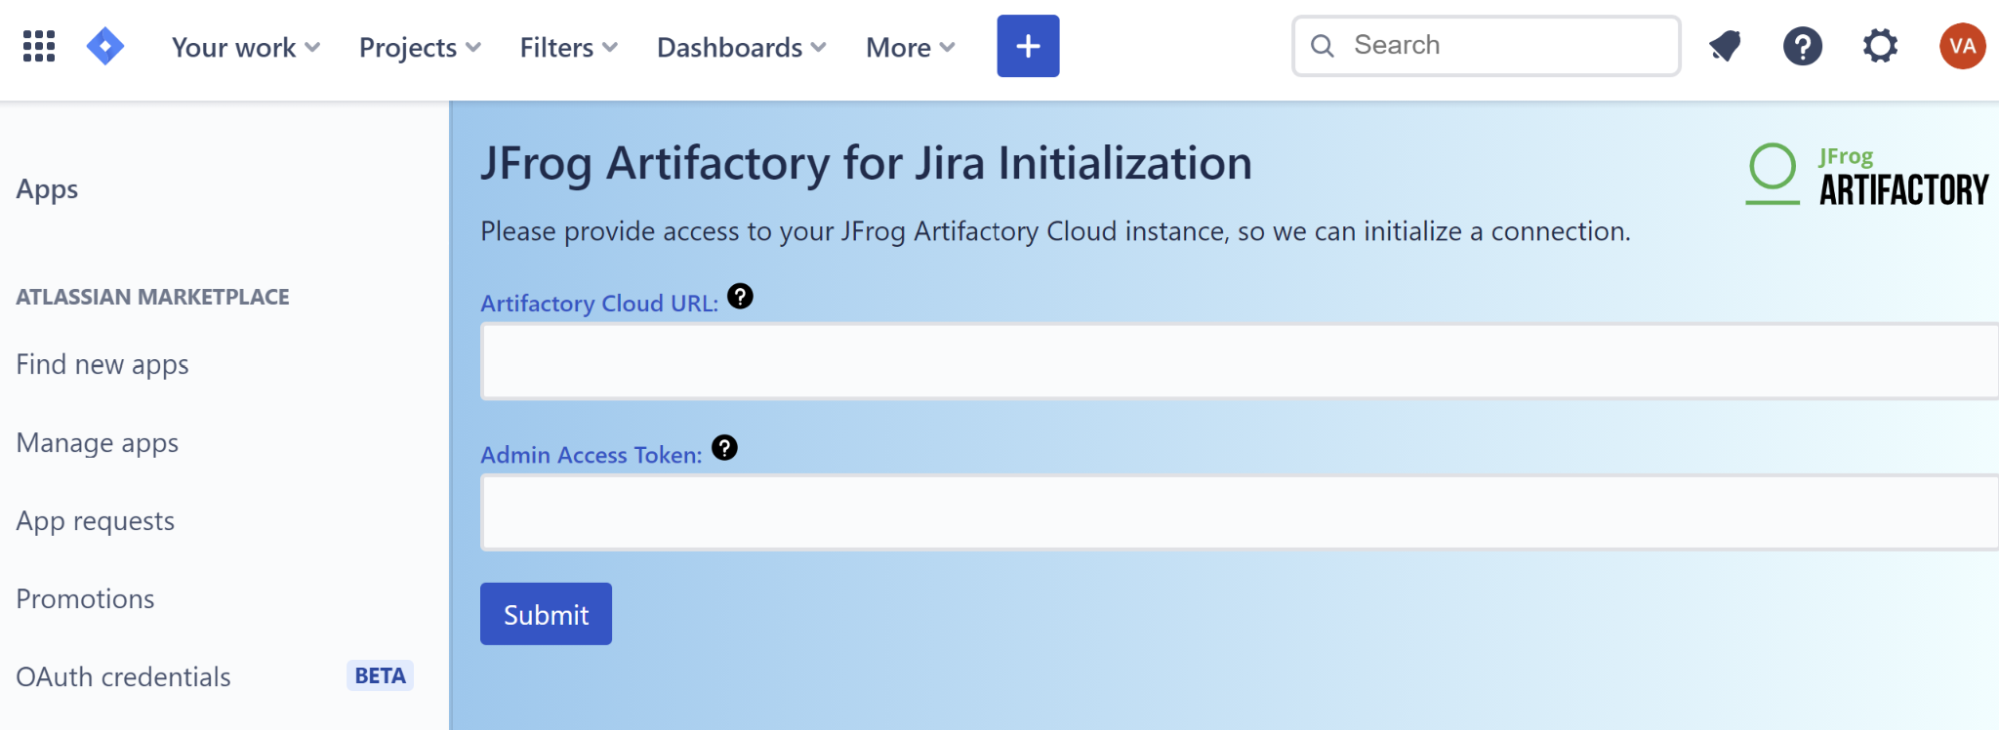
A prompt appears asking for your Artifactory Cloud URL and API Key.
-
Make sure you are logged into your Artifactory cloud instance. Copy the first part of the URL for your Artifactory Cloud instance and paste it into the JIRA Initialization screen for Artifactory Cloud URL.
-
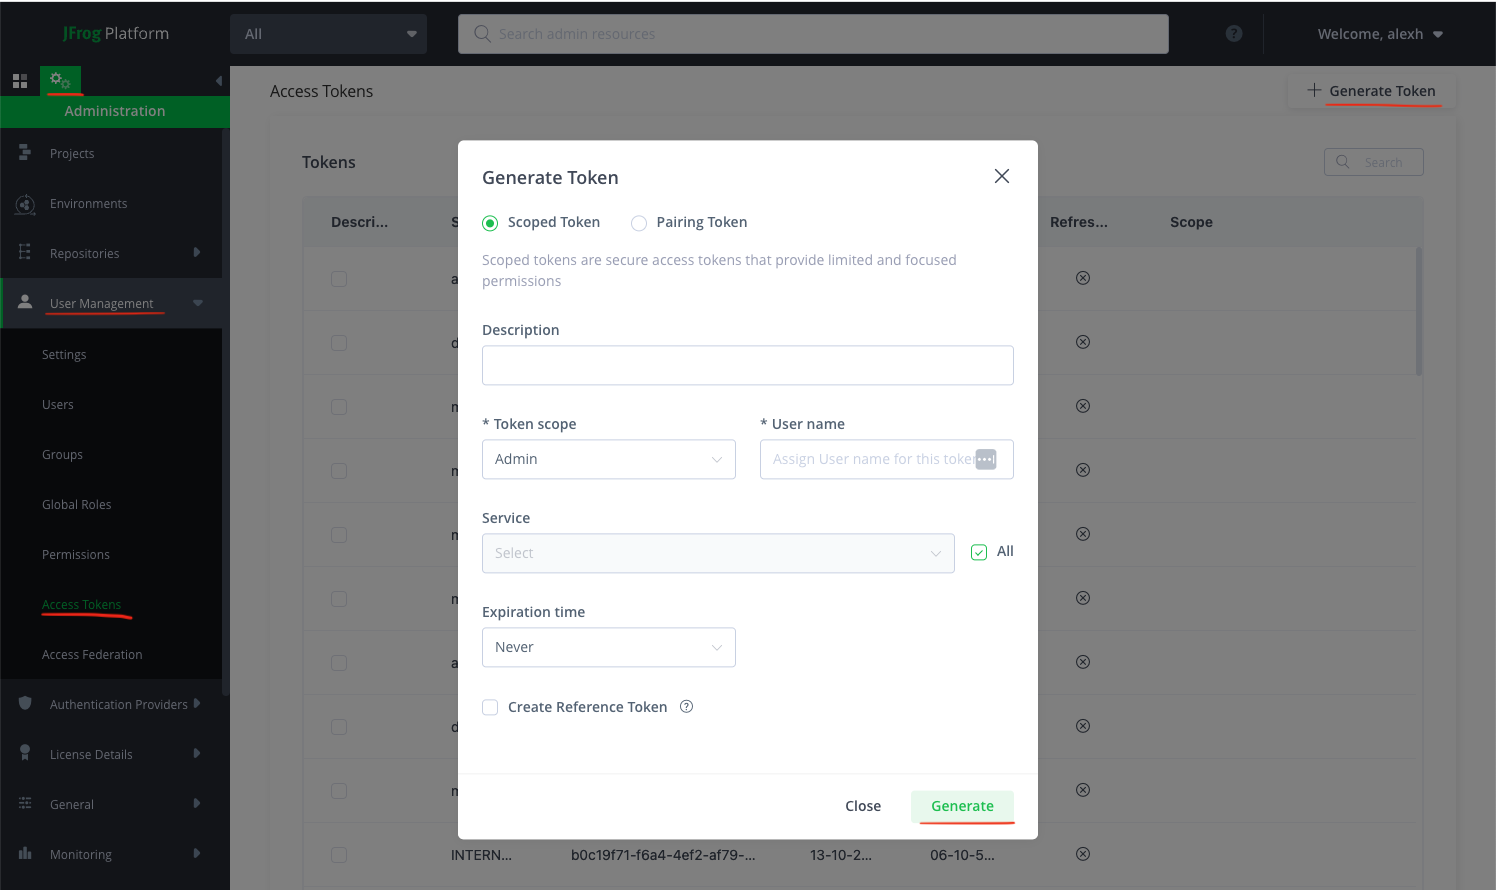
Create a scoped token. You'll need to have admin permissions
As an admin, log into your Artifactory SaaS instance, click on gear icon near top left, open User Management, click on Access Tokens. Click on Generate Token at top right, click Generate.
-
Copy the token into the JIRA Initialization screen and click Submit.
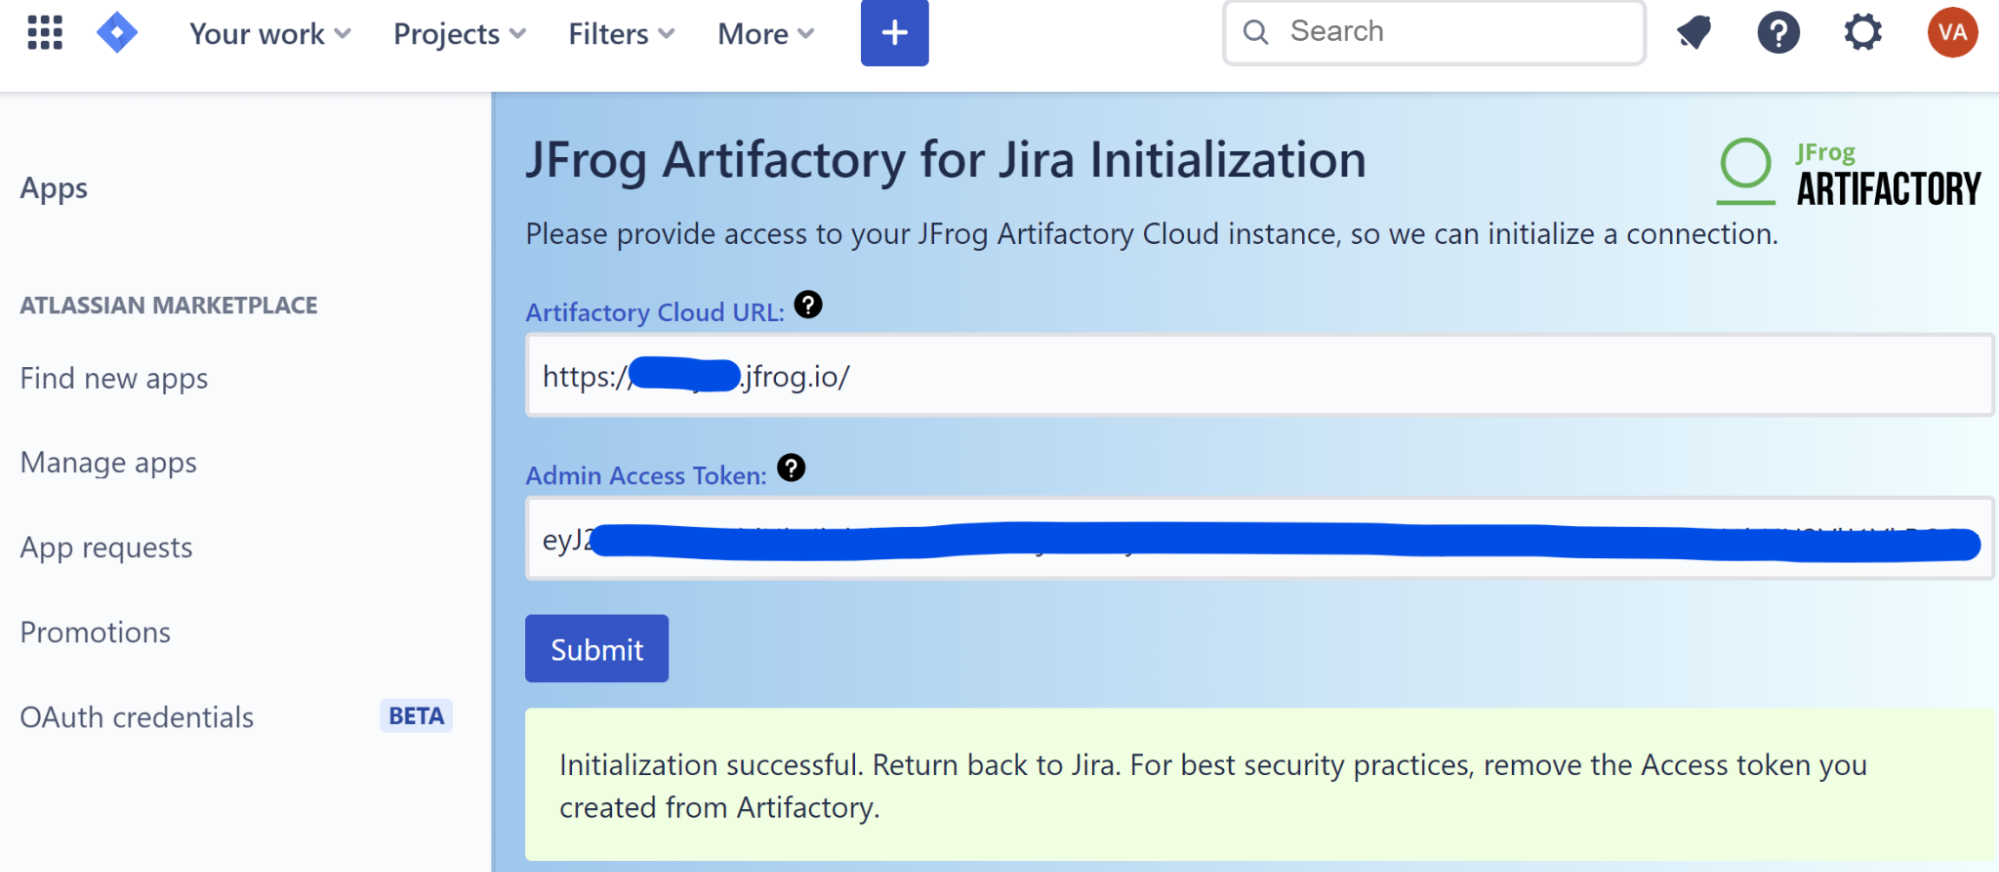
Once you get the notification that the initialization was successful, you can go back into your JIRA Cloud instance.
Upload a Build to Artifactory for JIRA Cloud Integration
There are two ways to upload a build information to Artifactory as part of the JIRA cloud integration.
Upload buildinfo.json file to Artifactory
To add build information to Artifactory, manually uploading a buildinfo.json to your Artiactory Cloud instance.
In this example, the important thing to note is the issues and then affectedIssues keys in your json file. This is how this information will be associated to your issue in JIRA.
Next, upload the buildinfo.json to Artifactory and inside your JFrog Platform instance, you can navigate to Builds and you should see the build information you just uploaded.
Now, navigate to the Issues tab and you will see a direct link to your JIRA Cloud issue.
You'll now notice that issue has been updated.
Send API Request to your Artifactory Instance
You can also add the build information to Artifactory by making a request to the build upload API.
For example:
curl -L -X PUT 'https://<your artifactory hostname>/artifactory/api/build' -H 'Content-Type: application/json' -H 'Authorization: Bearer <your auth token>' -d '{
    "version": "1.0",
    "name": "build-test",
    "number": "1",
    "started": "2023-06-15T16:24:42.116+0300",
    "modules": [
        {
            "id": "org.jfrog.test:multi:2.36-2-SNAPSHOT",
            "artifacts": [
                {
                    "type": "pom",
                    "sha1": "a1ab9222c219ec885ce4374b77cc4bd93485c6c8",
                    "md5": "495a5e916f0e308a8ed4fc170e4d9136",
                    "name": "multi-2.36-2-SNAPSHOT.pom"
                }
            ]
        }
    ],
    "issues": {
        "tracker": {
            "name": "JIRA",
            "version": "6.0.1"
        },
        "aggregateBuildIssues": false,
        "aggregationBuildStatus": "Released",
        "affectedIssues": [
            {
                "key": "JT-5",
                "url": "https://jiracloud-connector-test.atlassian.net/browse/JT-5",
                "summary": "Dev testing",
                "aggregated": false
            }
        ]
    }
}'
How to Uninstall JIRA Cloud Integration
To uninstall, use the Uninstall button in Manage apps in JIRA Cloud.
JIRA Cloud Integration Limitations
JIRA issue accepts only whole number as build number (e.g. 1, 2, 999, etc.). Therefore, common build/release versioning schemes such as SemVer (1.2.3), date-based (2023.06.28.999), or even empty text will not be accepted by JIRA.
If your build numbering scheme falls into these categories, please be aware that this integration will not function as intended.
Workaround for JIRA Cloud Integration Limitation
One possible workaround will be to use the build/release version as build name and the least significant part of the version as build number.
For example for SemVer:
- build name = 1.2.3
- build number = 3
For date-based version:
- build name = 2023.6.28.999
- build number = 999