Onboarding Wizard
Complete post-install setup via onboarding wizard: reset admin password, activate license, set base URL, configure repositories.
The JFrog Platform onboarding wizard launches automatically on first login and guides you through the minimum configuration required to start using the platform: admin password reset, license activation, base URL, optional proxy, and default repository selection. The wizard adapts to your deployment — for example, if JFrog Xray is installed, an additional step prompts you to select repositories for indexing.
If you add a new service to an existing JFrog Platform installation, the wizard reappears to guide you through configuring that service. The wizard does not re-launch after the first login is complete; use the Administration module for subsequent changes.
Prerequisites
The onboarding wizard is available in all JFrog Platform self-managed installations. Before you begin, verify the following.
- JFrog Platform installed and running: The onboarding wizard launches on first login. Verify the platform service is up before proceeding.
- Default admin credentials: The default login is username
admin, passwordpassword. You will reset this in step 2. - License key or bucket credentials: Have your JFrog license key ready to paste, or your license bucket name, key, and signed URL (for Enterprise+ installations with JFrog Mission Control).
Complete the Onboarding Wizard
After your first login, the JFrog Platform guides you through a short onboarding wizard to confirm you have the minimum required parameters. Click Get Started to begin.
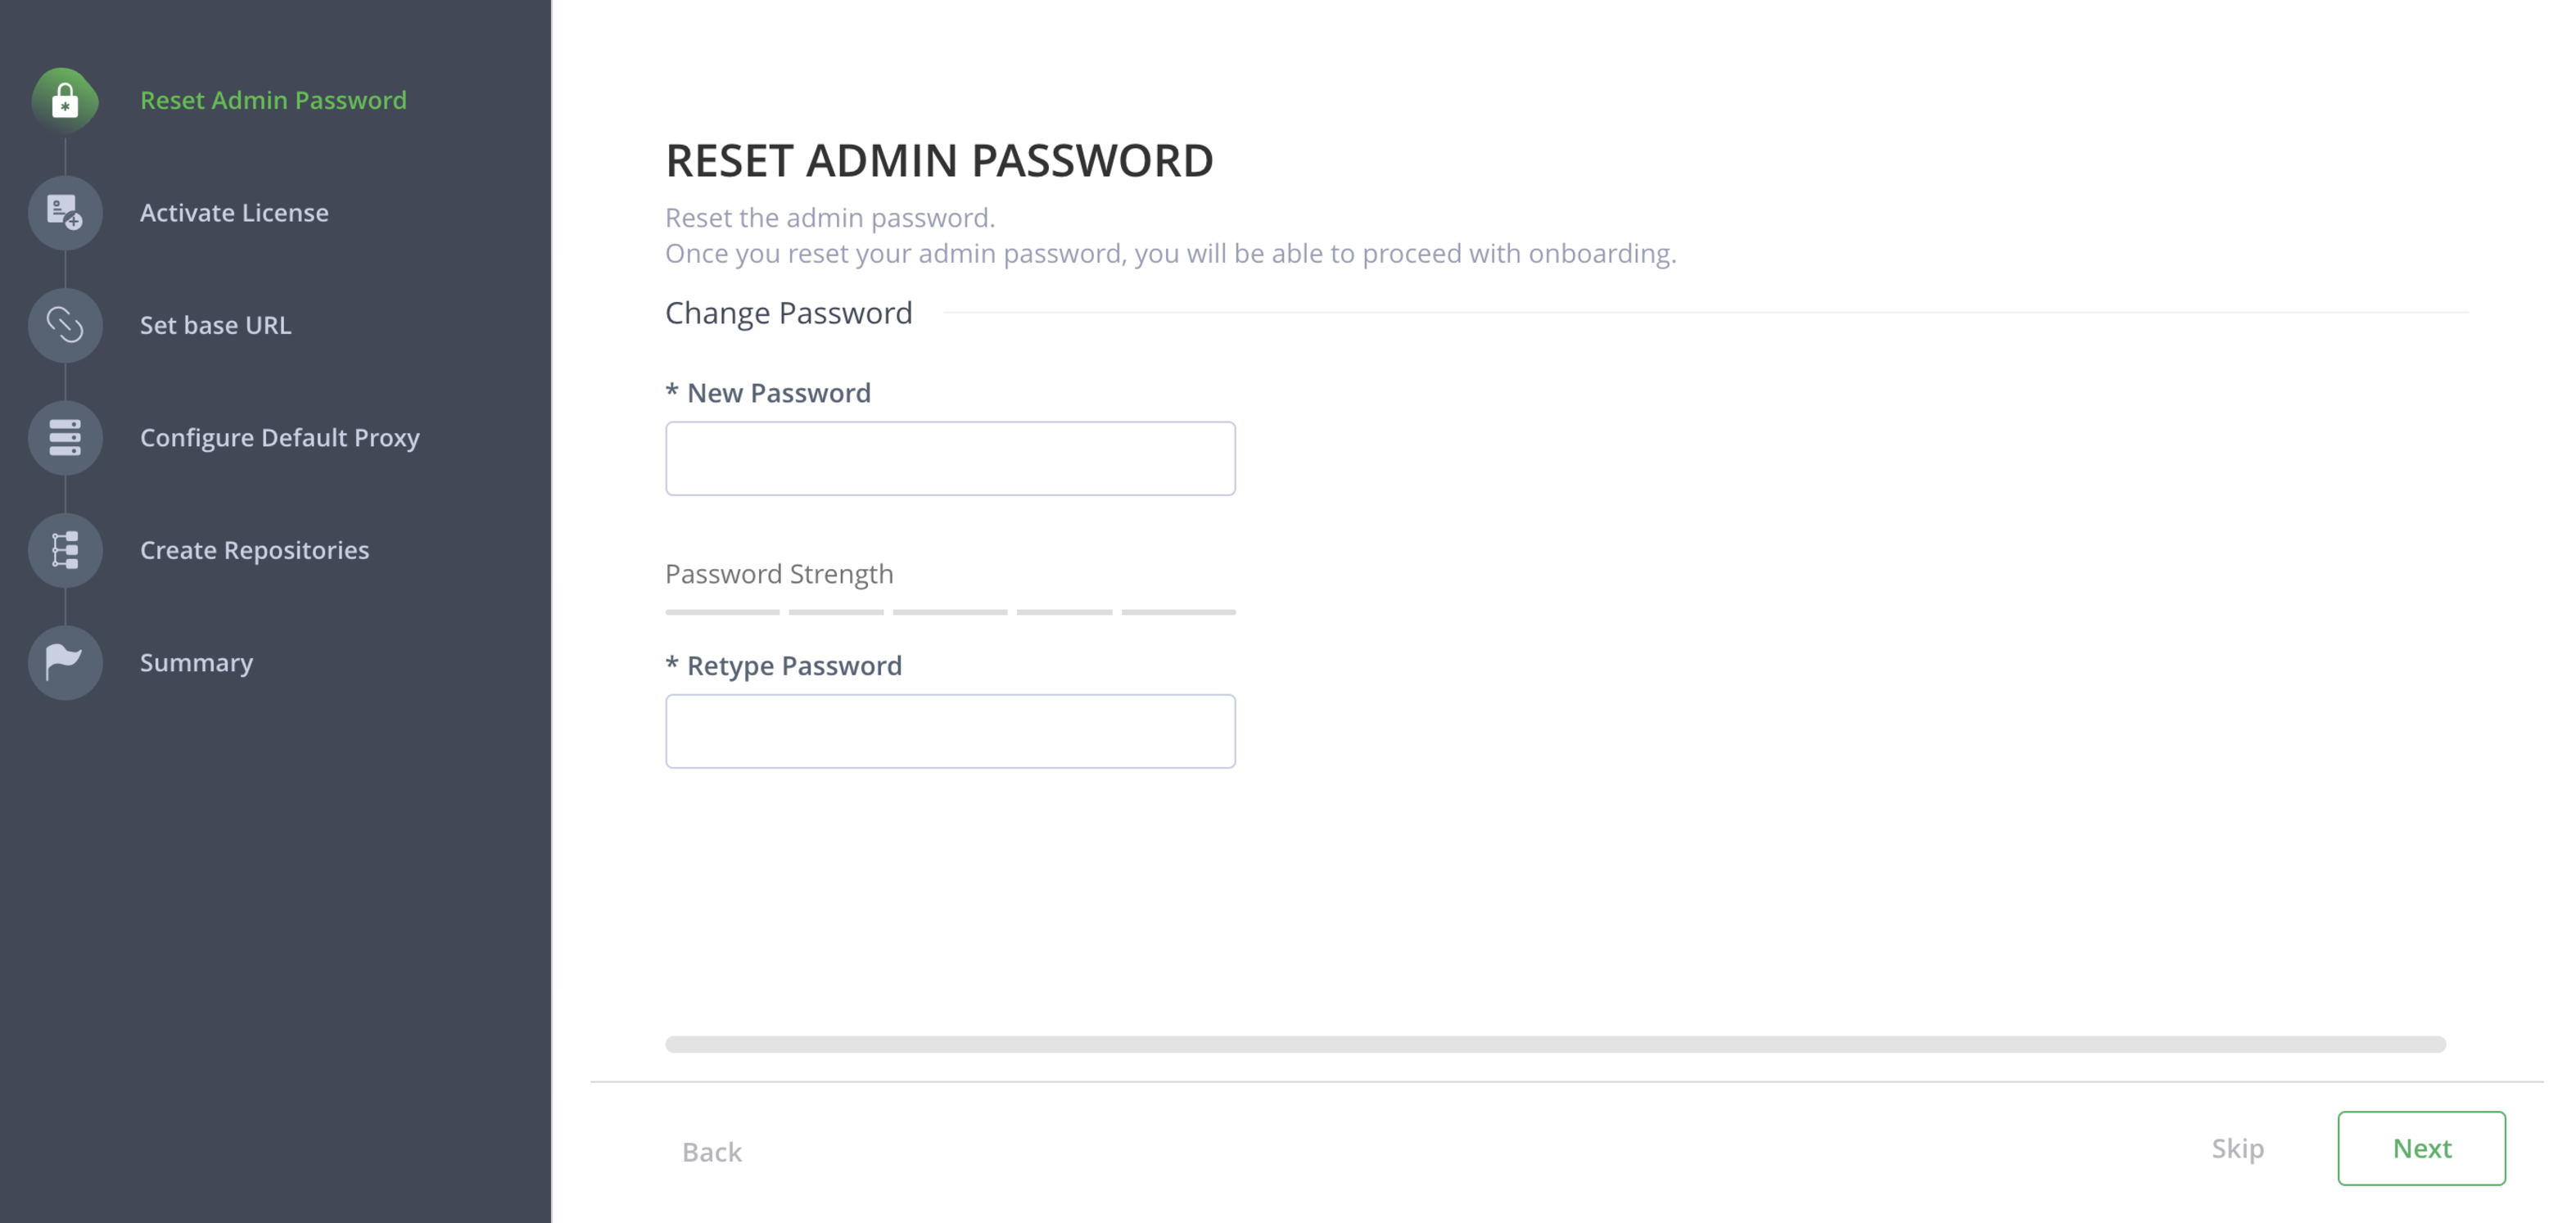
When the JFrog Platform is installed, it creates a default user with admin privileges. Reset the admin password by entering a new password. Use a password of at least eight characters that includes uppercase, lowercase, and a number. Click Next to continue.
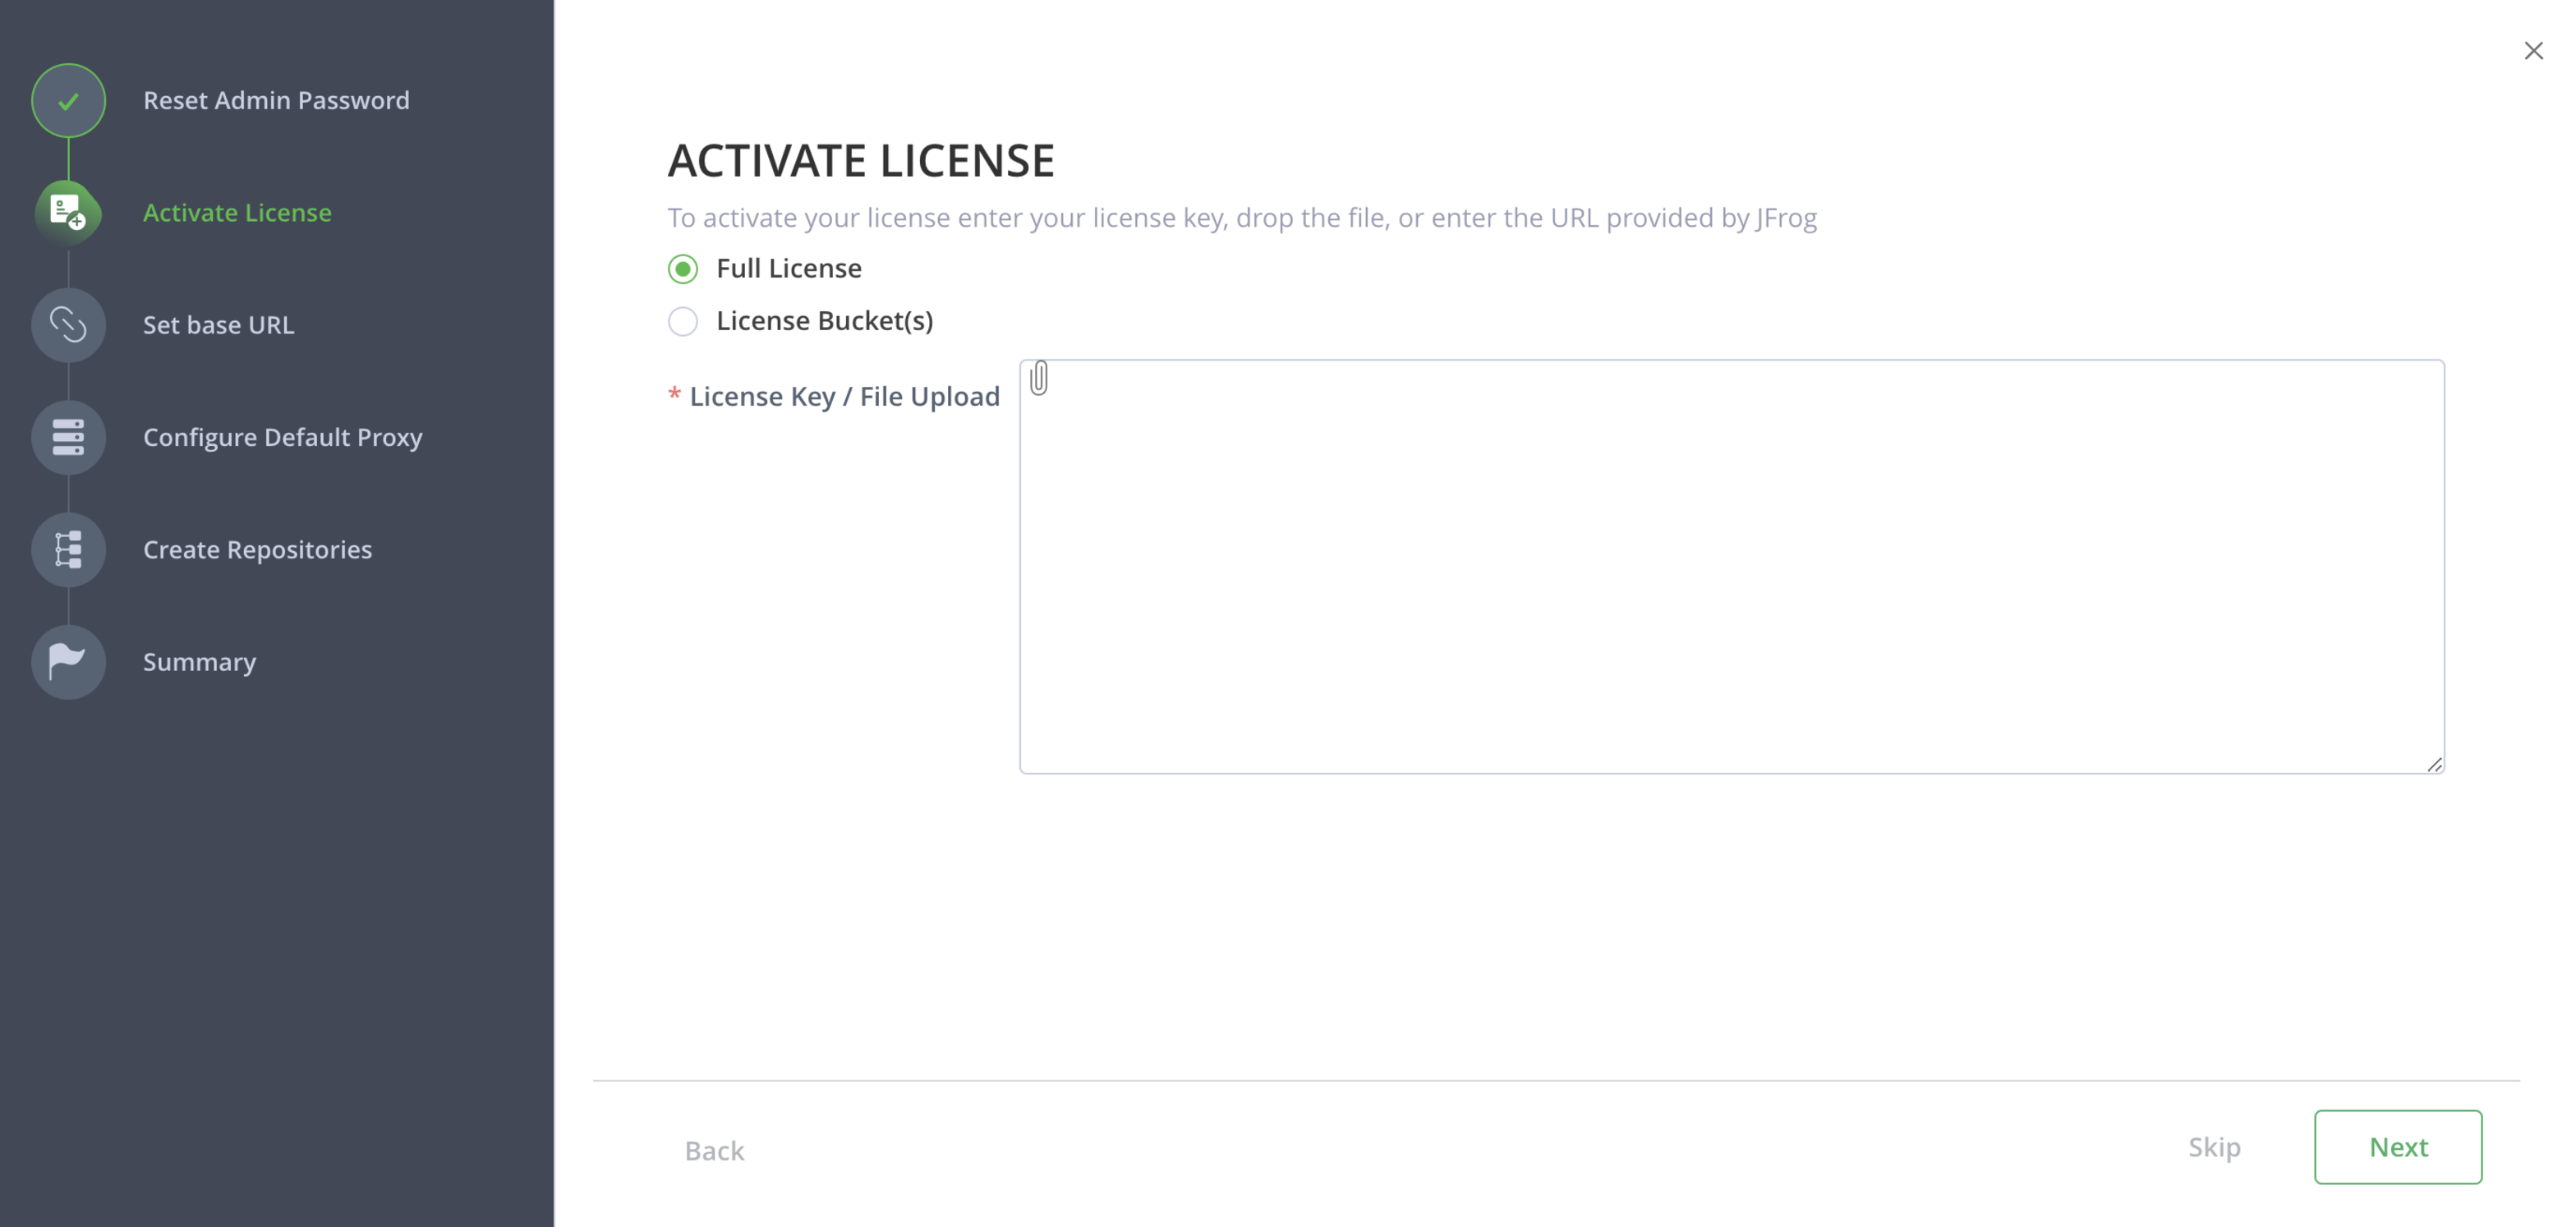
Full License
For regular installations, select the Full License radio button. In the License Key / File Upload field, paste your license key or upload the license file. If you have an Xray Trial License, select the Xray Trial License option before entering the key. Click Next to continue.
Note
For an Xray Trial License, select the Xray Trial License option before entering the license key.
License Bucket(s)
For Enterprise X or Enterprise+ installations with Mission Control, use the License Bucket(s) option instead of a full license key.
Note
If you have Mission Control enabled (Enterprise X or Enterprise+ license), we recommend using the License Bucket(s) radio button.
Enter the Bucket name, Key, and signed URL for the license, or upload the license file. Click Verify to confirm that the URL and Key correspond to the same Bucket Identifier.
For additional buckets, click + Add Bucket as required. Click Next to continue.
By default, the Attach a License to Current Artifactory Instance checkbox is selected, which adds the license to the currently running JFrog Artifactory instance.
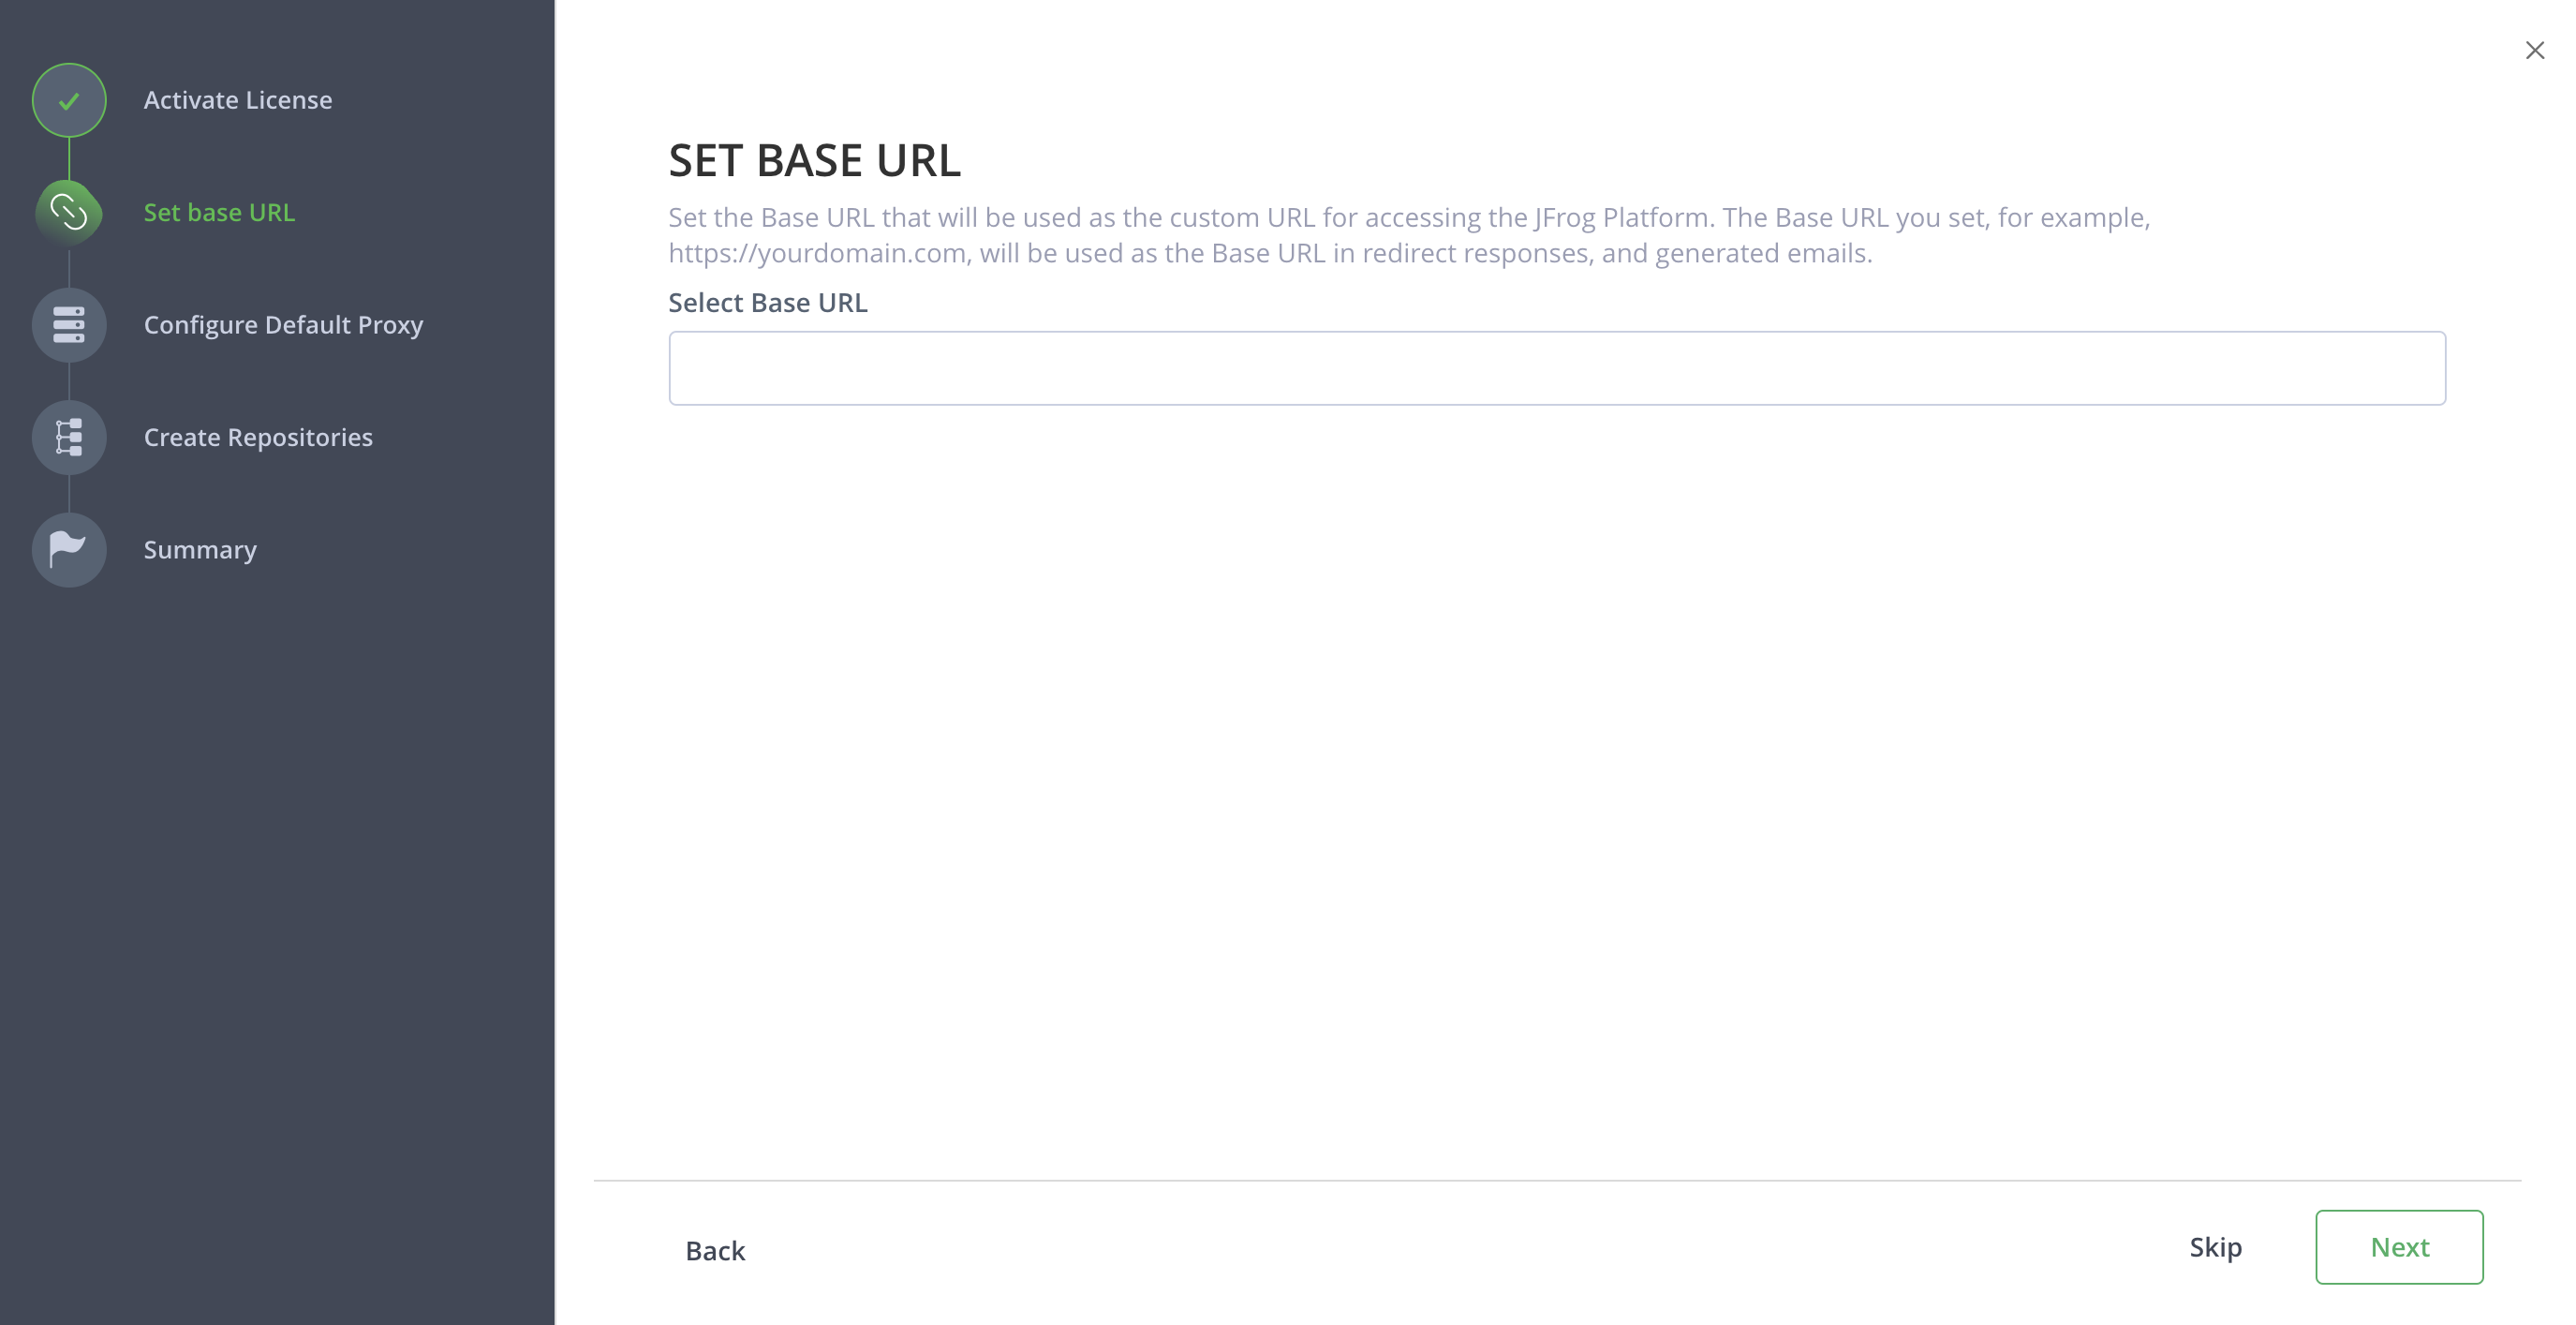
Set the base URL for accessing JFrog. Use the format https://artifactory.example.com. For more information, see General System Settings. Click Next to continue.
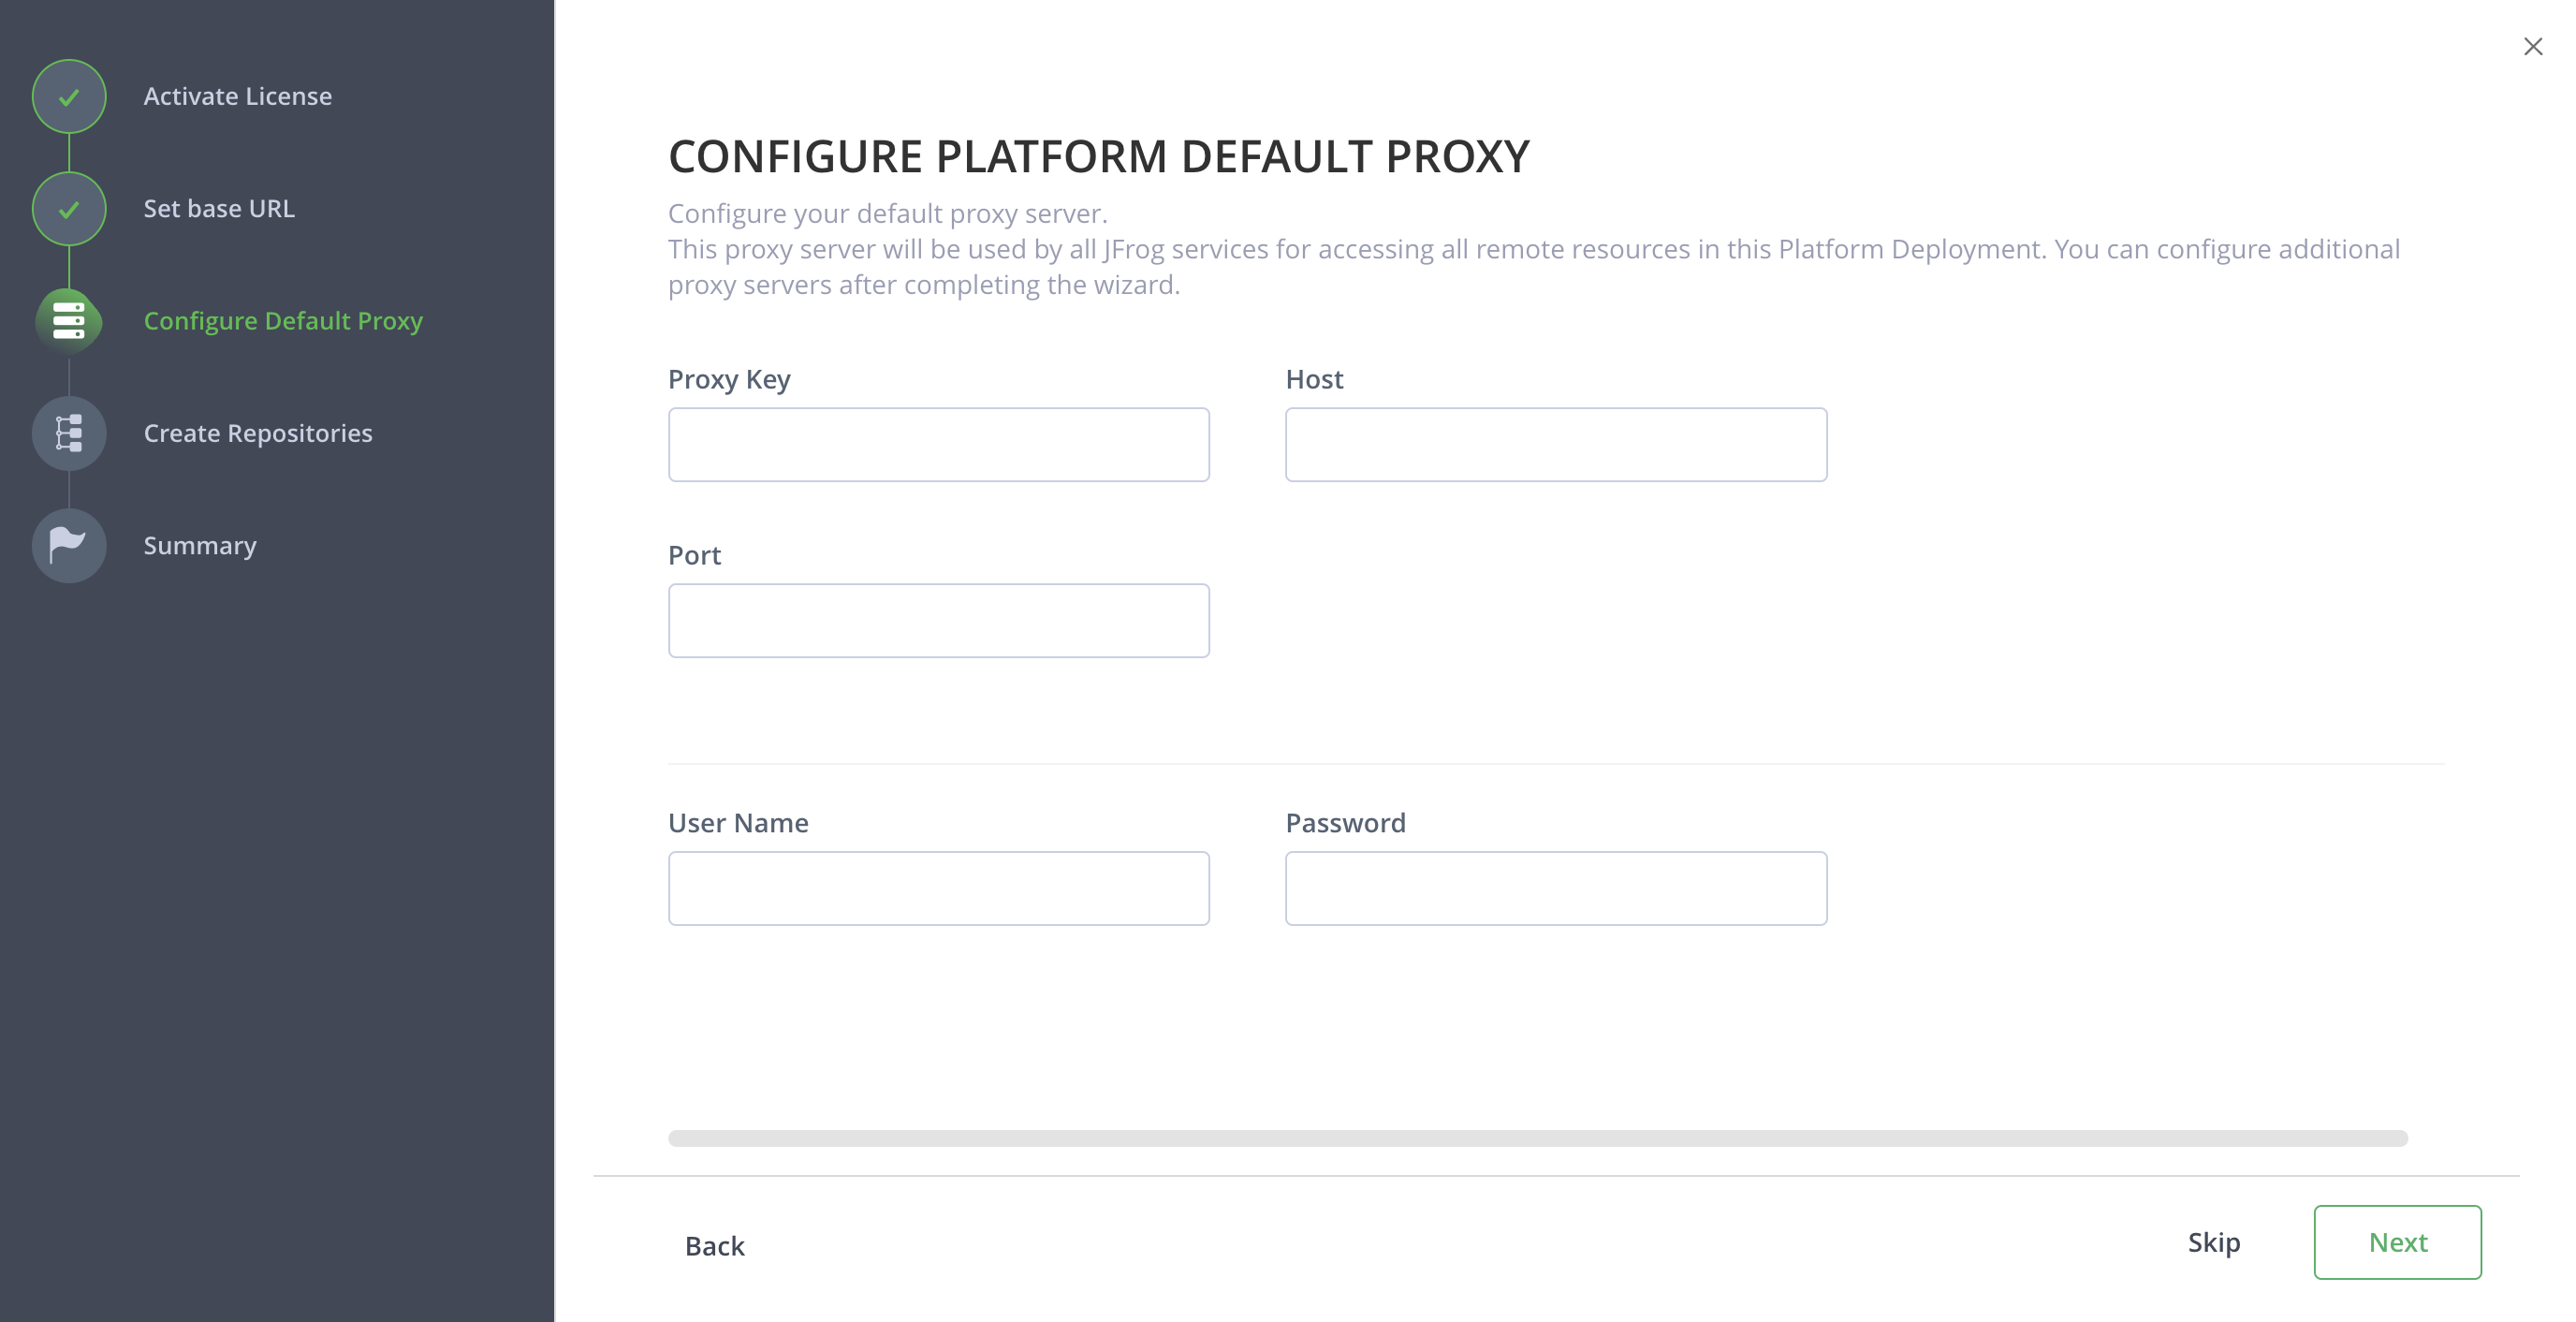
To enable remote access to your resources (repositories, builds, and Release Bundles), configure your default proxy server. A default proxy is optional — skip this step if not needed. If you configure one, all three fields — Proxy Key, Host, and Port — are required.
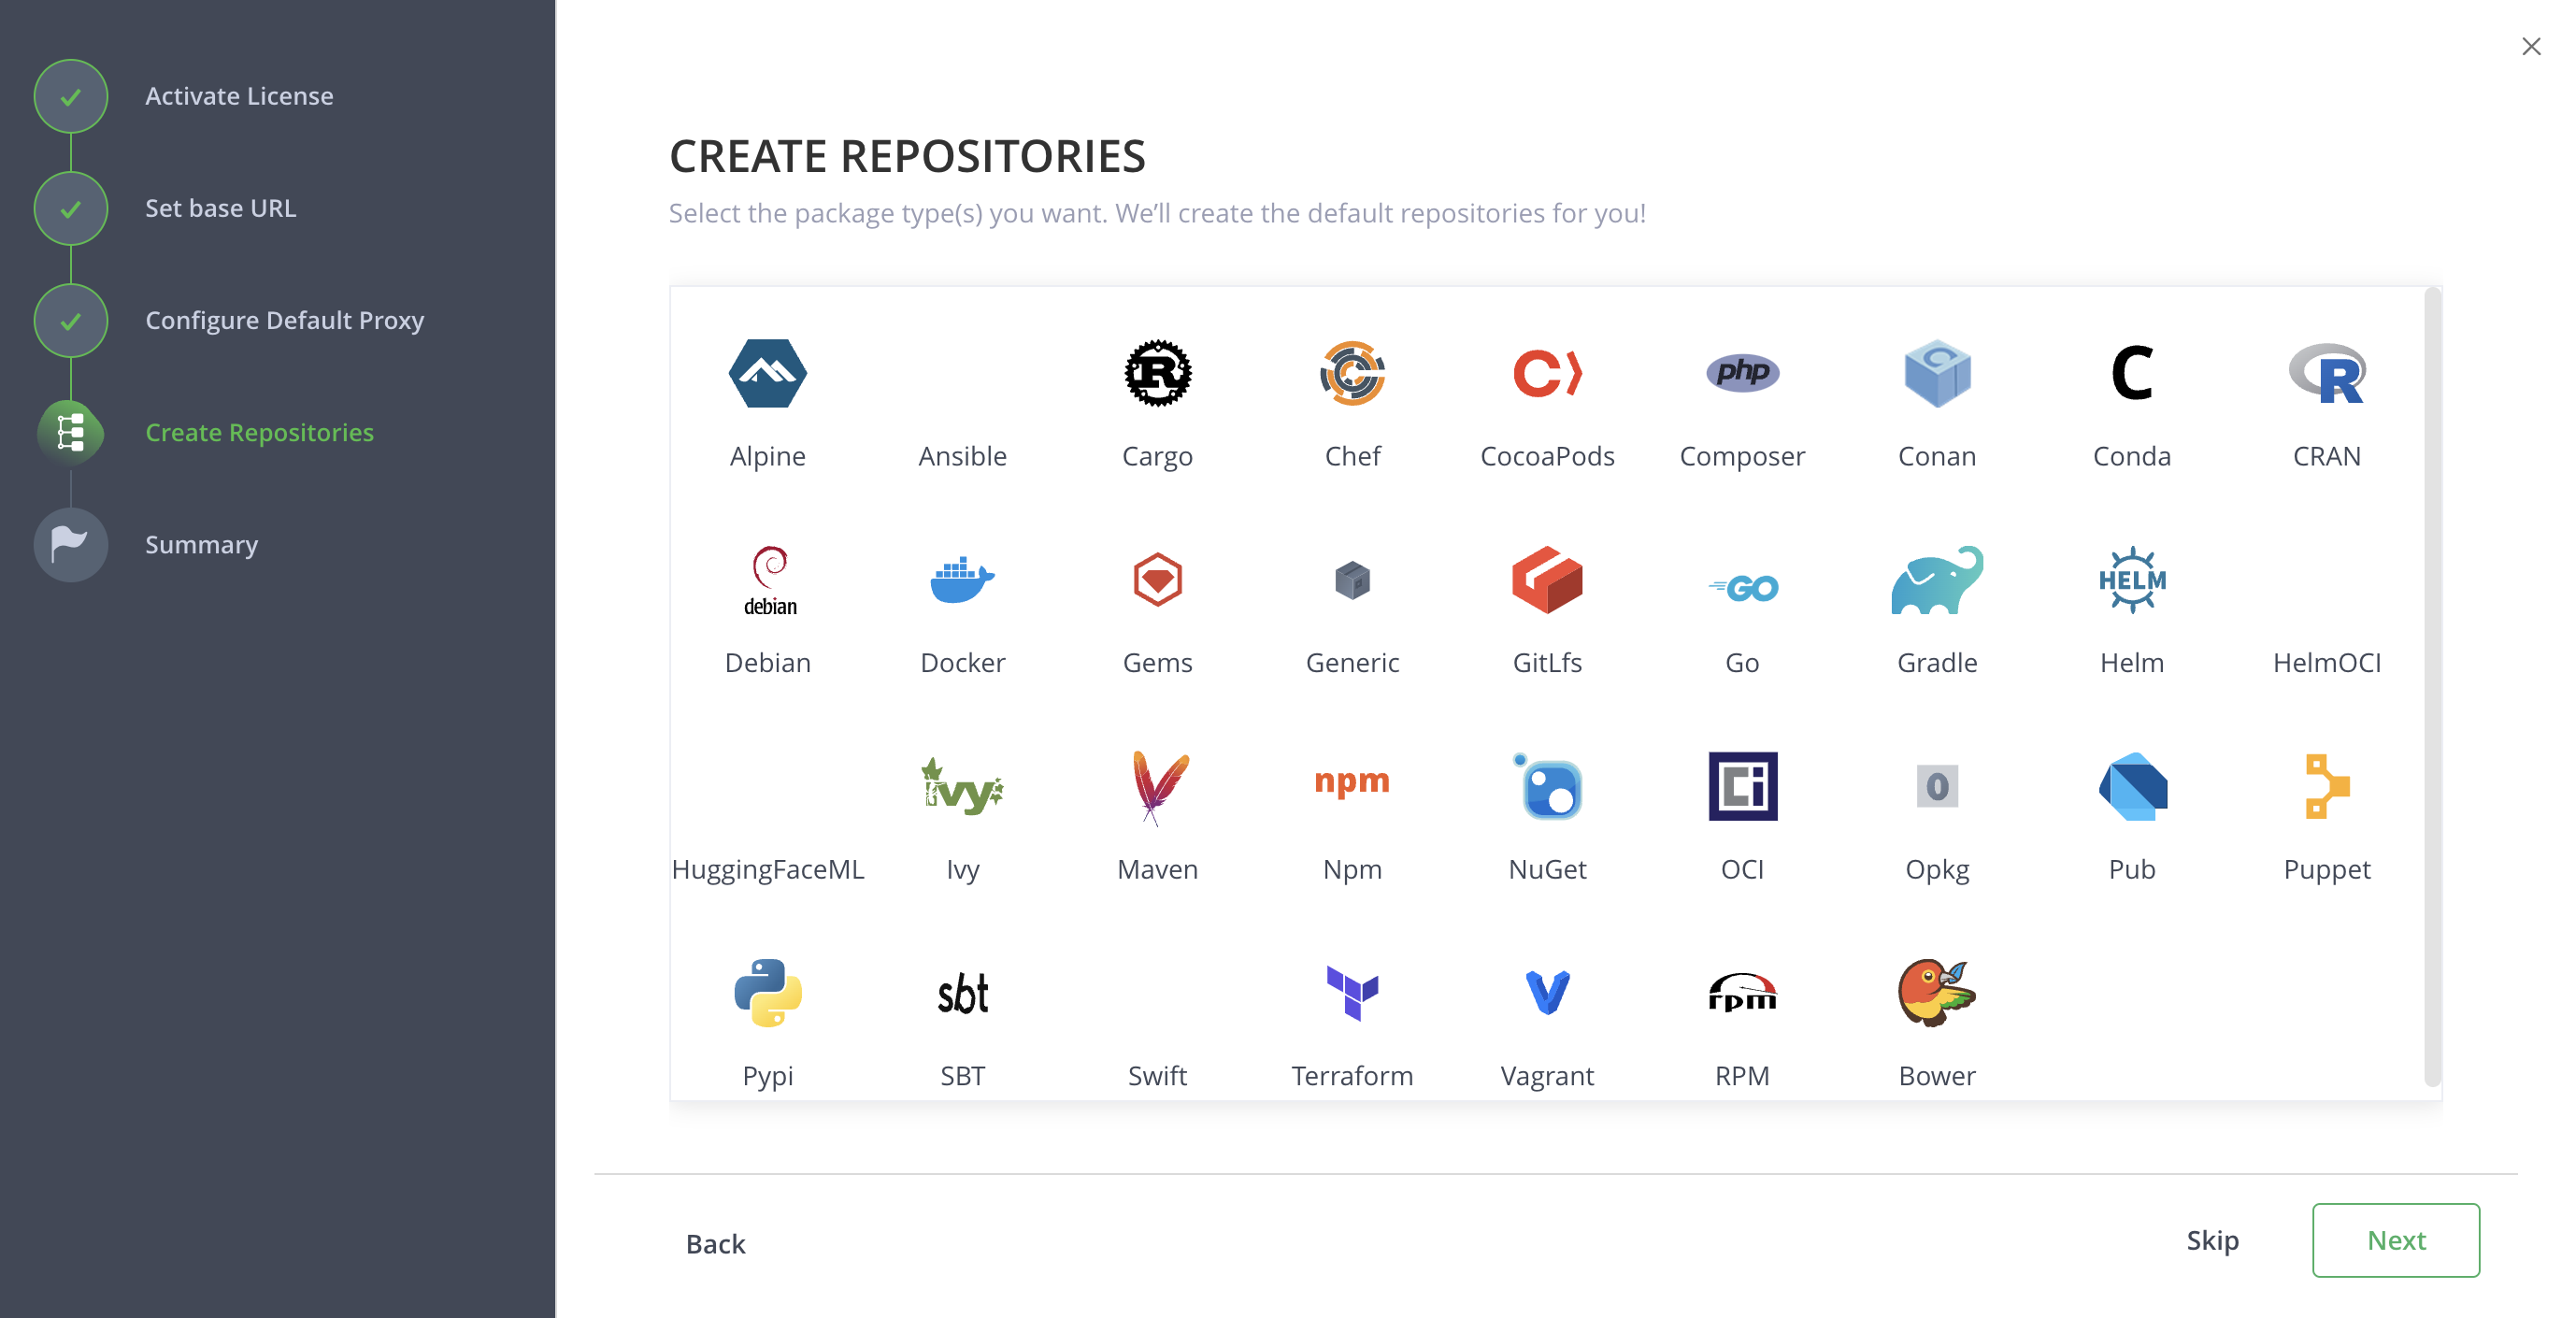
Select the package types for your default repositories. Click Next to continue.
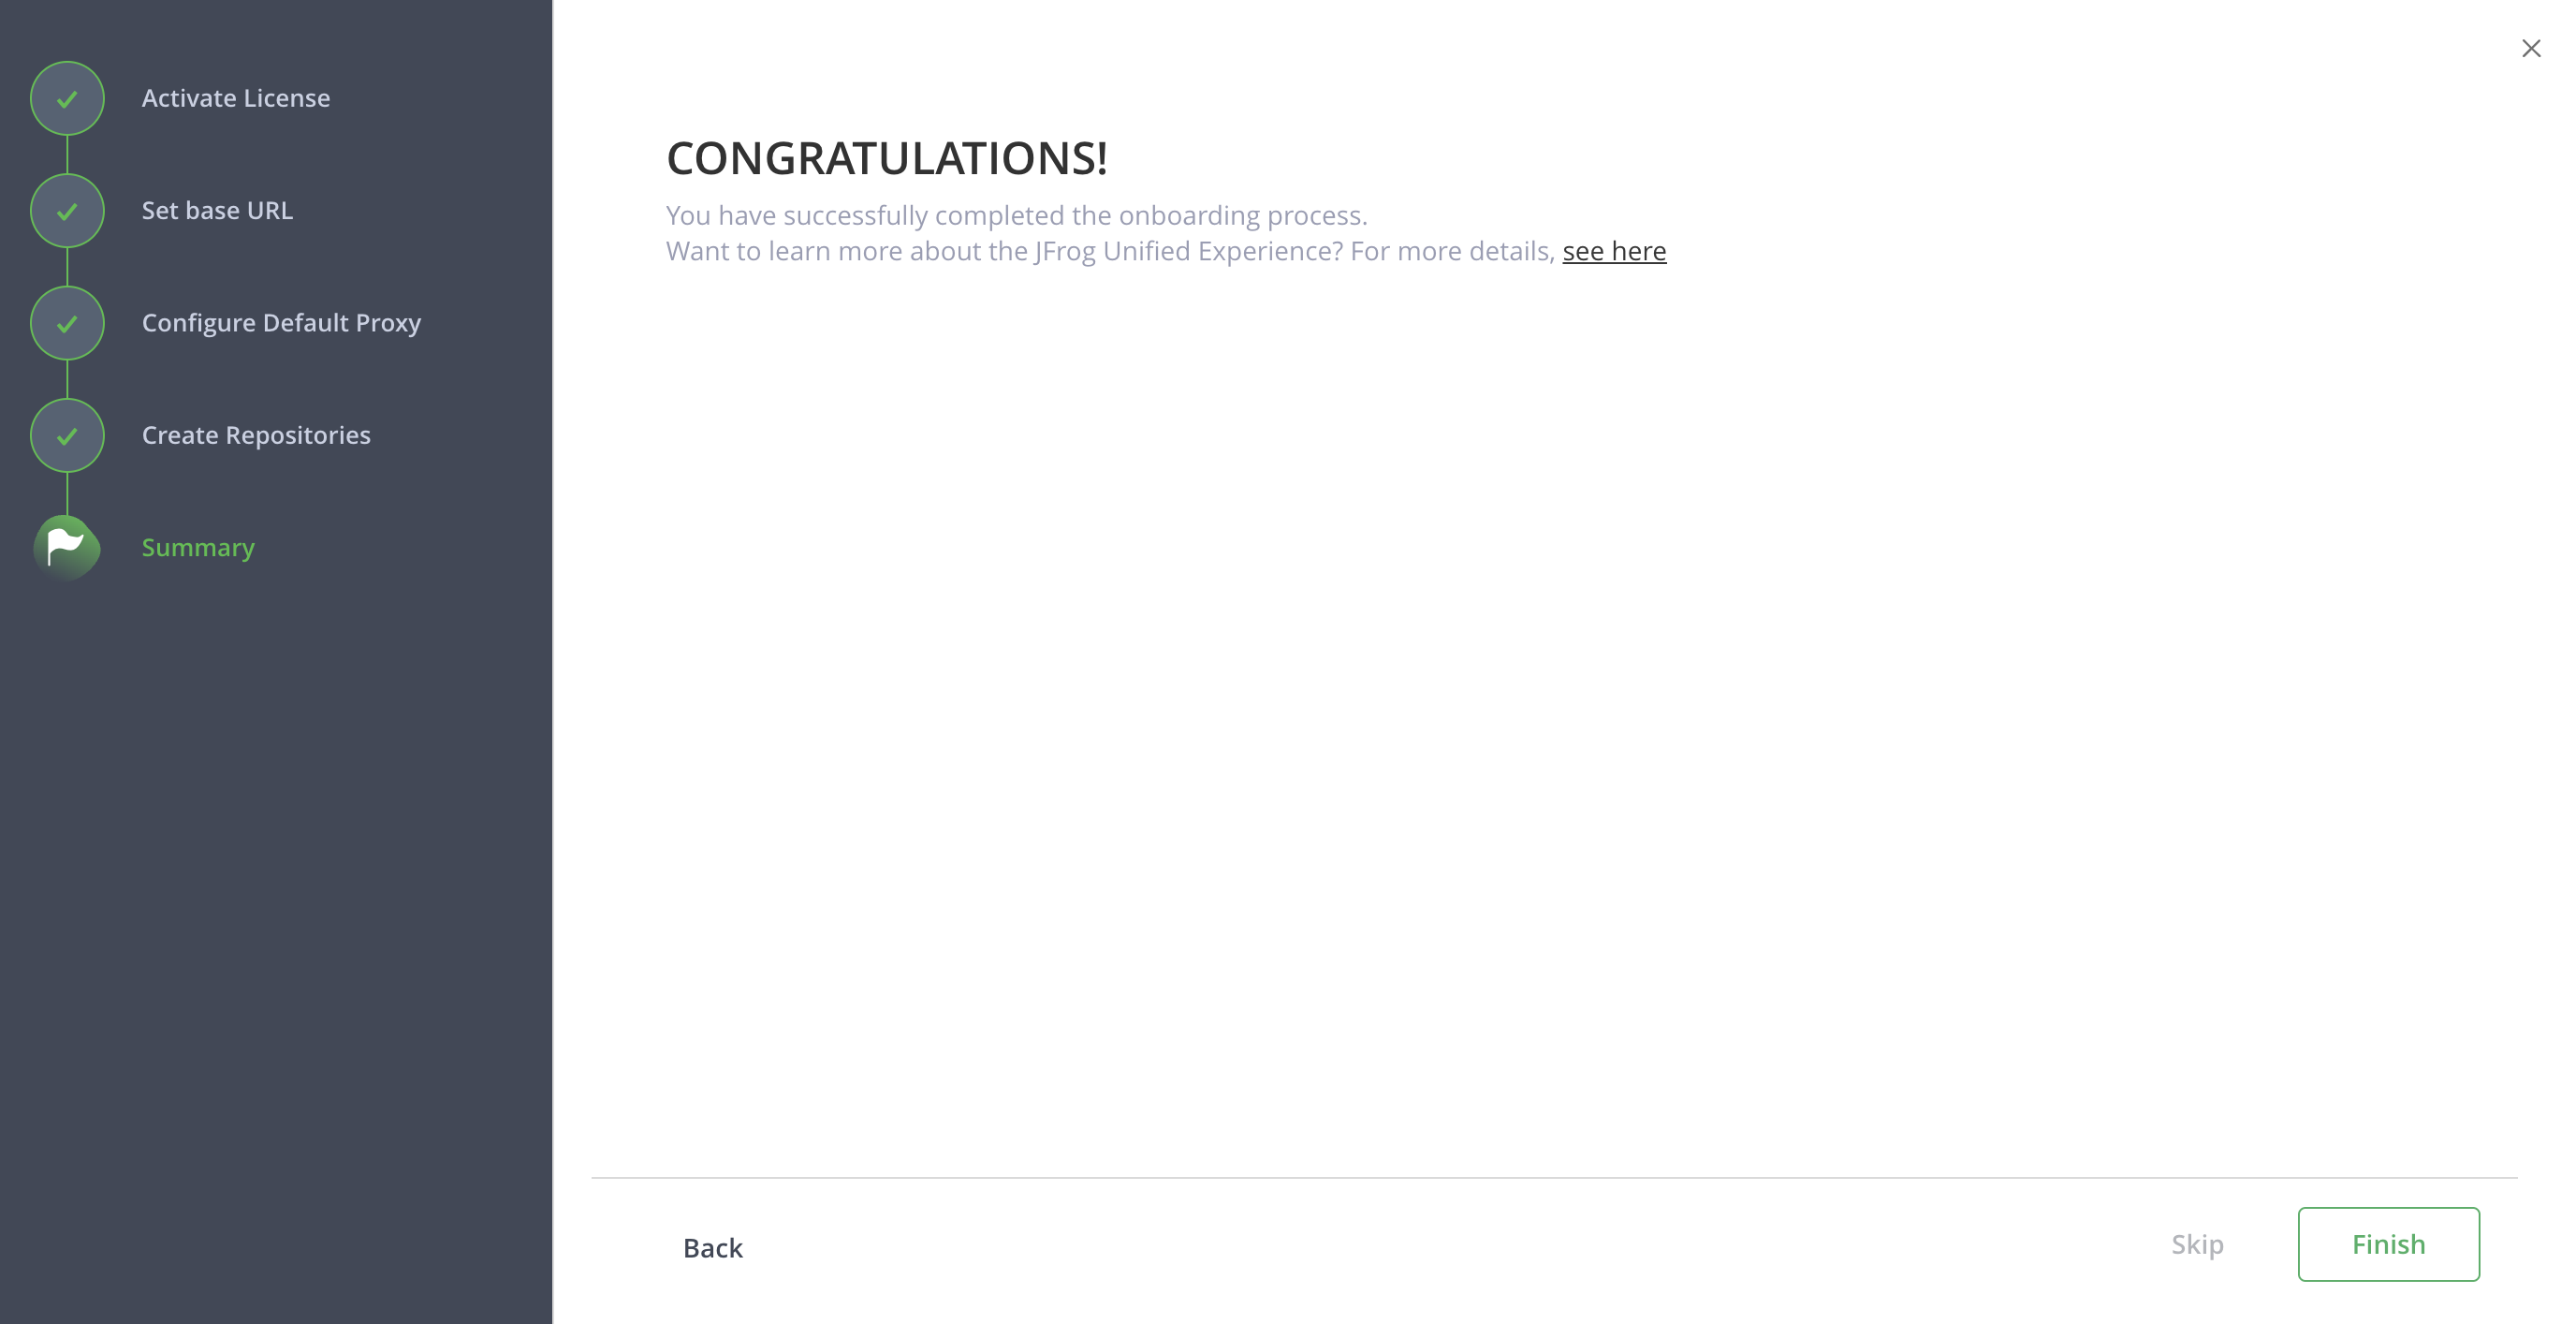
Click Finish to complete the wizard and get started with JFrog.
Verify the Setup
Confirm that the onboarding wizard completed successfully:
Navigate to http://<hostname>:8082/ui in a browser and sign in using the password you set in step 2. Expected: The JFrog Platform home screen loads.
Go to Administration > Licenses in the JFrog Platform UI. Expected: Your license appears with status Active.
curl -f http://<hostname>:8082/router/api/v1/system/healthExpected: {"router":{"state":"HEALTHY"}}
Troubleshoot Onboarding Wizard Issues
| Symptom | Cause | Fix |
|---|---|---|
| Onboarding wizard does not launch on first login | Browser cache or existing session is stale | Clear browser cookies and cache, then navigate to http://<hostname>:8082/ui. If the wizard was already completed, access the same settings via the Administration module. |
| License key is not accepted in step 3 | Key is invalid, expired, or pasted with extra whitespace | Copy the license key directly from your JFrog account portal. Paste it without surrounding spaces and verify you have selected the correct license type (Full License vs. Xray Trial). |
| Base URL validation fails in step 4 | Hostname is not resolvable or the URL format is incorrect | Use the full URL including the protocol: https://artifactory.example.com. Ensure the hostname resolves from the browser's network. See General System Settings. |
| Cannot advance past step 2 | New password does not meet complexity requirements | Use a password of at least eight characters that includes uppercase, lowercase, and a number. |
Related Topics
- Getting Started
- Install JFrog Platform via Helm [Quick Start]
- Set TLS on the JFrog Platform
- Installing Artifactory
- System Requirements
Frequently Asked Questions
This section provides answers to frequently asked questions.
FAQs
Q: Can I re-run the onboarding wizard after completing it?
A: The onboarding wizard runs automatically on first login. After completion, you can access the same configuration options through the Administration module in the JFrog Platform UI. The wizard does not re-launch on subsequent logins.
Q: What happens if I skip a step in the onboarding wizard?
A: Optional steps (such as proxy configuration) can be skipped. Skipped steps do not block you from completing the wizard. You can configure skipped items later through the Administration module.
Q: Which license types are supported during onboarding?
A: The onboarding wizard supports both full license key activation and License Bucket activation. License Bucket activation is recommended for Enterprise+ installations with Mission Control enabled. For Xray Trial licenses, select the Xray Trial License option before entering the license key.