Manage Users
You can manage access to repositories by defining users, assigning them to groups and setting up roles and permissions which can be applied to both users and groups.
JFrog Cloud users can also join through an invite, and to then log in using Personal OAuth such as Google or GitHub.
To manage the users who can access resources in your system:
In the Administration module, select User Management > Users.
- Passwords are stored as hashes or encrypted hashes.
- The Status column shows you the current SCIM status of the user: Enabled, Disabled, or Locked.
- The Email column shows you the email of the user, including if the user was added via invite from the admin (JFrog Cloud users only).
- You can sort users in tables by additional columns
- You can do a partial search by name/email in tables
User Types
You can create any number of JFrog Platform users and assign different permissions to each user.
Administrator Users
An administrator user is similar to the "root" user in UNIX systems. Administrators are not subject to any security restrictions, and we therefore recommend to minimize the number of administrators in your system.
The Default Admin Account
The default admin user appears only in Self-Managed JFrog instances, not in SaaS.
The user name and password for the default admin user are:
admin/password. Change the password after first login. If you forget the admin account password, you can recover it: for more information, see Recreating the Default Admin User.
Anonymous Users
The platform supports anonymous users and installs with a predefinedanonymous user to which you can assign Permissions.
To enable definition of anonymous users, select the Administration module and go to Security > General. Enable the Allow Anonymous Access option. You must activate the anonymous user before you can fine-tune its permissions.
When anonymous access is enabled, anonymous users can take actions for which they were assigned permissions, such as downloading cached artifacts and populating caches.
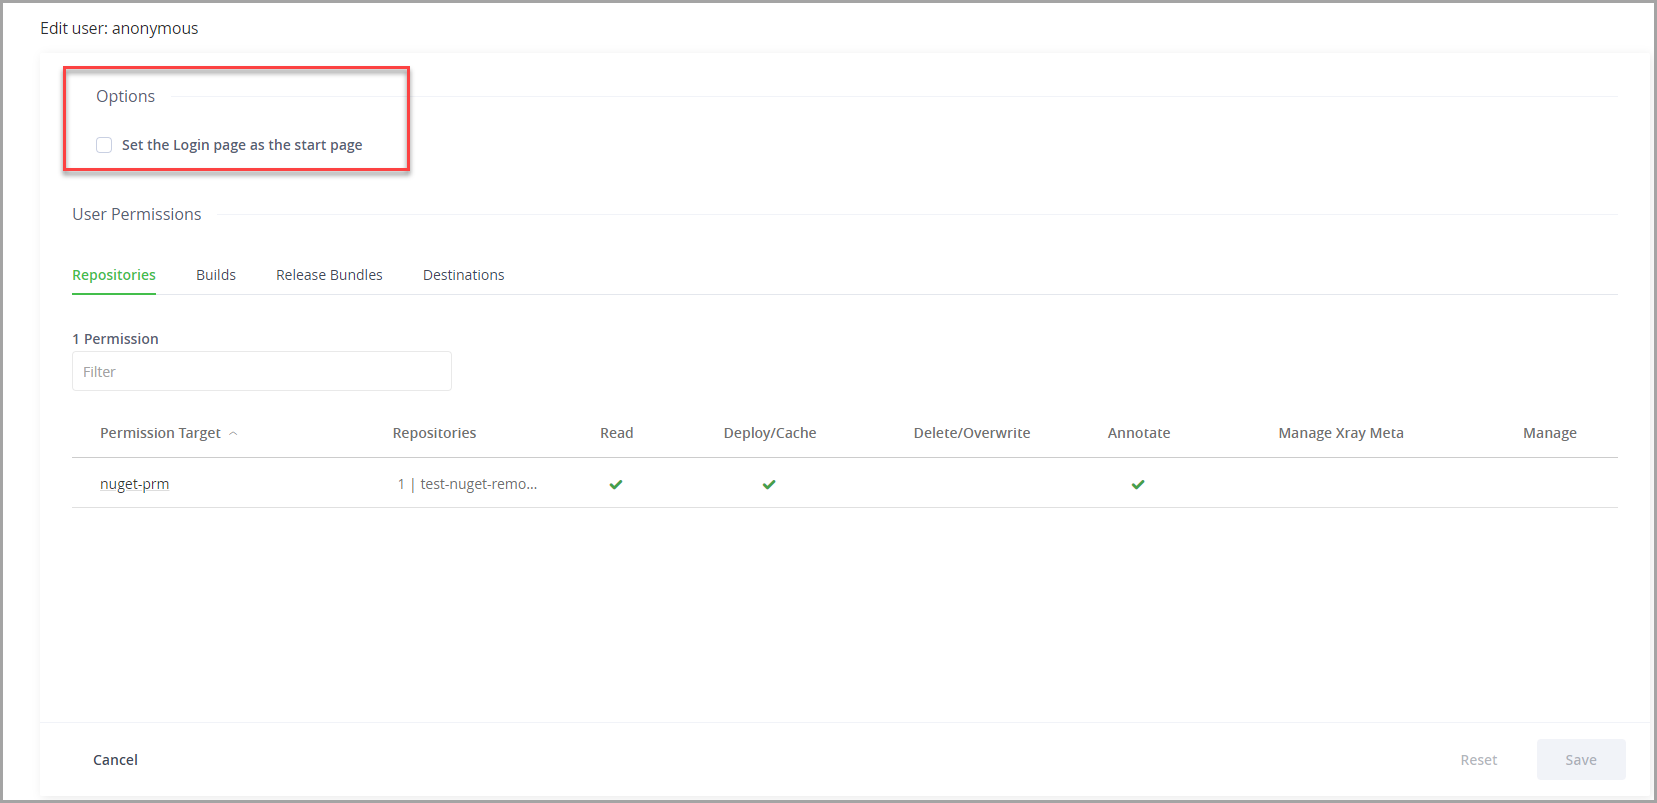
Select the Set the Login page as the start page on the Anonymous User page to set all anonymous users to be routed to the login page.
Important Information on Anonymous Users
When allowing anonymous access, you will need to take into account the following considerations:
- When you allow non-logged-in users access to your system, you could, potentially, be giving unauthorized access to users to any existing local, remote or virtual repositories, and, to future repositories.
- In addition, enabling anonymous access may expose any sensitive data that may be saved in these repositories to non-logged-in users.
Starting from Artifactory version 7.161.5, you can only assign anonymous users to permission targets with the actions that have been approved by the platform admin. For more information, see Allow Anonymous Access.
Platform Auditor
The Platform Auditor user can view the entire JFrog Platform WebUI, but is not able to perform any actions, create, modify, or delete resources. This role can be used for auditing or compliance monitoring.
The platform Auditor role is available for JFrog Artifactory versions 7.125.3 and above. To use this feature, enable the following feature flag in your system configuration file, which is disabled by default:
frontend:
   featureToggler:
        accessPlatformAuditor: true
To create a Platform Auditor user, when creating a new user, select Platform Auditor under Roles.
Note
The Platform Auditor role cannot be selected with any other roles: when selecting the Platform Auditor role for a user, all other roles will be greyed out and unavailable for selection. When selecting any other role, the Platform Auditor role will become unavailable for selection.
Create or Edit Users
You can create or edit users through the JPD UI or the API
Only administrators can create users
To create users, you must be an administrator.
-
Navigate to Administration Module | User Management | Users.
-
Do one of the following:
- To create a new user, click + New user at the top of the Users table . The Add new user dialog box appears.
- To edit an existing user, click the username. The Edit user dialog box appears.
-
Set the User Name, Email Address and Password for the user, and configure the following parameters.
| Role/ Option | Description |
|---|---|
| Roles | |
| Platform Administrator | When enabled, this user is an administrator with all the ensuing privileges. For more details, refer to Administrator Users. |
| Manage Resources | When enabled, this user can manage resources including create, edit, and delete permissions on any resource type including Pipeline resources (Integration, Source, and Node Pools). |
| Platform Auditor | When enabled, this user can view anything in your JFrog Platform WebUI, but cannot perform any actions. |
| Manage Webhook | When enabled, this user can create and manage Webhooks. This role has the following limitations:
|
| Manage Policies | When enabled, this user can set Xray security and compliance policies. |
| Read Policies | When enabled, this user can only view Policies. |
| Manage Watches | When enabled, this user can add, edit, and delete Xray watches. |
| Manage Reports | When enabled, this user can create, generate, and manage Xray reports. |
| Options | When enabled, this user can create and manage Webhooks. This role has the following limitations:
|
| Can Update Profile | When enabled, this user can update their profile details (except for the password. Only an administrator can update the password). There may be cases in which you want to leave this unset to prevent users from updating their profile. For example, a departmental user with a single password shared between all department members. |
| Disable UI Access | When enabled, this user can only access the system through the REST API. |
| Disable Internal Password | When enabled, disables the fallback mechanism for using an internal password when external authentication (such as LDAP) is enabled. |
- Click Save to save the user.
Add New Users with Invite (Trial Users only)
For trial users only, JFrog Platform enables administrators to add new users via an email invite, which enables the new user to create an account using a username and password, or by logging in using Personal OAuth SSO.
Note
To use this feature, the Personal OAuth SSO functionality must be enabled under the Authentication Providers section in the Administration tab. For more information, see Enabling and Disabling Personal OAuth SSO.
-
In the Add new user window, select the Invite a User tab.
-
Enter an email address.
-
Specify the roles that you wish to enable for this user.
-
Specify which options to apply to the user.
-
Click Send Invitation to send the invite.
The Users list is updated with the new user that was invited. The invited user will appear with the email status "Invited".
-
To resend the invite to the same user, hover on the email icon to the right of the user name and click Resend Invite. Note that if the user tries to use the older token in the first invite, they will not be able to join.
Note
Only one invitation can be sent per a specific email - there is no limit for sending invites to different emails.
- To resend the invitation, hover over the user in the Users list, and select Resend invitation.
Recreate the Default Admin User
If you are unable to obtain administrator access, you will need to recreate a default administrator user in order to be able to manage users of your system. This can be done using the Access bootstrap.creds:
- Create a file called
bootstrap.credsunderJFROG_HOME/artifactory/var/etc/access
Artifactory HA version under 6.8.0
For Artifactory versions below 7.17.2: If you are running an Artifactory HA cluster, make sure to do the changes on the primary node. After the last step, perform a rolling restart to the cluster (restart each node starting from the primary node).
-
Populate the file with the following content:
<admin user name>@*=<your new password>Note: You can create the file with multiple lines to create multiple Administrators, for example:
admin1@*=password1 admin2@*=password2 -
Make sure the file has relevant permissions:
$ chmod 600 bootstrap.creds
$ chown artifactory:artifactory bootstrap.creds
Or alternatively,
$ chmod 600 bootstrap.creds
$ chown 1030:1030 bootstrap.creds
Note
The permission assigned must be exactly 600. Neither a more permissive, nor a more restrictive, permission setting will work.
- Restart the Access service by restarting the corresponding Artifactory instance.
Disable Remember Me at Login
The login screen includes a Remember Me checkbox. If the user sets this checkbox when logging in, the system will store a cookie in the browser for a period of 7 days allowing the user to be logged in automatically when starting up the system.
After the cookie expires, the user must log in again.
An administrator can disable this feature and force all users to enter their credentials at every login. Add the following property to $JFROG_HOME/artifactory/var/etc/artifactory.system.properties and restart the system:
artifactory.security.disableRememberMe=trueUpdated 16 days ago