Get Started: JFrog Container Registry
You can host the JFrog Container Registry as a Self-hosted (Freemium) version on your own infrastructure or use the Cloud version hosted by JFrog. Both versions of JFrog Container Registry share an almost identical set of features, look and feel, and functionality but provide you with the flexibility you need when it comes to meeting your organization's hosting and infrastructure requirements.
After you have determined which version best accommodates your needs, you can proceed to get started.
Set Up JFrog Container Registry
This section reviews how to set up the JFrog Container Registry for the following two deployment types:
Set up JFrog Container Registry Self-Hosted Version
The JFrog Container Registry is powered by JFrog Artifactory
The JFrog Container Registry is powered by JFrog Artifactory with a set of features that have been customized to serve the primary purpose of running Docker and Helm packages in a Container Registry. Refer to the JFrog Artifactory documentation when working with JFrog Container Registry. For example, Configuring Artifactory, Installing Artifactory , and Artifactory Release Notes.
Note that the JFrog Container Registry installation and configuration paths and code examples refer to Artifactory, since JFrog Container Registry is powered by JFrog Artifactory.
- Go to the JFrog Container Registry Download page.
- Download your preferred installation method: Standalone (Zip), RPM, Debian or Docker or Helm Charts.
- Proceed to install and configure JFrog Container Registry according to the JFrog Artifactory instructions in this guide.
- To get up and running quickly, follow the Onboarding Wizard that is invoked the first time you start JFrog Container Registry.
Set up JFrog Container Registry Cloud Version
-
Go to JFrog Container Registry page.
-
Scroll to the bottom of the page and click Cloud Try Free Now.
The Cloud registration form opens.
-
Follow the Onboarding wizard to select your preferred cloud provider and fill in the registration form.
-
Click Next. A Thank You page is displayed confirming the registration process has completed successfully.
An email containing your JFrog Container Registry login information and credentials will be sent to you.
-
To get up and running quickly, follow the Onboarding Wizard that is invoked the first time you start JFrog Container Registry.
Run the Onboarding Wizard
Get up and running quickly and easily with your new JFrog Container Registry installation using the onboarding wizard. The wizard launches when you install the JFrog Container Registry, making sure you can complete the setup with the minimal information needed to get started.
Starting the JFrog Container Registry for the first time launches the JFrog Container Registry onboarding wizard.
The initial setup lets you configure the following basic settings:
- Proxy server (Self-hosted only)
- Initial default repositories
Welcome
The beginning of the onboarding wizard. Click Get Started to continue.
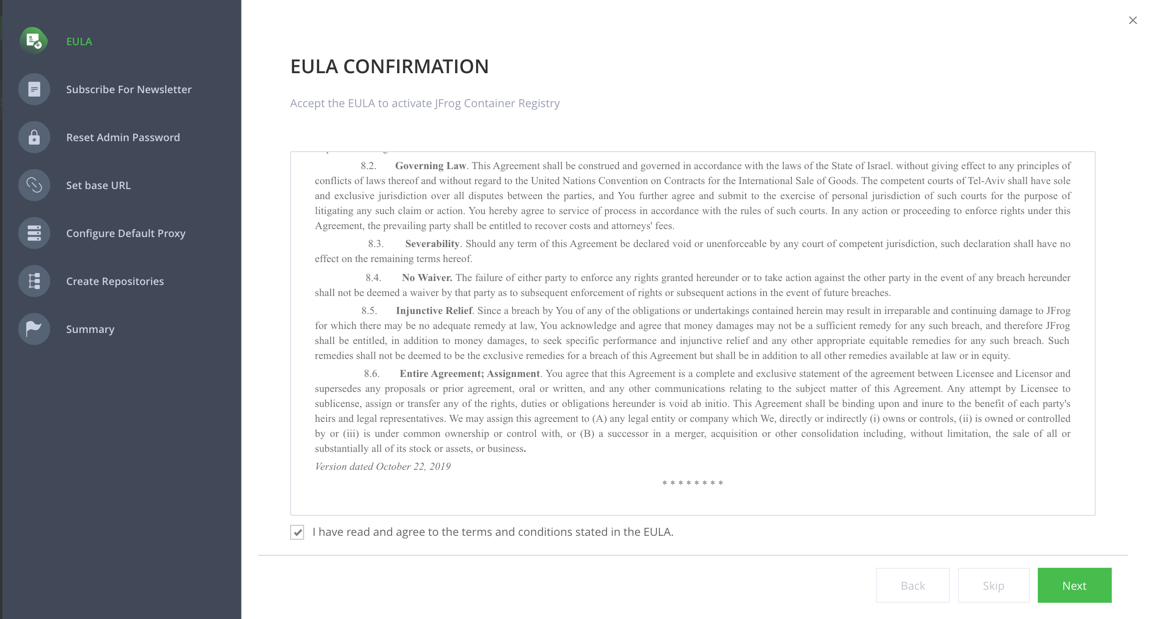
Step 1: EULA
Accept the EULA and click Next to continue.
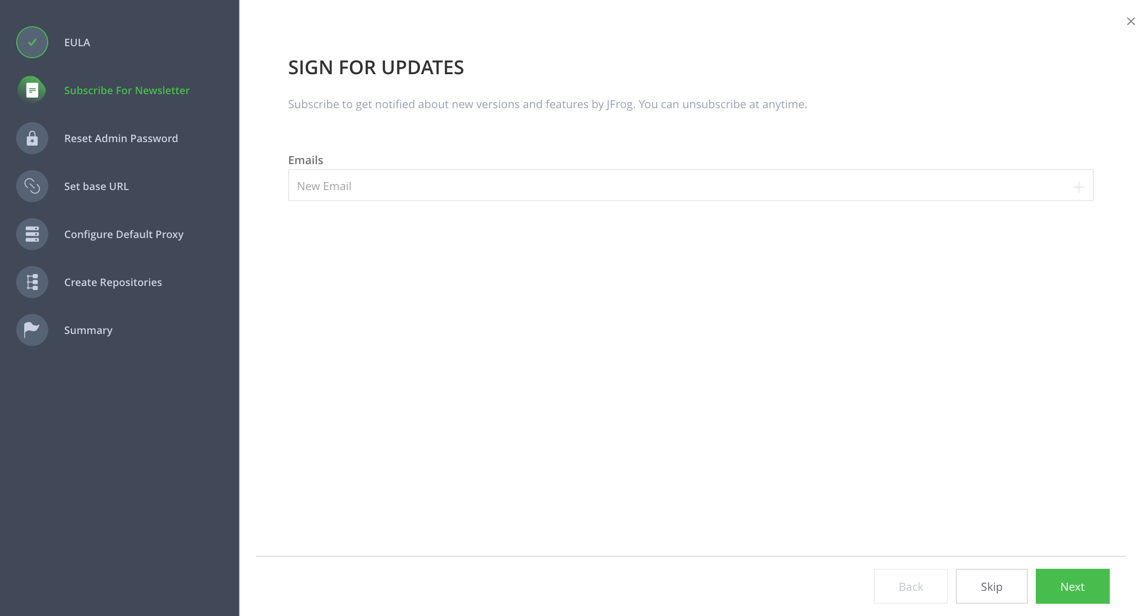
Step 2: Subscribe to Newsletter
Subscribe for updates by entering one or more email addresses. You can unsubscribe at anytime.
Click Next to continue.
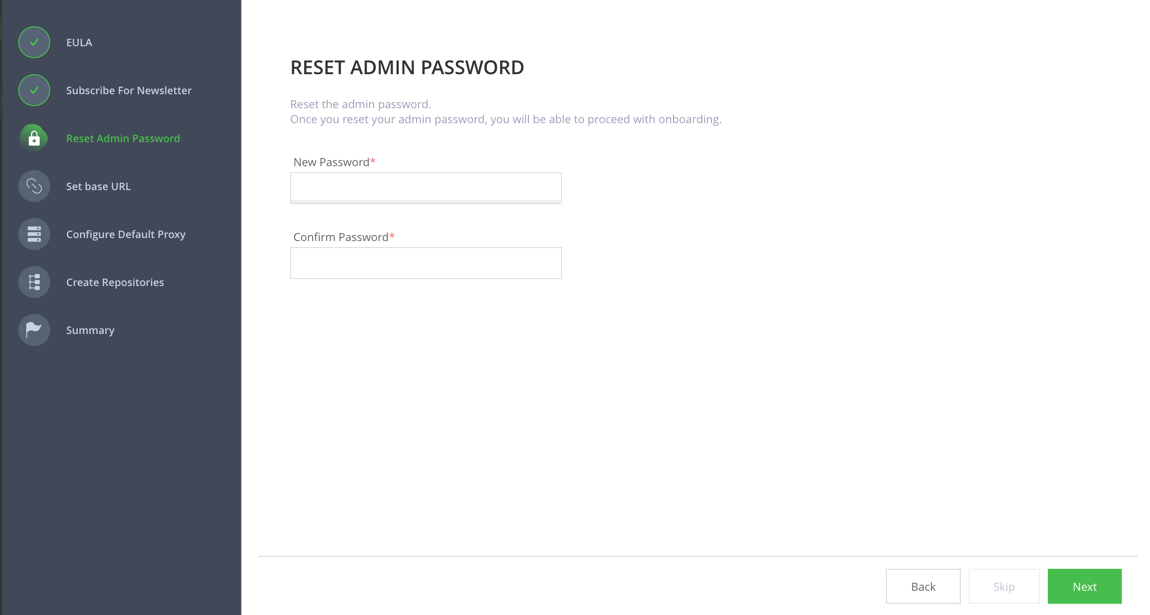
Step 3: Reset Admin Password
When the JFrog Container Registry is installed, it creates a default user with admin privileges predefined in the system. In this step, you must reset the admin password by entering a new password.
Click Next to continue.
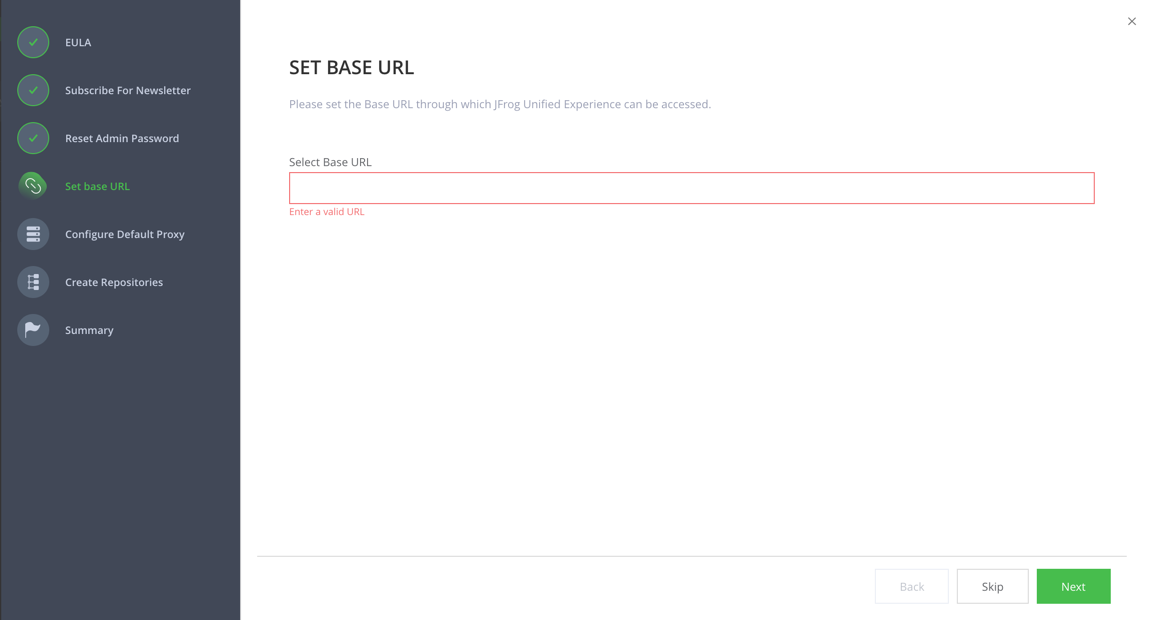
Step 4: Set Base URL
Set the base URL for accessing JFrog. For more information, see HTTP Settings.
Click Next to continue.
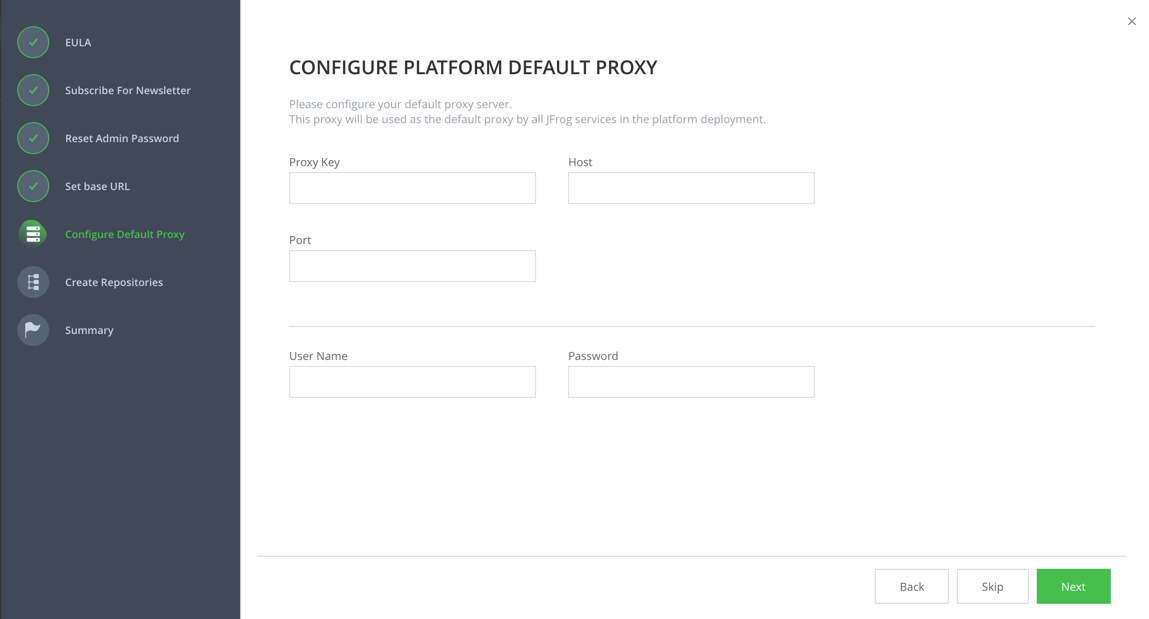
Step 5: Configure Default Proxy
This step is relevant for self-hosted (self-managed) deployments only.
Configure a proxy server. Configuring a default proxy is optional, so you can skip this step. However, if you do decide to configure the default proxy now, all fields are mandatory.
Click Next to continue.
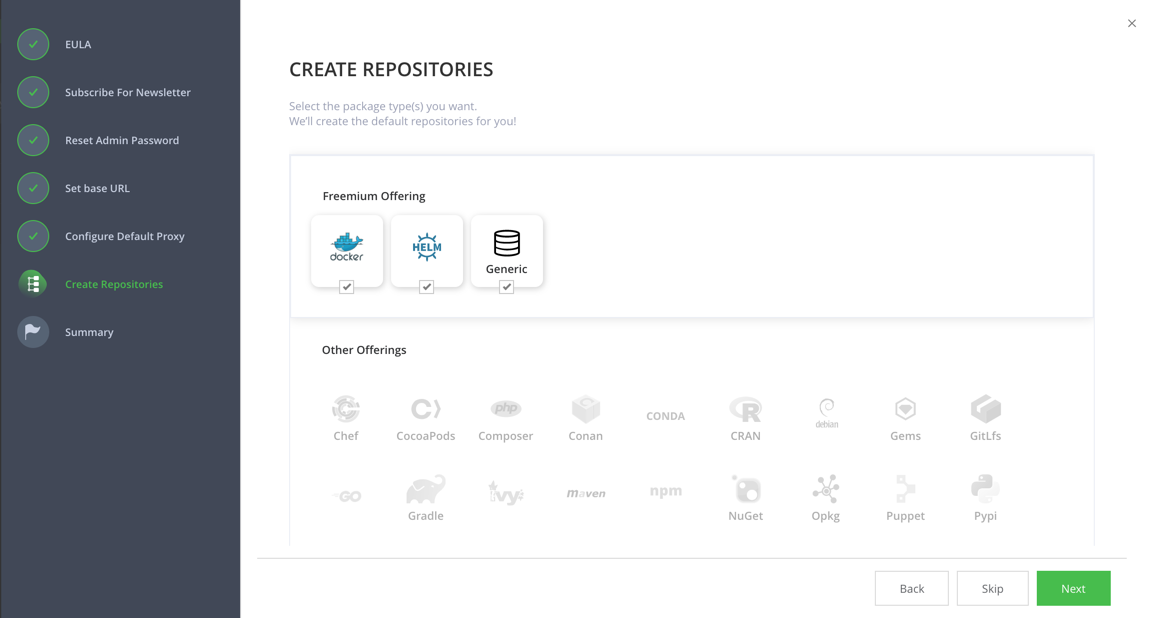
Step 6: Create Repositories
Select one or more of the Docker, Helm, or Generic package formats for which JFrog Container Registry should create default repositories.
Click Next to continue.
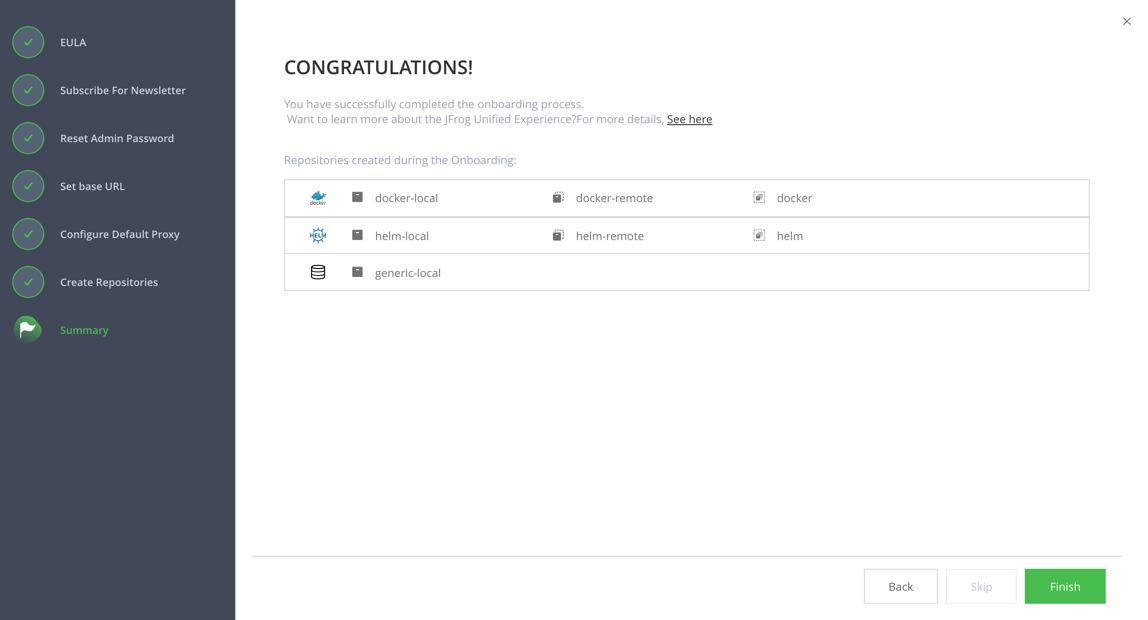
Step 7: Summary
Review the default repositories created according to your selection. Click Finish to complete the wizard and get started with JFrog Container Registry.
Get Familiar with Your JFrog Container Registry
To learn more about working with your services:
- Use the JFrog Platform Administration Documentation to learn about administrative tasks in the UI
- Use the JFrog Artifactory Documentation to learn about application-level tasks in the UI for both administrators and end-users
- Use the REST API guide for end-user information, as well as the Artifactory Query Language and working with builds.
Upgrade JFrog Container Registry
The procedure for upgrading JFrog Container Registry to a higher version or to Artifactory Pro is identical to upgrading JFrog Artifactory. For more information, see Upgrading Artifactory.