

Create an Application
Create an application in JFrog AppTrust.
An Application is any software product developed by your organization for which you want to manage the SDLC and secure with JFrog AppTrust. An application belongs to a project, can have application versions, and can be associated with the artifacts generated by your CI/CD pipeline.
You can also create an application using the AppTrust API and the AppTrust CLI.
To create an application:
- Choose the project to which the application will belong.
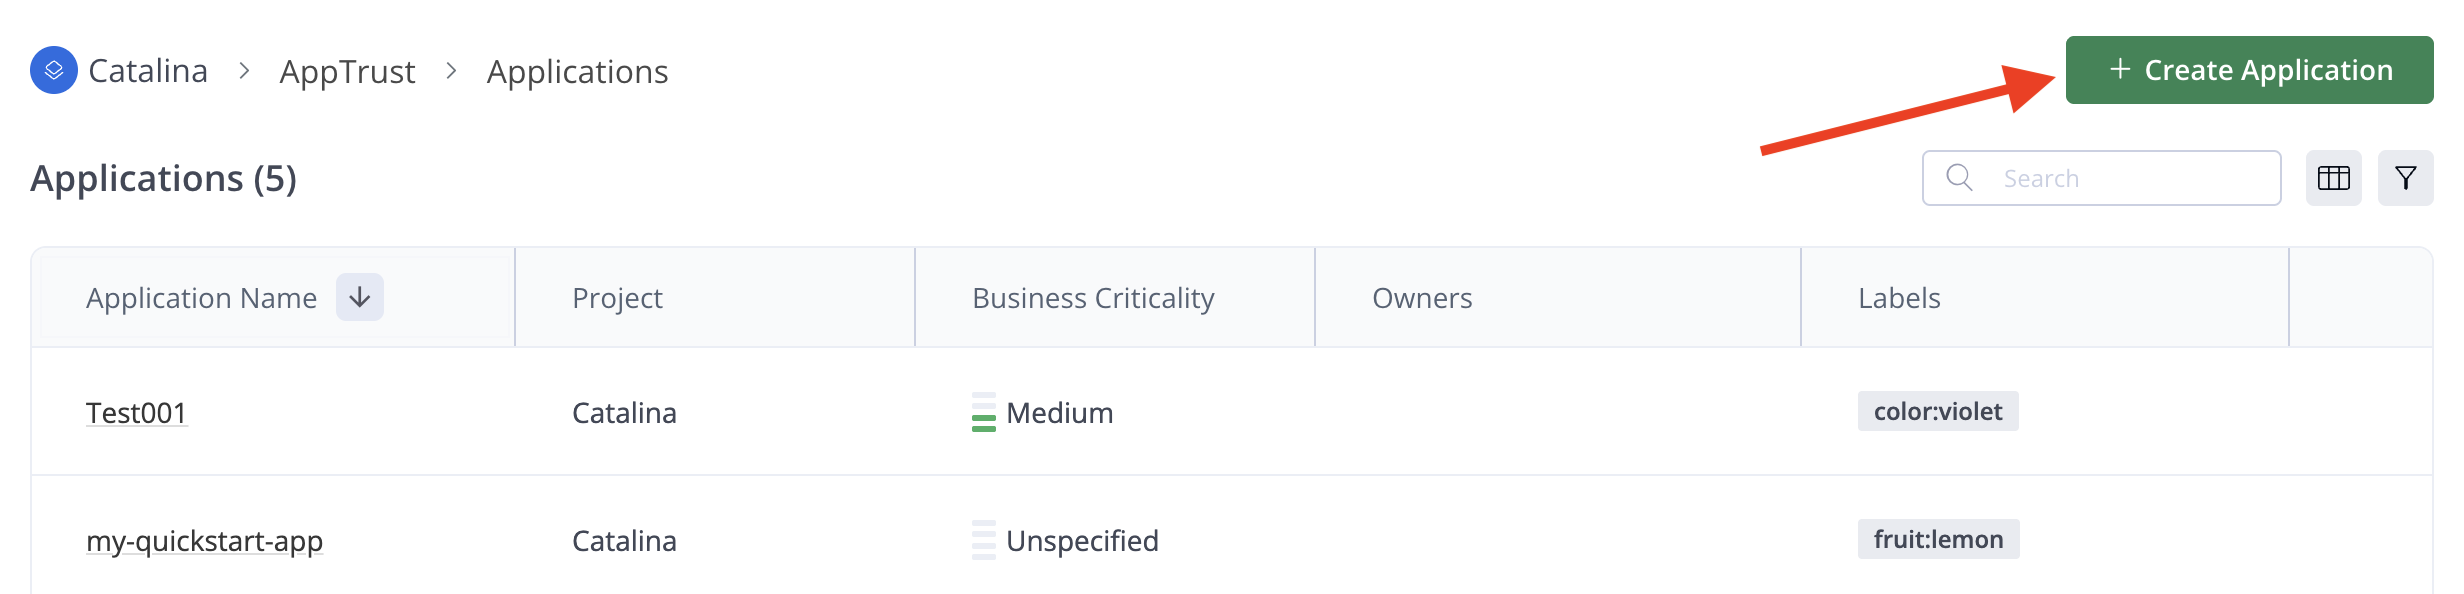
- In the JFrog Platform, choose AppTrust > Applications > Create Application.
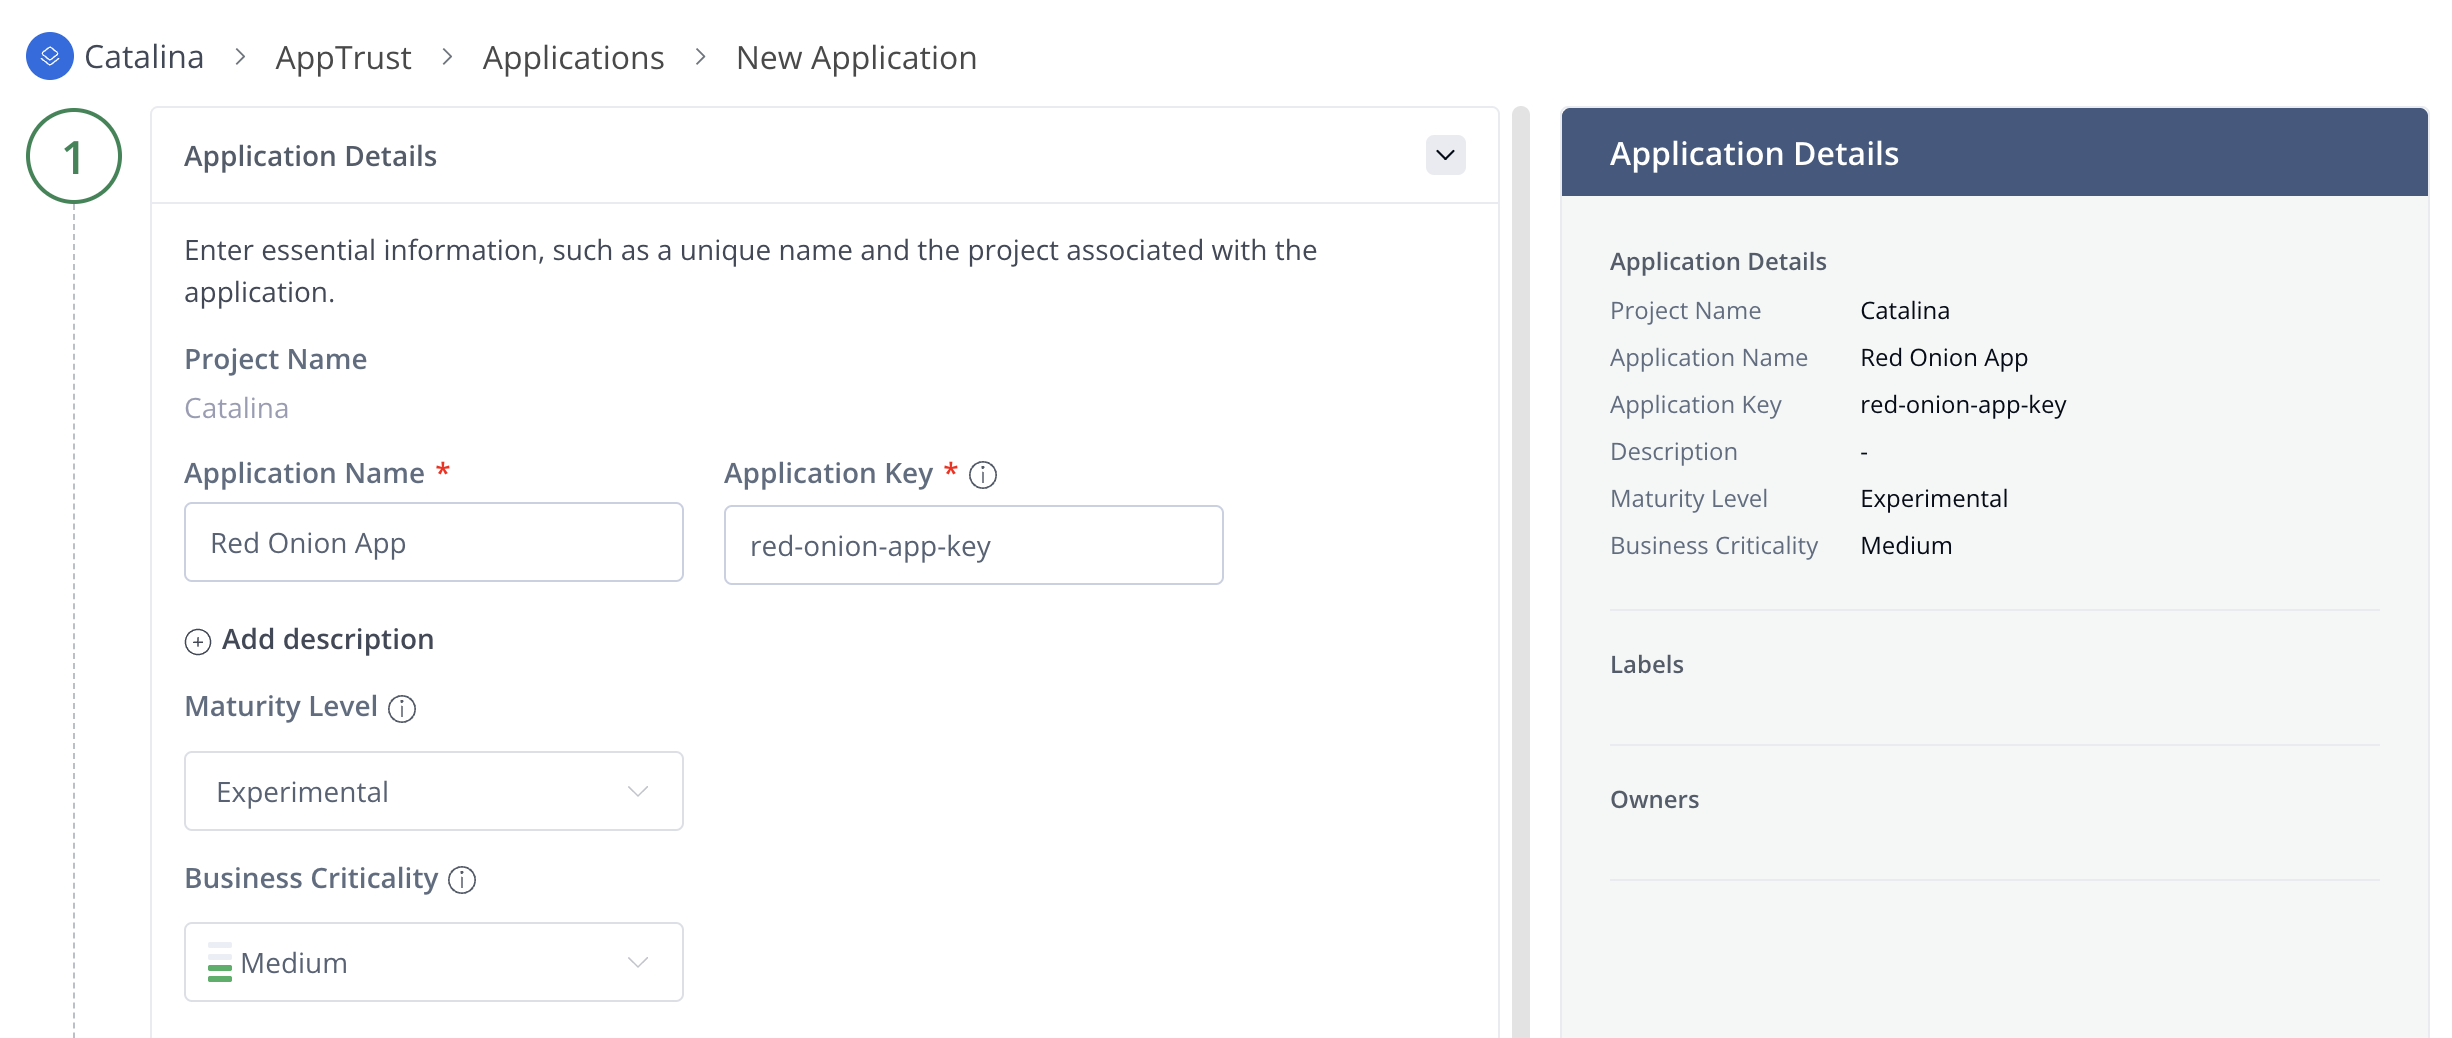
- In Step 1 of the wizard, complete the Application Details below, and then click Next. As you complete the details, the information appears in the panel on the right.
- Application Name: A unique display name for the application.
- Application Key: A key containing between 2-64 lowercase alphanumeric characters.
- Description: A few words to help you remember what the application is for.
- Maturity Level: Indicates whether the application is intended for production. Choose Unspecified, Experimental, Production, or End of Life.
- Business Criticality: Indicates the importance of the application in your organization. Choose Unspecified, Low, Medium, High, or Critical.
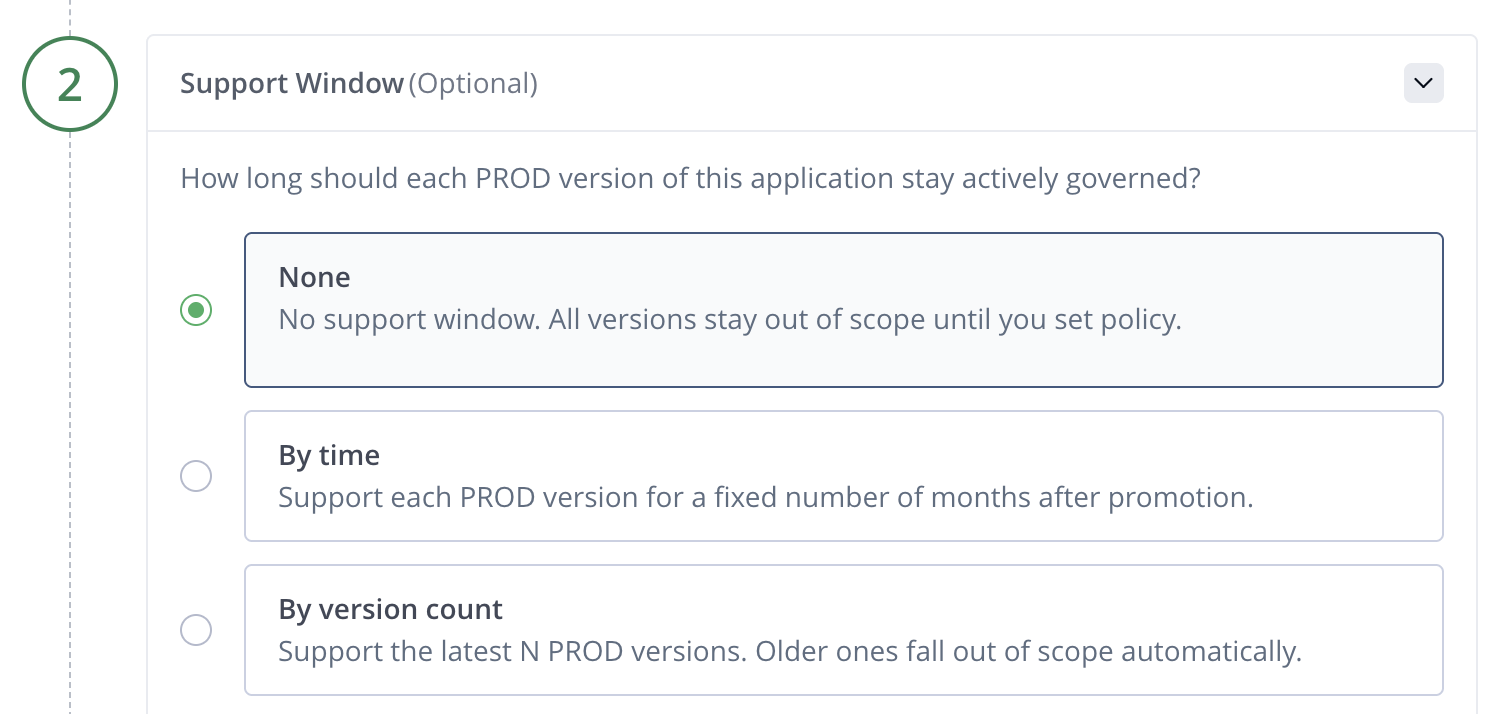
- In Step 2 of the wizard (Optional), define one of the monitor policies for Support Window, and then click Next. Once you have defined a policy, the Application Insights page displays the monitoring status, the policy type, and the policy parameters.
- None: There is no support window. All versions released are out of scope until you define a support window. This is the default setting.
- By Time: Monitor and support each released (in PROD stage) application version for a fixed number of months after promotion. If you choose this, set the number of months.
- By Version Count: Monitor and support a fixed number of released (in PROD stage) application versions. If you choose this, set the number of supported releases.
- In Step 3 of the wizard (Optional), enter one or more owners of the application. For each owner, select the name of a user or group in the dropdown list, and then click Add. If the user is not already in the dropdown, a platform administrator must first create the user in Administration > User Management. Click Next.
- In Step 4 of the wizard (Optional), enter one or more labels as key:value pairs. These can help you later for filtering results and creating policies.
- Review the Application Details on the right, and click Create Application.
Updated 26 days ago
What’s Next
Learn how to edit an application.
Did this page help you?