

Gradle Repositories
Set up Gradle repositories in Artifactory to resolve and publish artifacts.
Gradle is a build automation tool that models your project with a declarative domain-specific language implemented in Groovy. Integrating Gradle with JFrog Artifactory provides a secure, private registry for your Gradle artifacts and gives you fine-grained control over your development and distribution pipeline. You can resolve plugins and libraries, and publish build outputs, through Artifactory instead of the public internet. For more information, see the Gradle documentation.
Gradle repositories in Artifactory provide the following benefits:
- Managing artifacts in Artifactory repositories using the Gradle client, the JFrog CLI
jf gradlecommand, or the Artifactory Gradle Plugin. - Calculating metadata for artifacts stored in Artifactory local repositories.
- Storing your internal and private Gradle artifacts securely in local repositories.
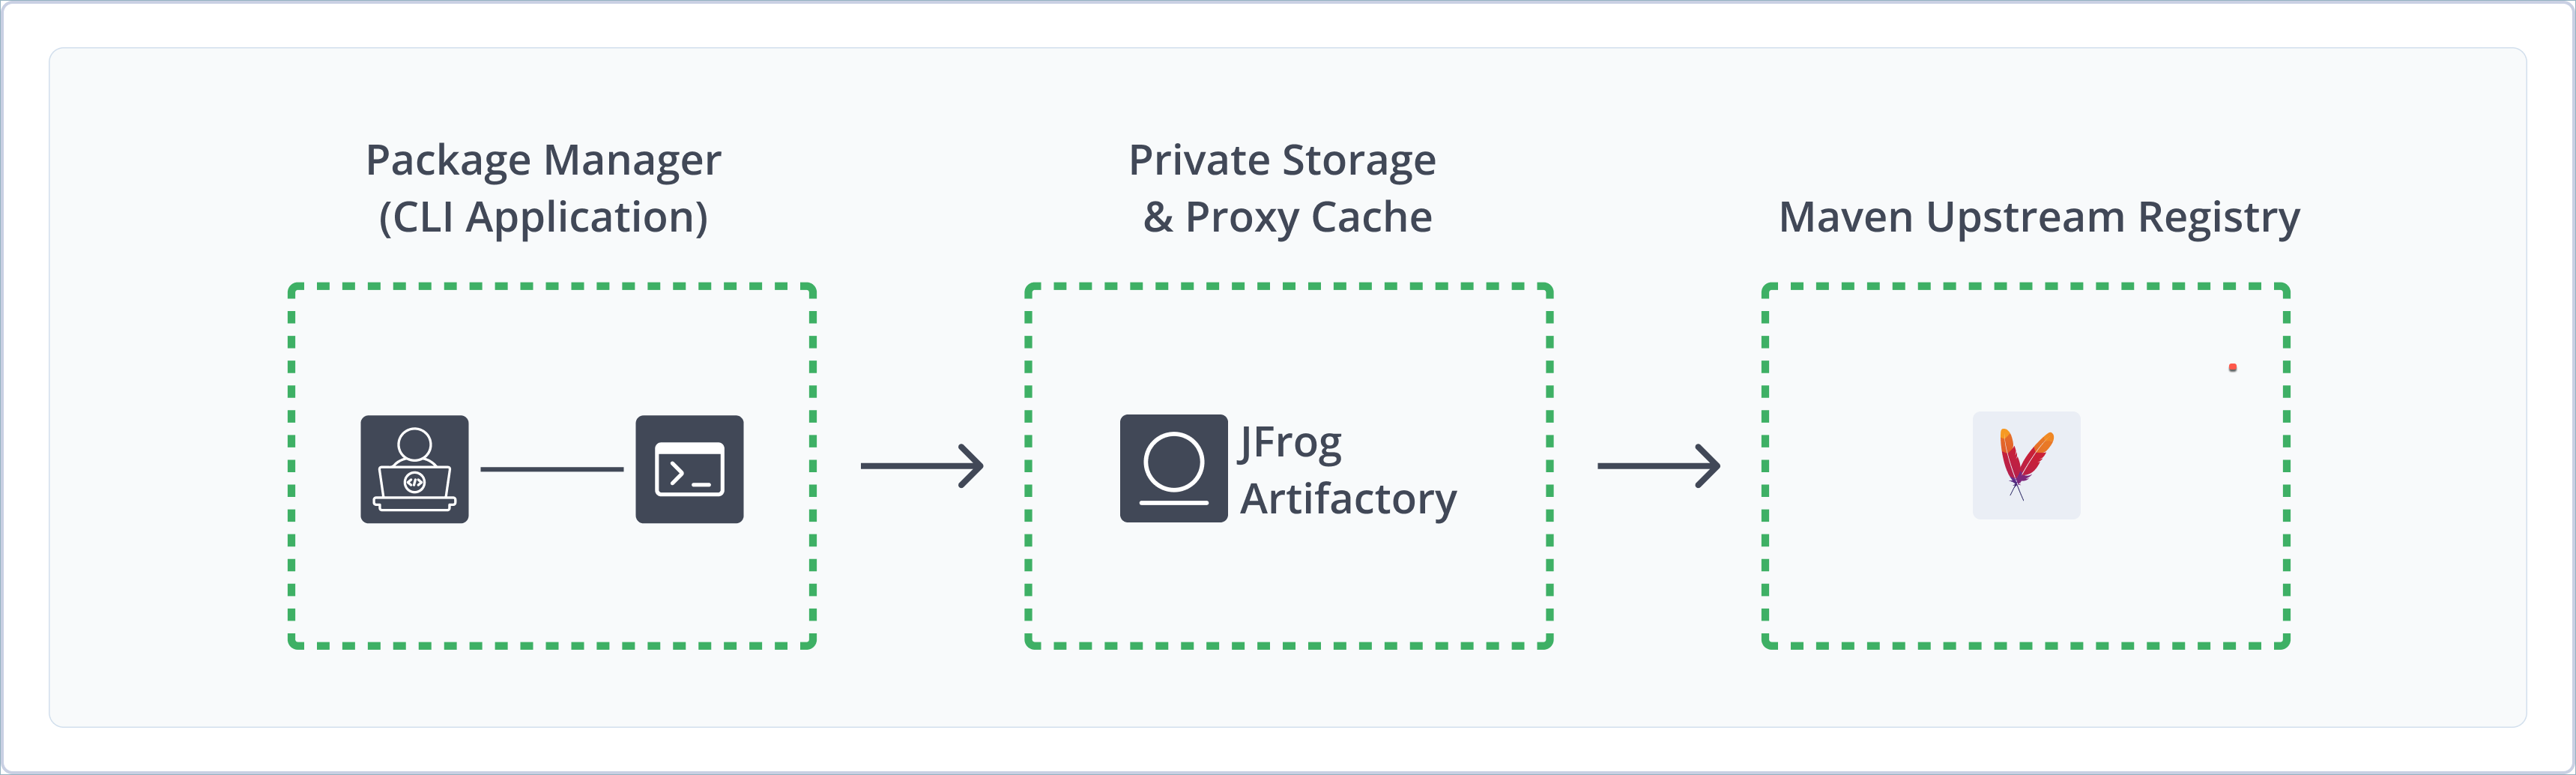
- Proxying and caching for remote Maven registries like
https://repo1.maven.org/maven2/. - Resolving and publishing with Maven or Ivy layouts from the same Gradle client.
Get Started with Gradle
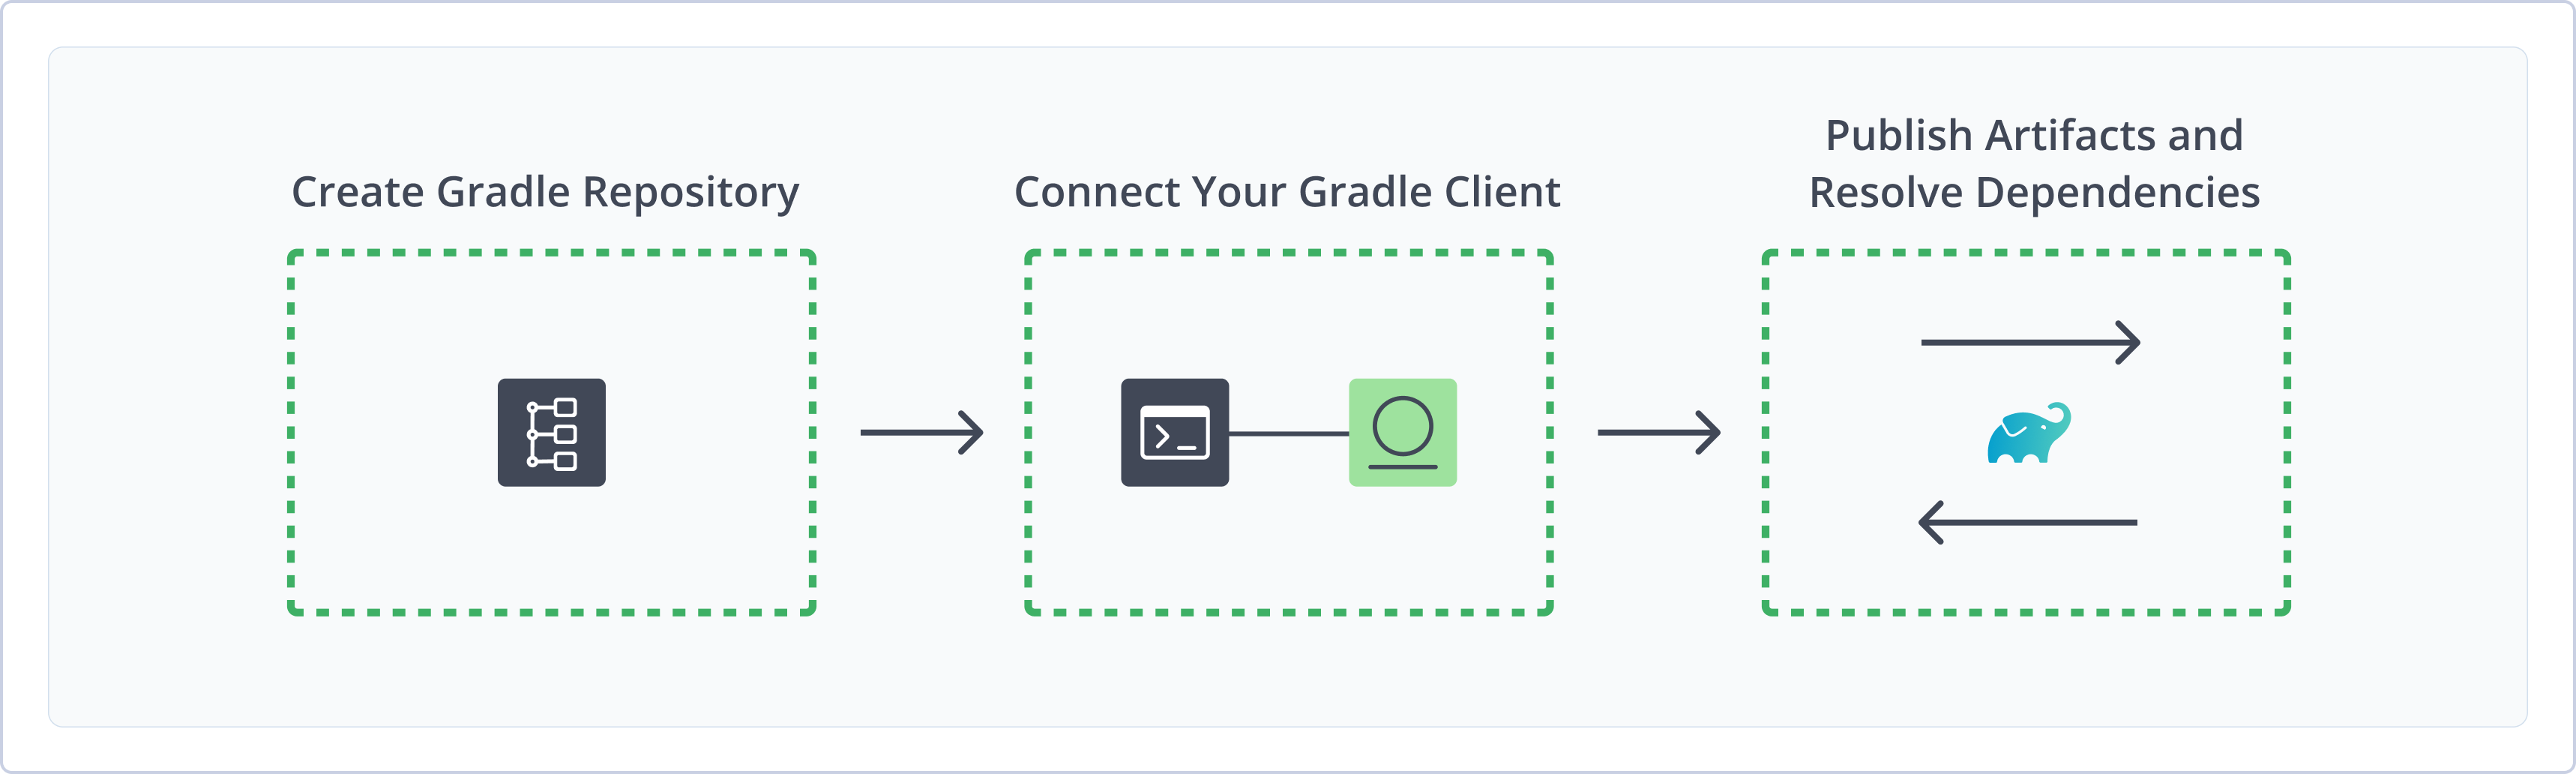
To get started with Gradle, complete the following tasks:
After completing these tasks, Gradle builds automatically resolve dependencies from Artifactory. If you run a publish job, artifacts are uploaded to your Gradle repository in Artifactory.
Create a Gradle Repository
This topic describes how to create a Gradle repository. You need a Gradle repository before you deploy and resolve Gradle packages. The primary repository types are:
- Local repositories: Store and share your internal and private Gradle packages with your organization.
- Remote repositories: Download packages from any remote location, including external package registries or other Artifactory endpoints.
- Virtual repositories: Aggregate remote and local repositories, enabling your organization to scale by providing a single URL that provides access to multiple repositories and types.
Artifactory also supports Federated Gradle repositories. For more information, see Federated Repositories.
For more information on JFrog repositories, see Repository Management.
Prerequisite: You need Admin or Project Admin permissions in Artifactory to create a repository. If you don't have Admin permissions, the option isn't available.
To create a Gradle repository:
-
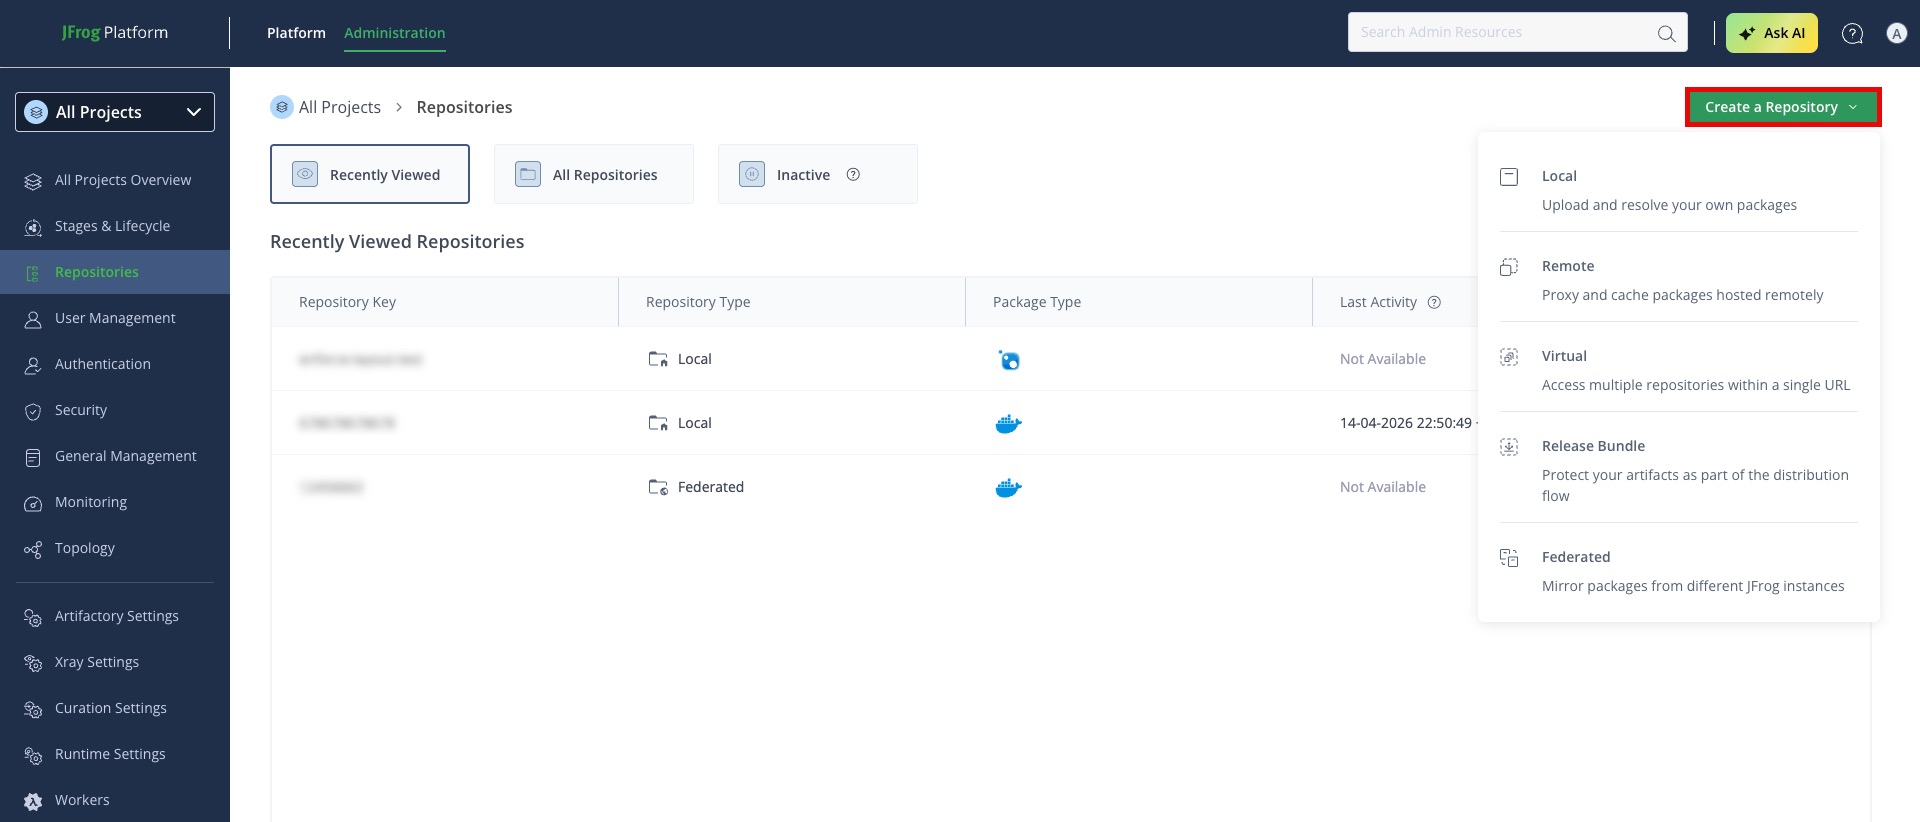
In the Administration module, click Repositories > Create a Repository.
-
Select the type of repository you want to create.
-
Select the Gradle package type.
-
Configure the required fields for the repository:
- For local repositories, in the Repository Key field, enter a meaningful name for the repository. For example,
gradle-local. Gradle local repositories share their type-specific settings panel with Maven repositories, Ivy repositories, and sbt repositories. Gradle repositories use themaven-2-defaultrepository layout. For more information on local repositories and their settings, see Local Repositories. - For remote repositories, verify the Repository URL and update as needed. For more information on remote repositories and their settings, see Remote Repositories.
- For virtual repositories, select one or more local or remote repository types to include in the virtual repository. For more information on virtual repositories and their settings, see Virtual Repositories.
- For local repositories, in the Repository Key field, enter a meaningful name for the repository. For example,
-
Click Create Repository. The repository is created and the Repositories page is displayed.
Connect Gradle to Artifactory
This topic provides details on configuring Gradle to work with Artifactory. To get up and running quickly, see Get Started with Gradle.
You can connect your Gradle client to any Artifactory repository type that uses Maven or Ivy layouts, including Gradle, Maven, Ivy, and sbt repositories. Use Artifactory Set Me Up to generate a build.gradle snippet and a gradle.properties file scoped to your chosen repository.
Prerequisite: Before connecting Gradle to Artifactory, you must have an existing repository with a compatible layout in Artifactory. For more information, see Create a Gradle Repository.
To connect Gradle to Artifactory:
- Follow the instructions in Use Artifactory Set Me Up to Configure Package Manager Clients to open the Set Me Up for your Gradle repository and specify credentials for the configuration snippets.
- On the Configure tab, for each of Plugin Resolver, Libs Resolver, and Libs Publisher, configure the following fields:
- Select Use Maven, Use Ivy, or both. For more information, see Configuring Maven and Ivy Patterns for Gradle.
- For Repository Key, select the repository to use for the resolver or publisher.
- For Repository Layout, select the layout for the repository you selected in Repository Key if it isn't the default Maven layout.
- For Gradle Version, select the Gradle version to use when generating the settings.
- Click Generate Settings.
- Click Download gradle.properties and Download Snippet.
- Add the generated files to your project.
After completing configuration, Gradle builds publish build artifacts and resolve plugins and library dependencies from the specified Artifactory repositories.
Additional Gradle Information
Use Gradle with JFrog CLI
JFrog CLI can generate Gradle build configurations and run Gradle builds with Artifactory integration.
To use Gradle with JFrog CLI:
-
Generate Gradle build configuration:
jf gradle-config --server-id-resolve=<SERVER_ID> --repo-resolve=<REPO_NAME> --server-id-deploy=<SERVER_ID> --repo-deploy=<REPO_NAME>Where:
<SERVER_ID>: The server ID you configured usingjf config add<REPO_NAME>: The name of the repository in Artifactory
For example:
jf gradle-config --server-id-resolve=my-server --repo-resolve=gradle-virtual --server-id-deploy=my-server --repo-deploy=gradle-local -
Run a Gradle build:
jf gradle build --build-name=<BUILD_NAME> --build-number=<BUILD_NUMBER>Where:
<BUILD_NAME>: A name for the build<BUILD_NUMBER>: A number or identifier for the build run
For example:
jf gradle build --build-name=my-java-app --build-number=1
For more information, see Use Gradle with JFrog CLI.
Configuring Maven and Ivy Patterns for Gradle
In the Gradle Set Me Up, you select a repository to use for the Plugin Resolver, Libs Resolver, and Libs Publisher. You must configure each entry to use Maven patterns, Ivy patterns, or both against the selected repository.
The following table explains the relationship between the Use Maven and Use Ivy settings, the selected repository, and repository layout.
| Setting | What the Generated Script Does | When to Use It | Repository Layout |
|---|---|---|---|
| Use Maven | Uses the Maven 2 layout with POMs and Maven coordinates. | Default. Your build uses maven-publish, or the selected repository uses Maven 2 layout. This is typical for Gradle and Maven repositories. | No selection. The layout dropdown list is not available. |
| Use Ivy | Uses Ivy patterns, including ivy.xml and Ivy paths. | Your build uses ivy-publish, or the selected repository uses an Ivy layout. | Select the layout configured on the selected repository. |
| Use Maven and Use Ivy | Uses Maven 2 layout and Ivy patterns against the same repository. | Your build publishes or resolves both Maven and Ivy descriptors. For example, maven-publish and ivy-publish together. | Select the layout configured on the selected repository. |
Note
Set Me Up doesn't validate that the selected pattern and Repository Layout match the selected repository. A mismatched combination still generates a snippet, which causes resolution or publication to look in the wrong paths.
Related Topics
Updated about 1 hour ago